|
Yes we've all experienced this one at some point in our gaming experience! Lucky for you about an hours worth of time and a few dollars in parts and you can be good as new! Our instructions on this page are going to pick up where our previous guide left off. Go read it first if you need help taking your Xbox apart. Tools required: |
 |
| Lets start this off by removing the fan shroud by simply pushing the tab holding the fan shroud in place and pulling the shroud up and out. | 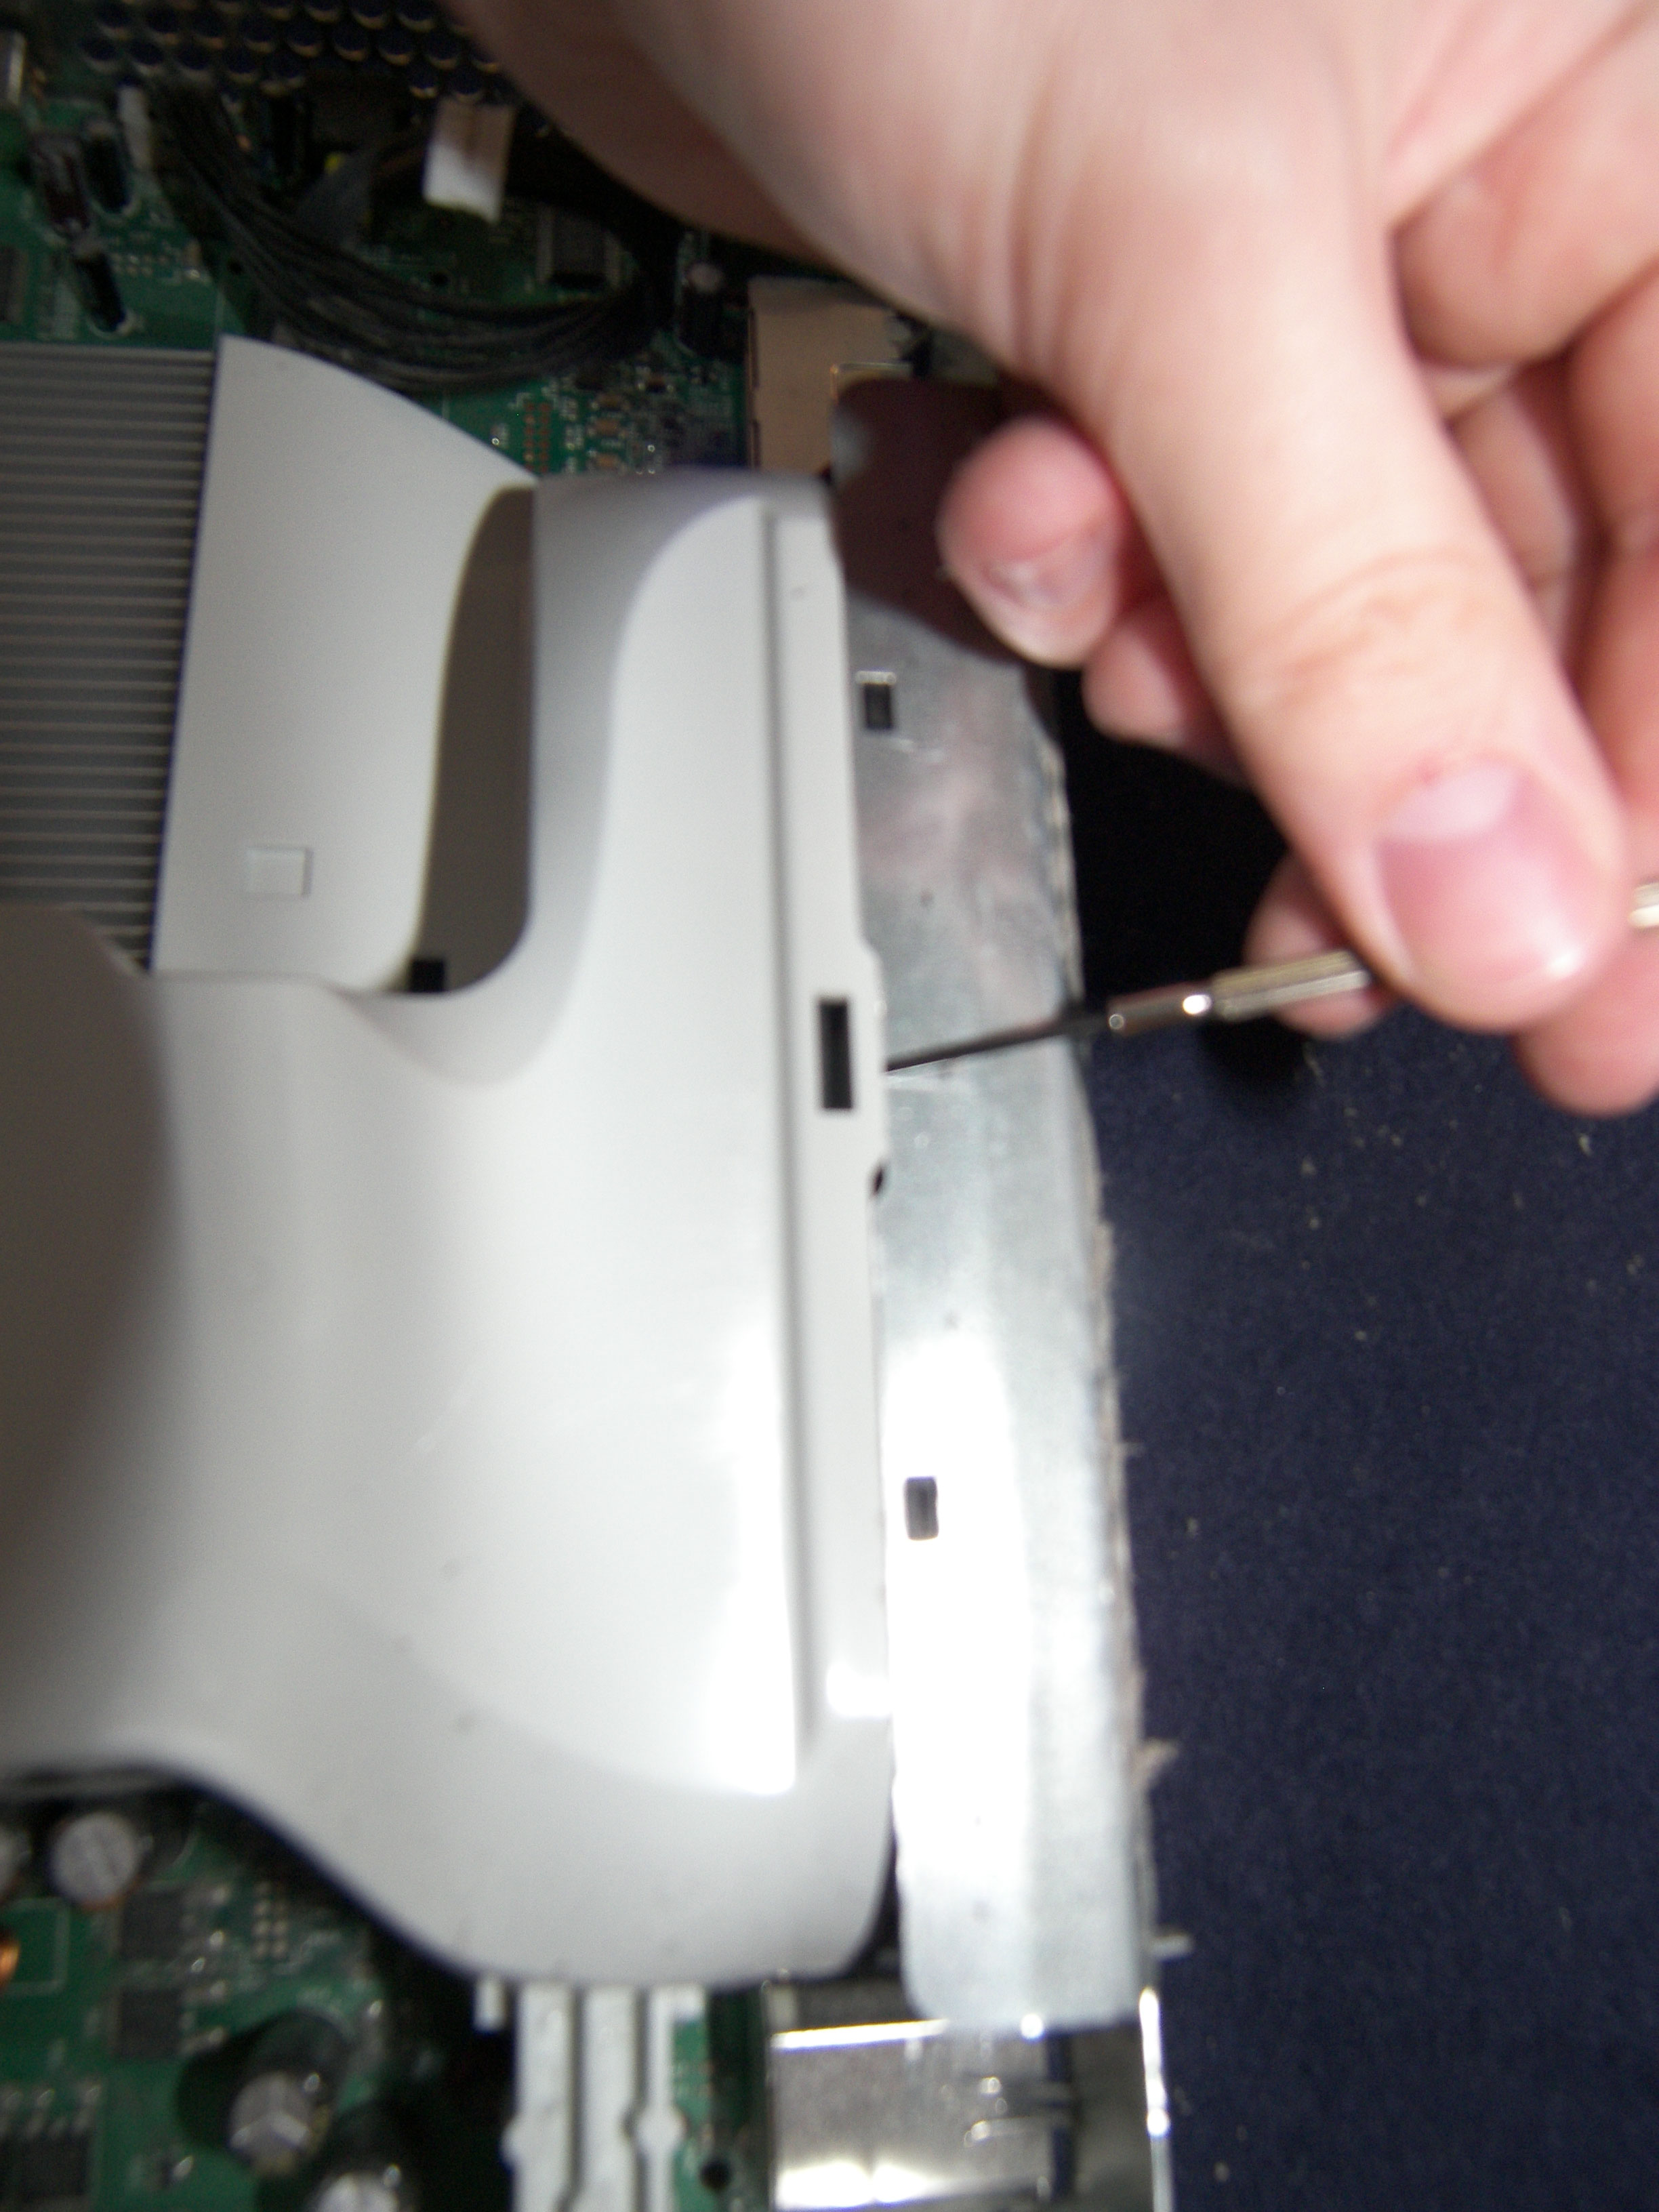 |
| Now unplug the fan and lift up the steel piece above the fan while pulling the fan up and out. There are a pair of plastic tabs on the bottom that hold it in place that have to be lifted up through the case before you can just pull the fan out. | 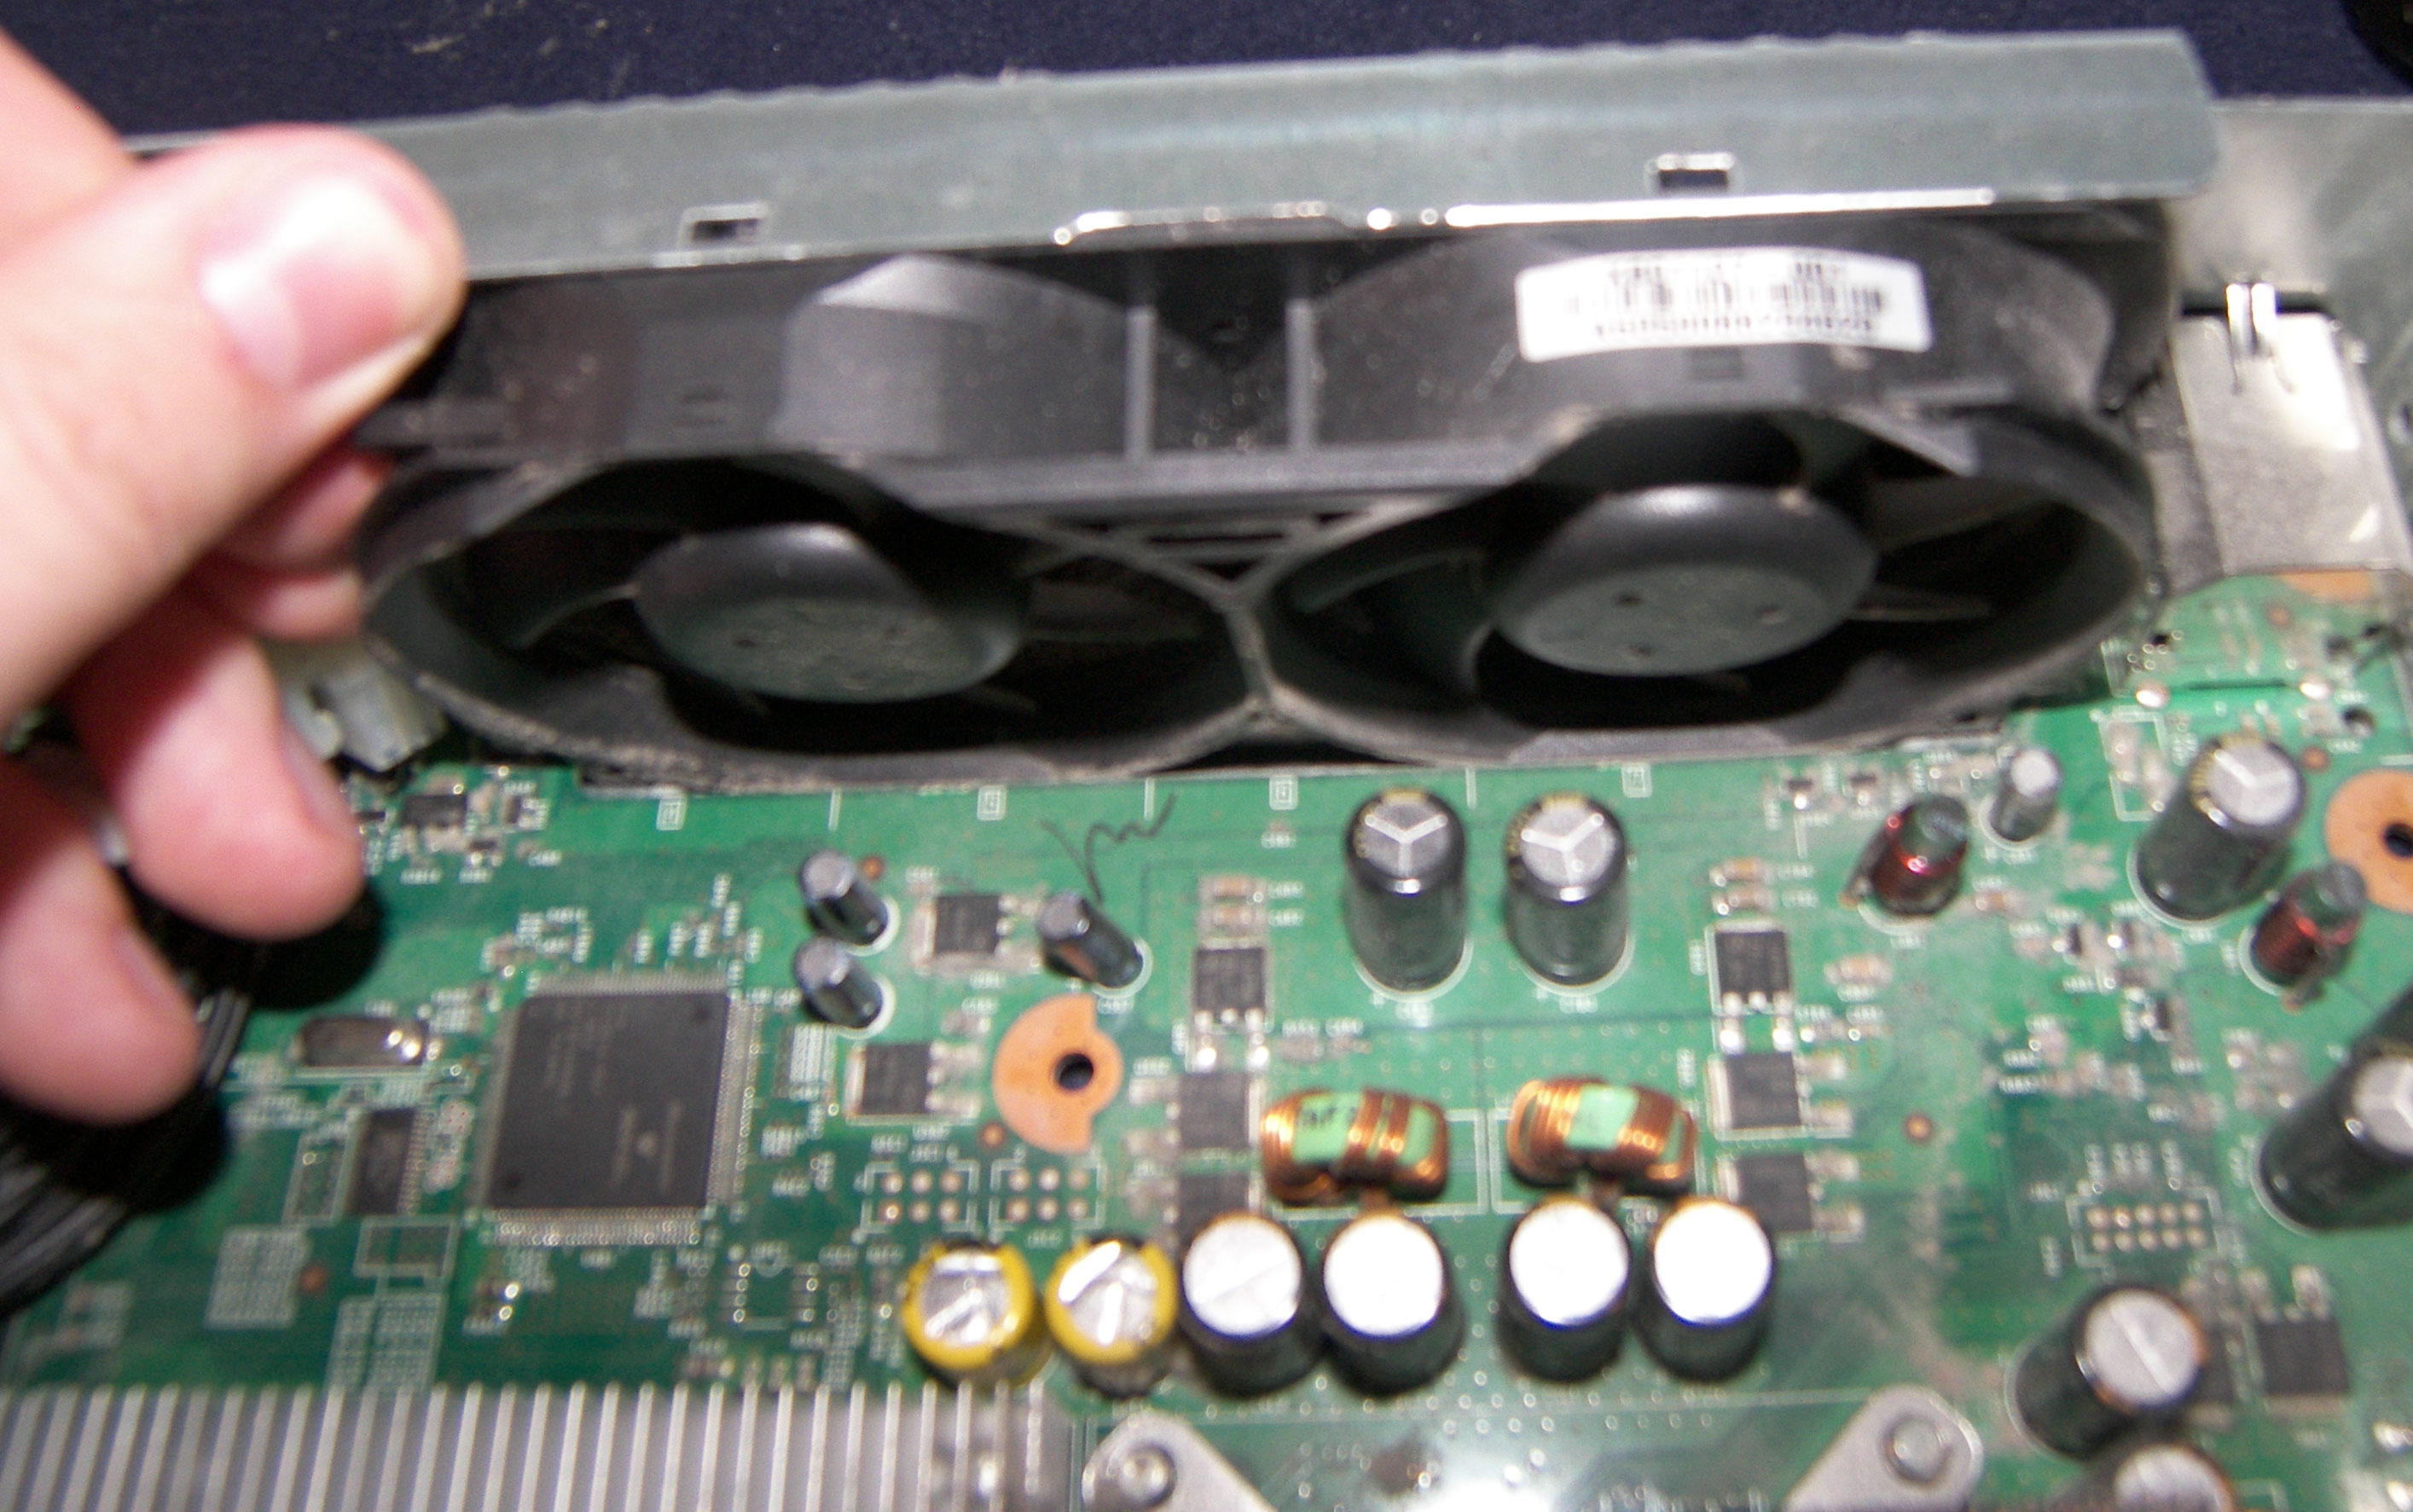 |
| Flip your Xbox over and remove every screw that you can find on the bottom casing. | 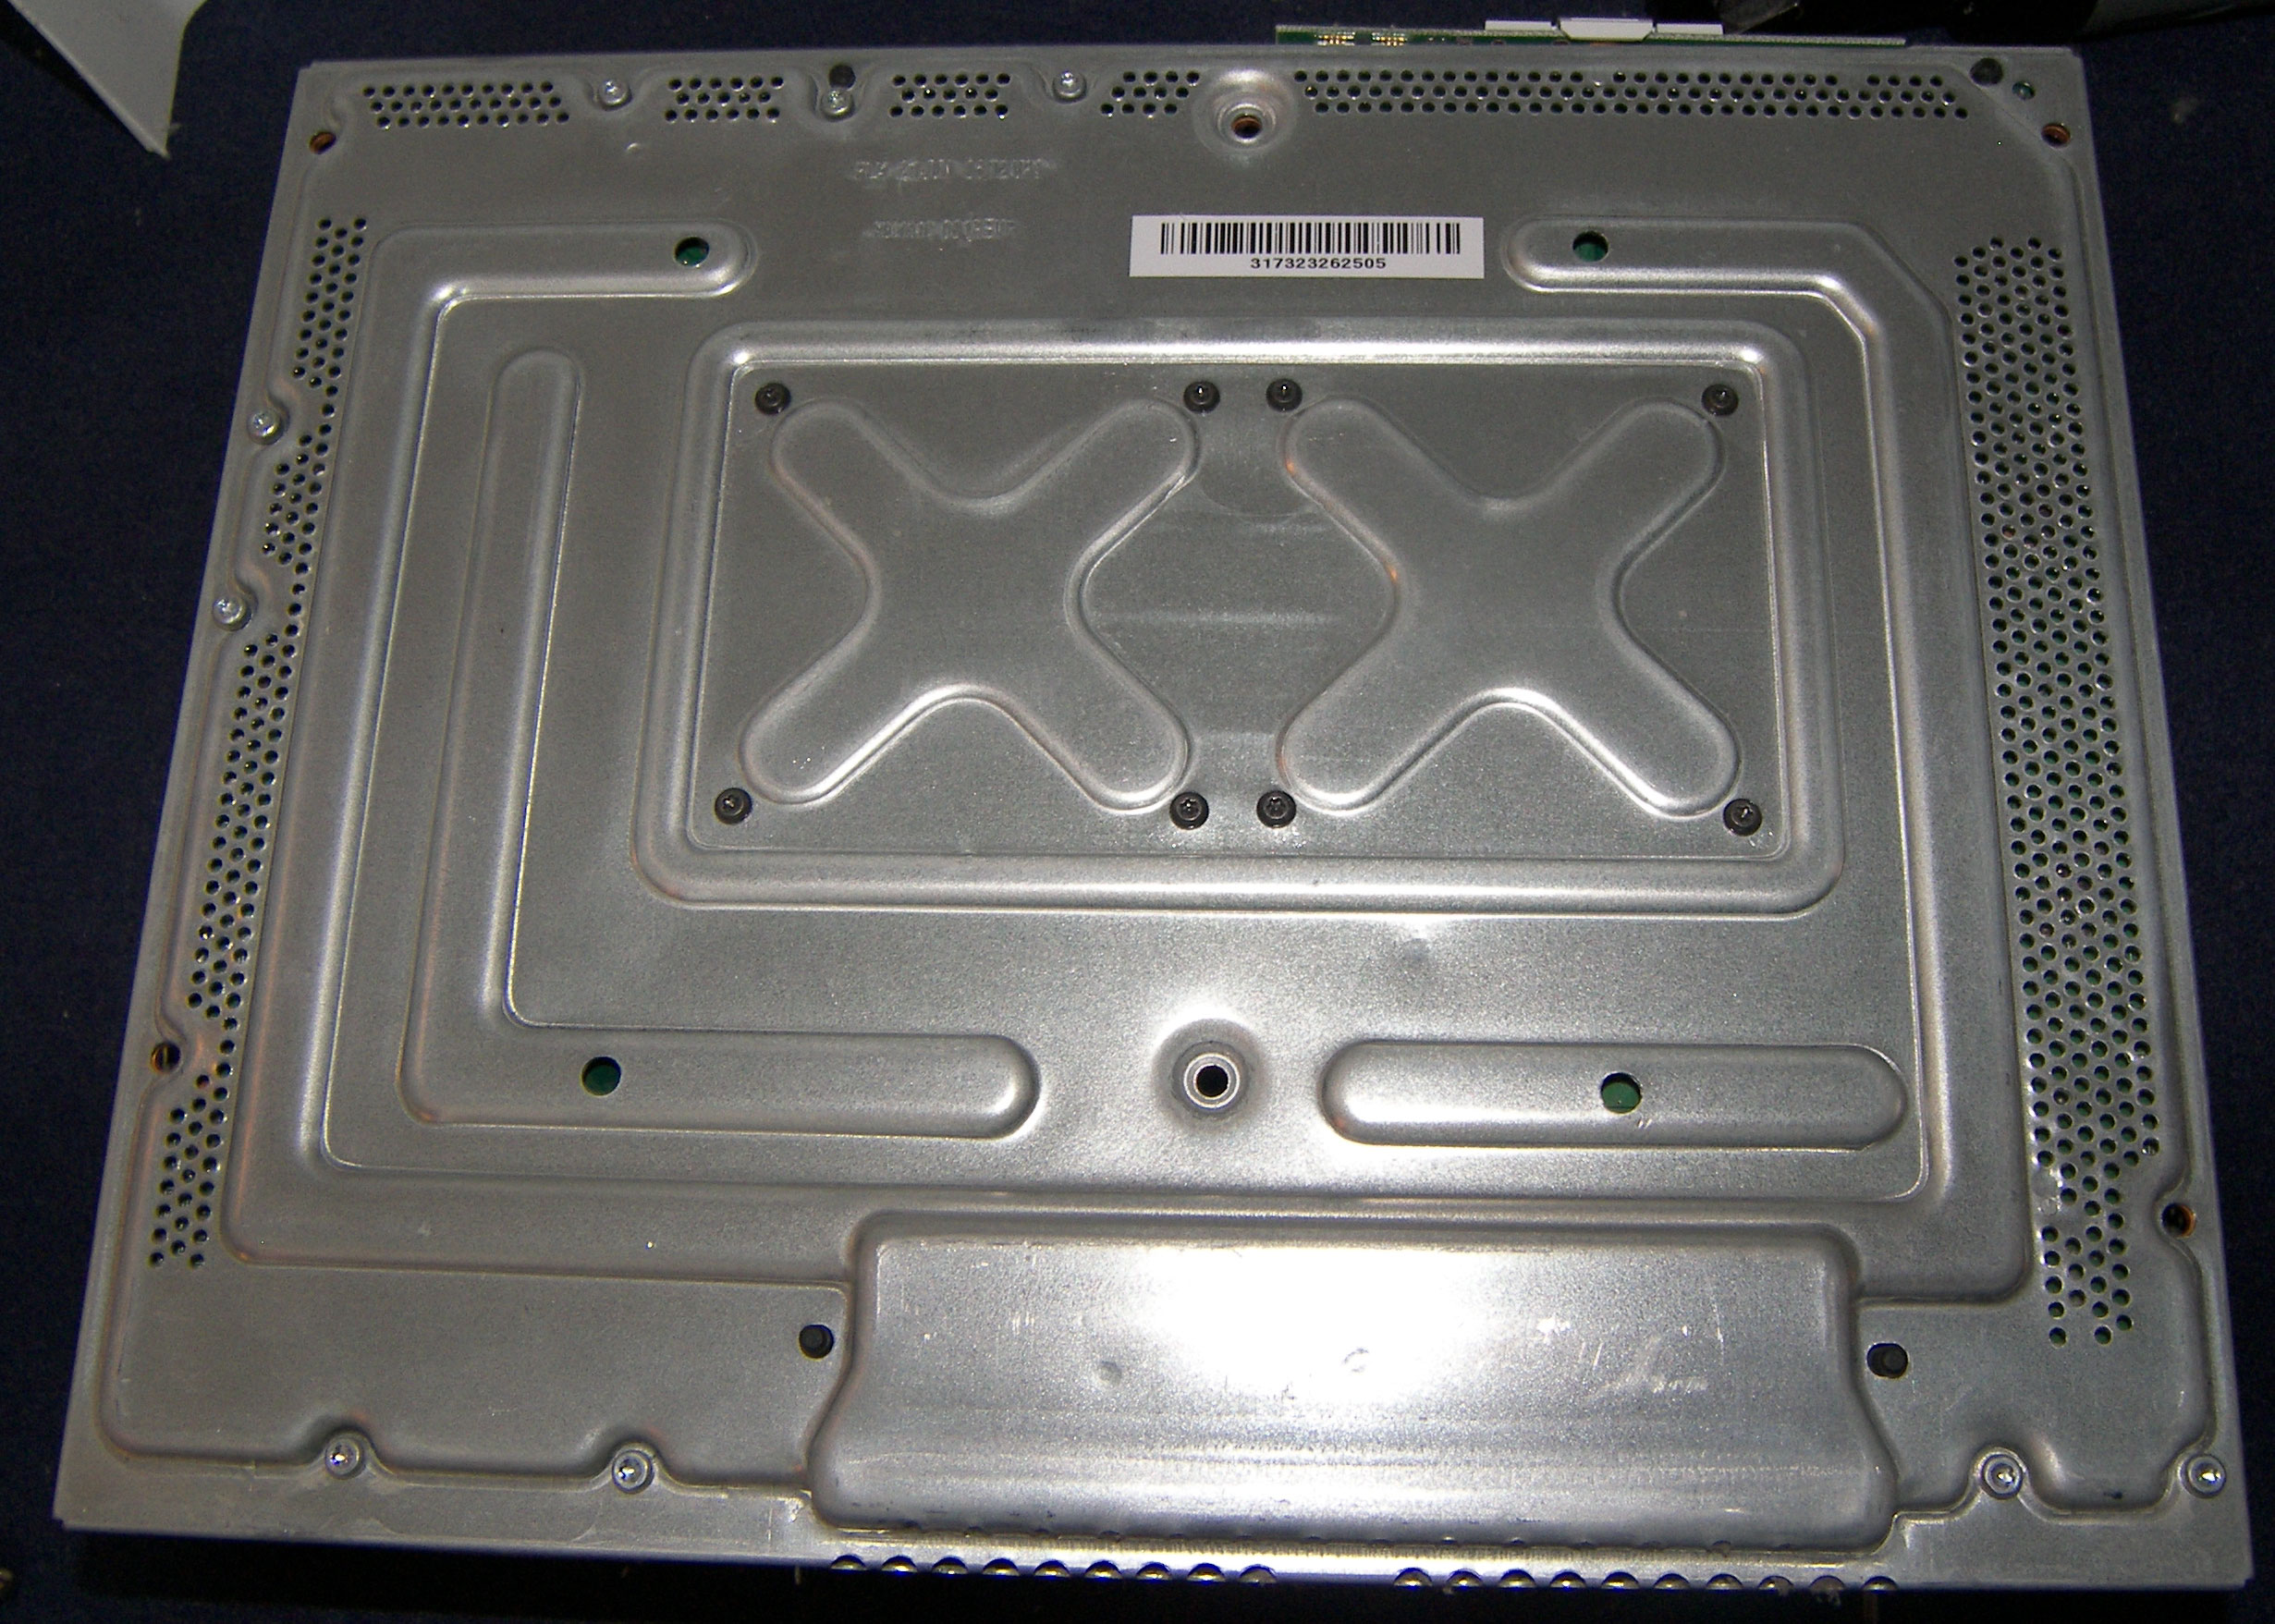 |
| The power button area comes out next. There are a total of 3 screws here. Two of them are at the top and are visible while the third you will have to remove the plastic piece by pulling the bottom tab up and it slides right out as shown in picture 2 on the right. After all 3 screws are removed it pulls out easily (picture 3) |    |
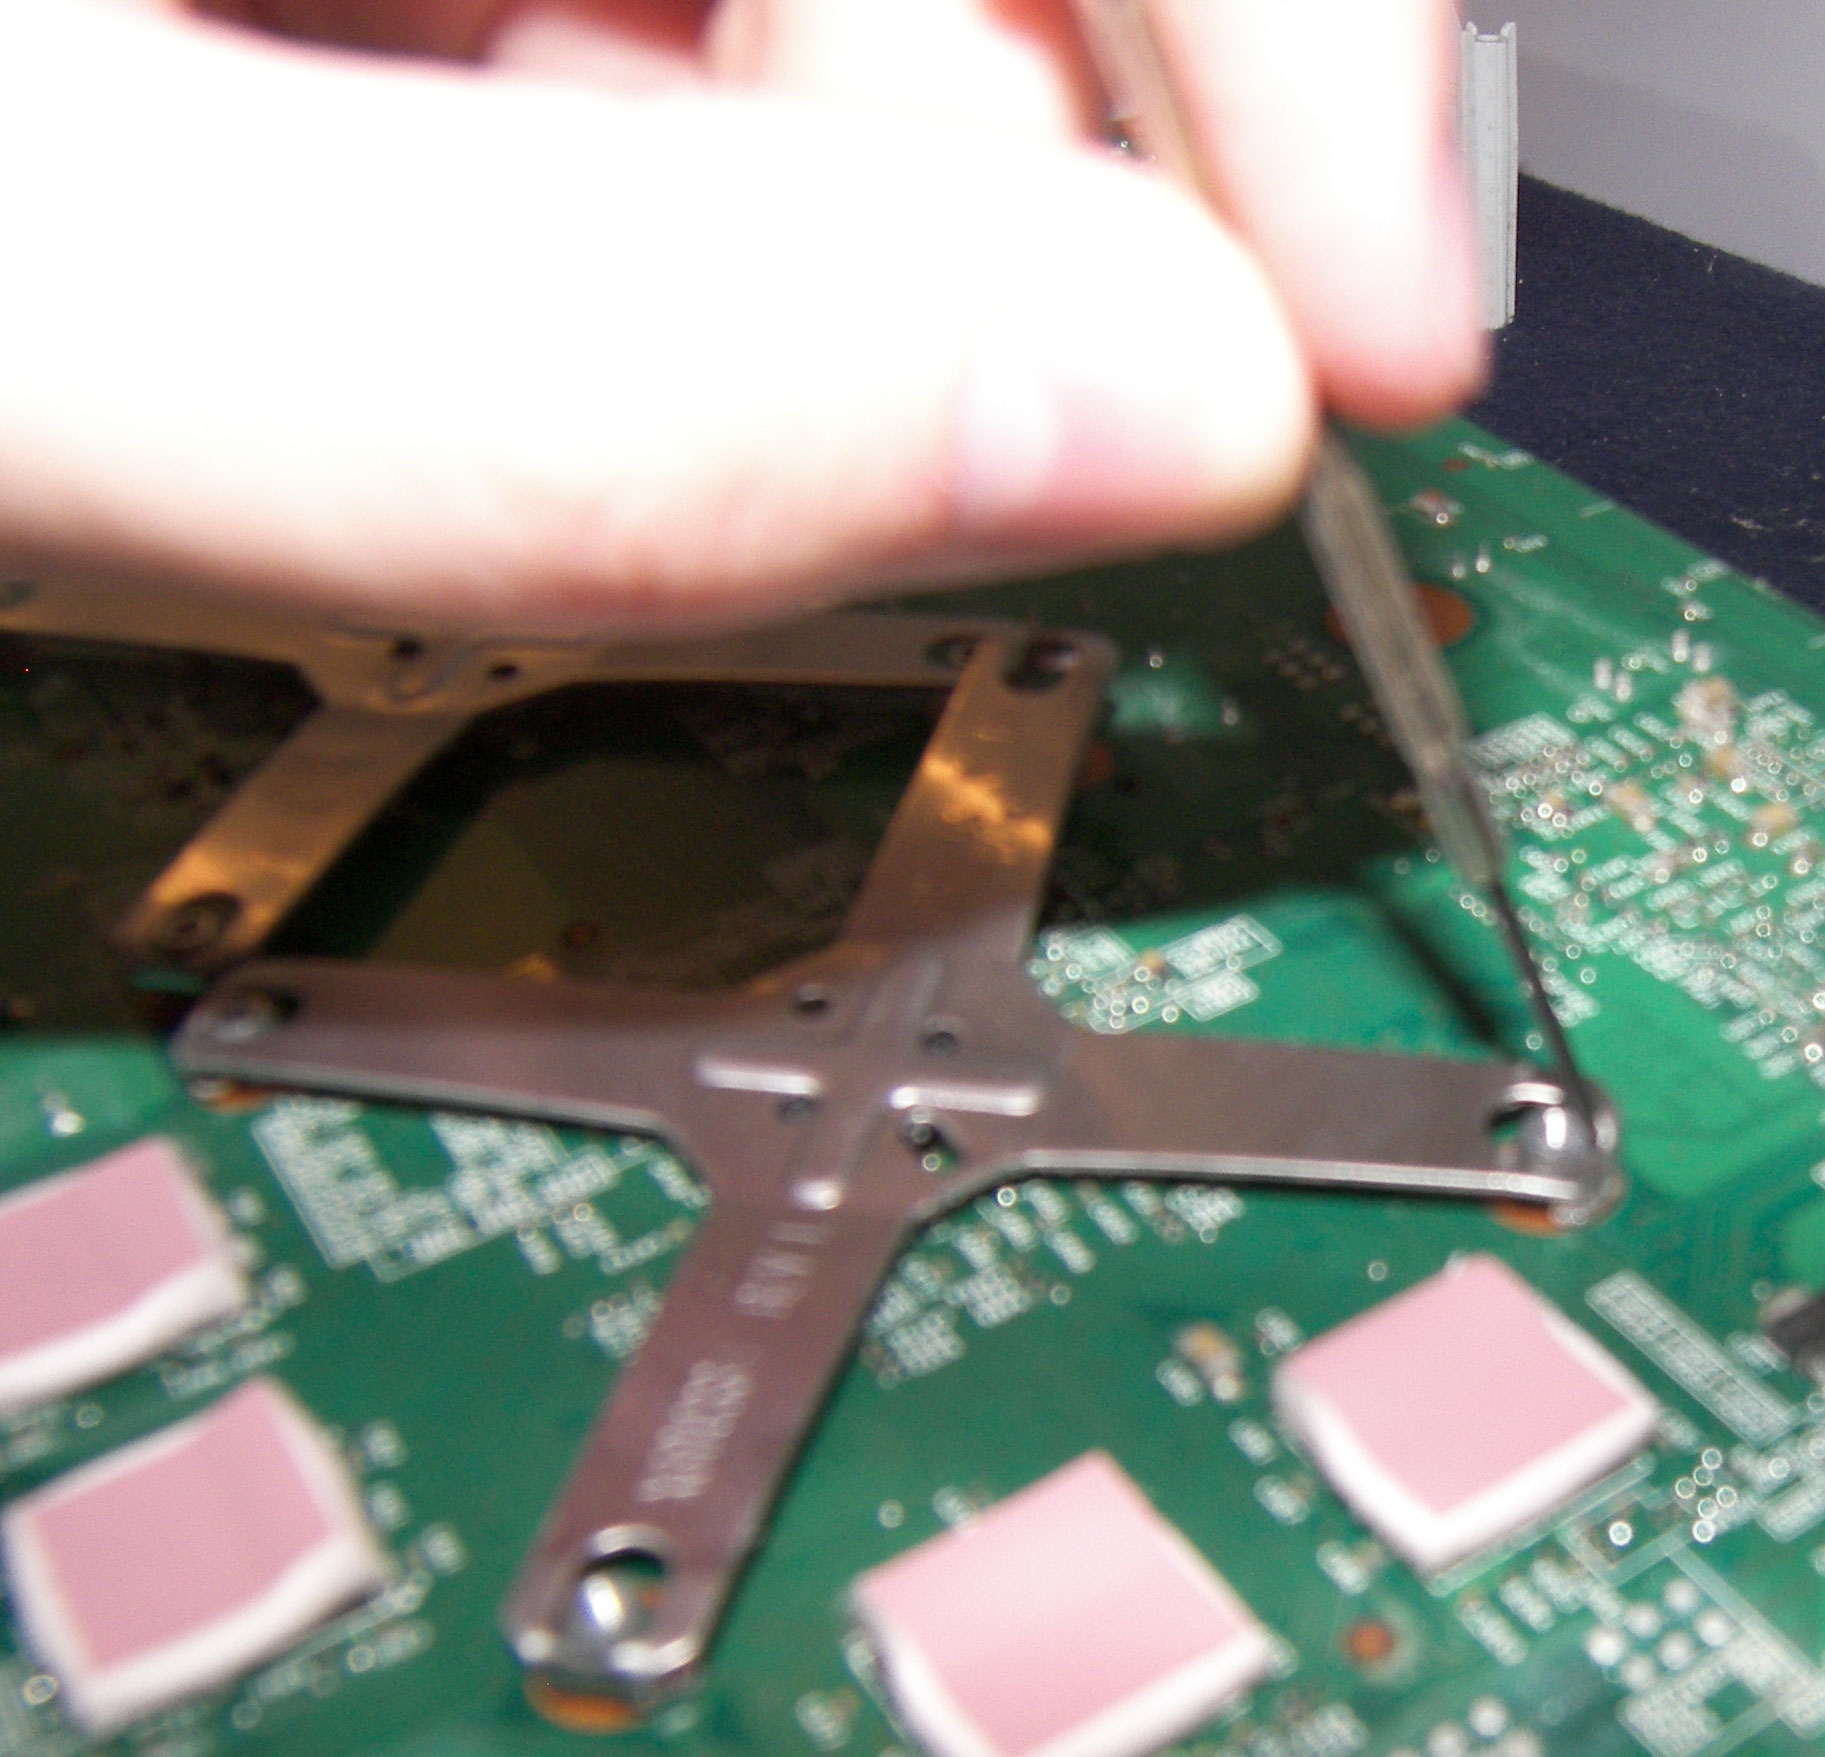
| Now gently pull the motherboard out of the case. If you feel resistance you may have left a screw in somewhere so check again before you just try to yank this board out! Our next step is on the bottom side of the motherboard where you'll see a pair of evil X-clamps of doom! | 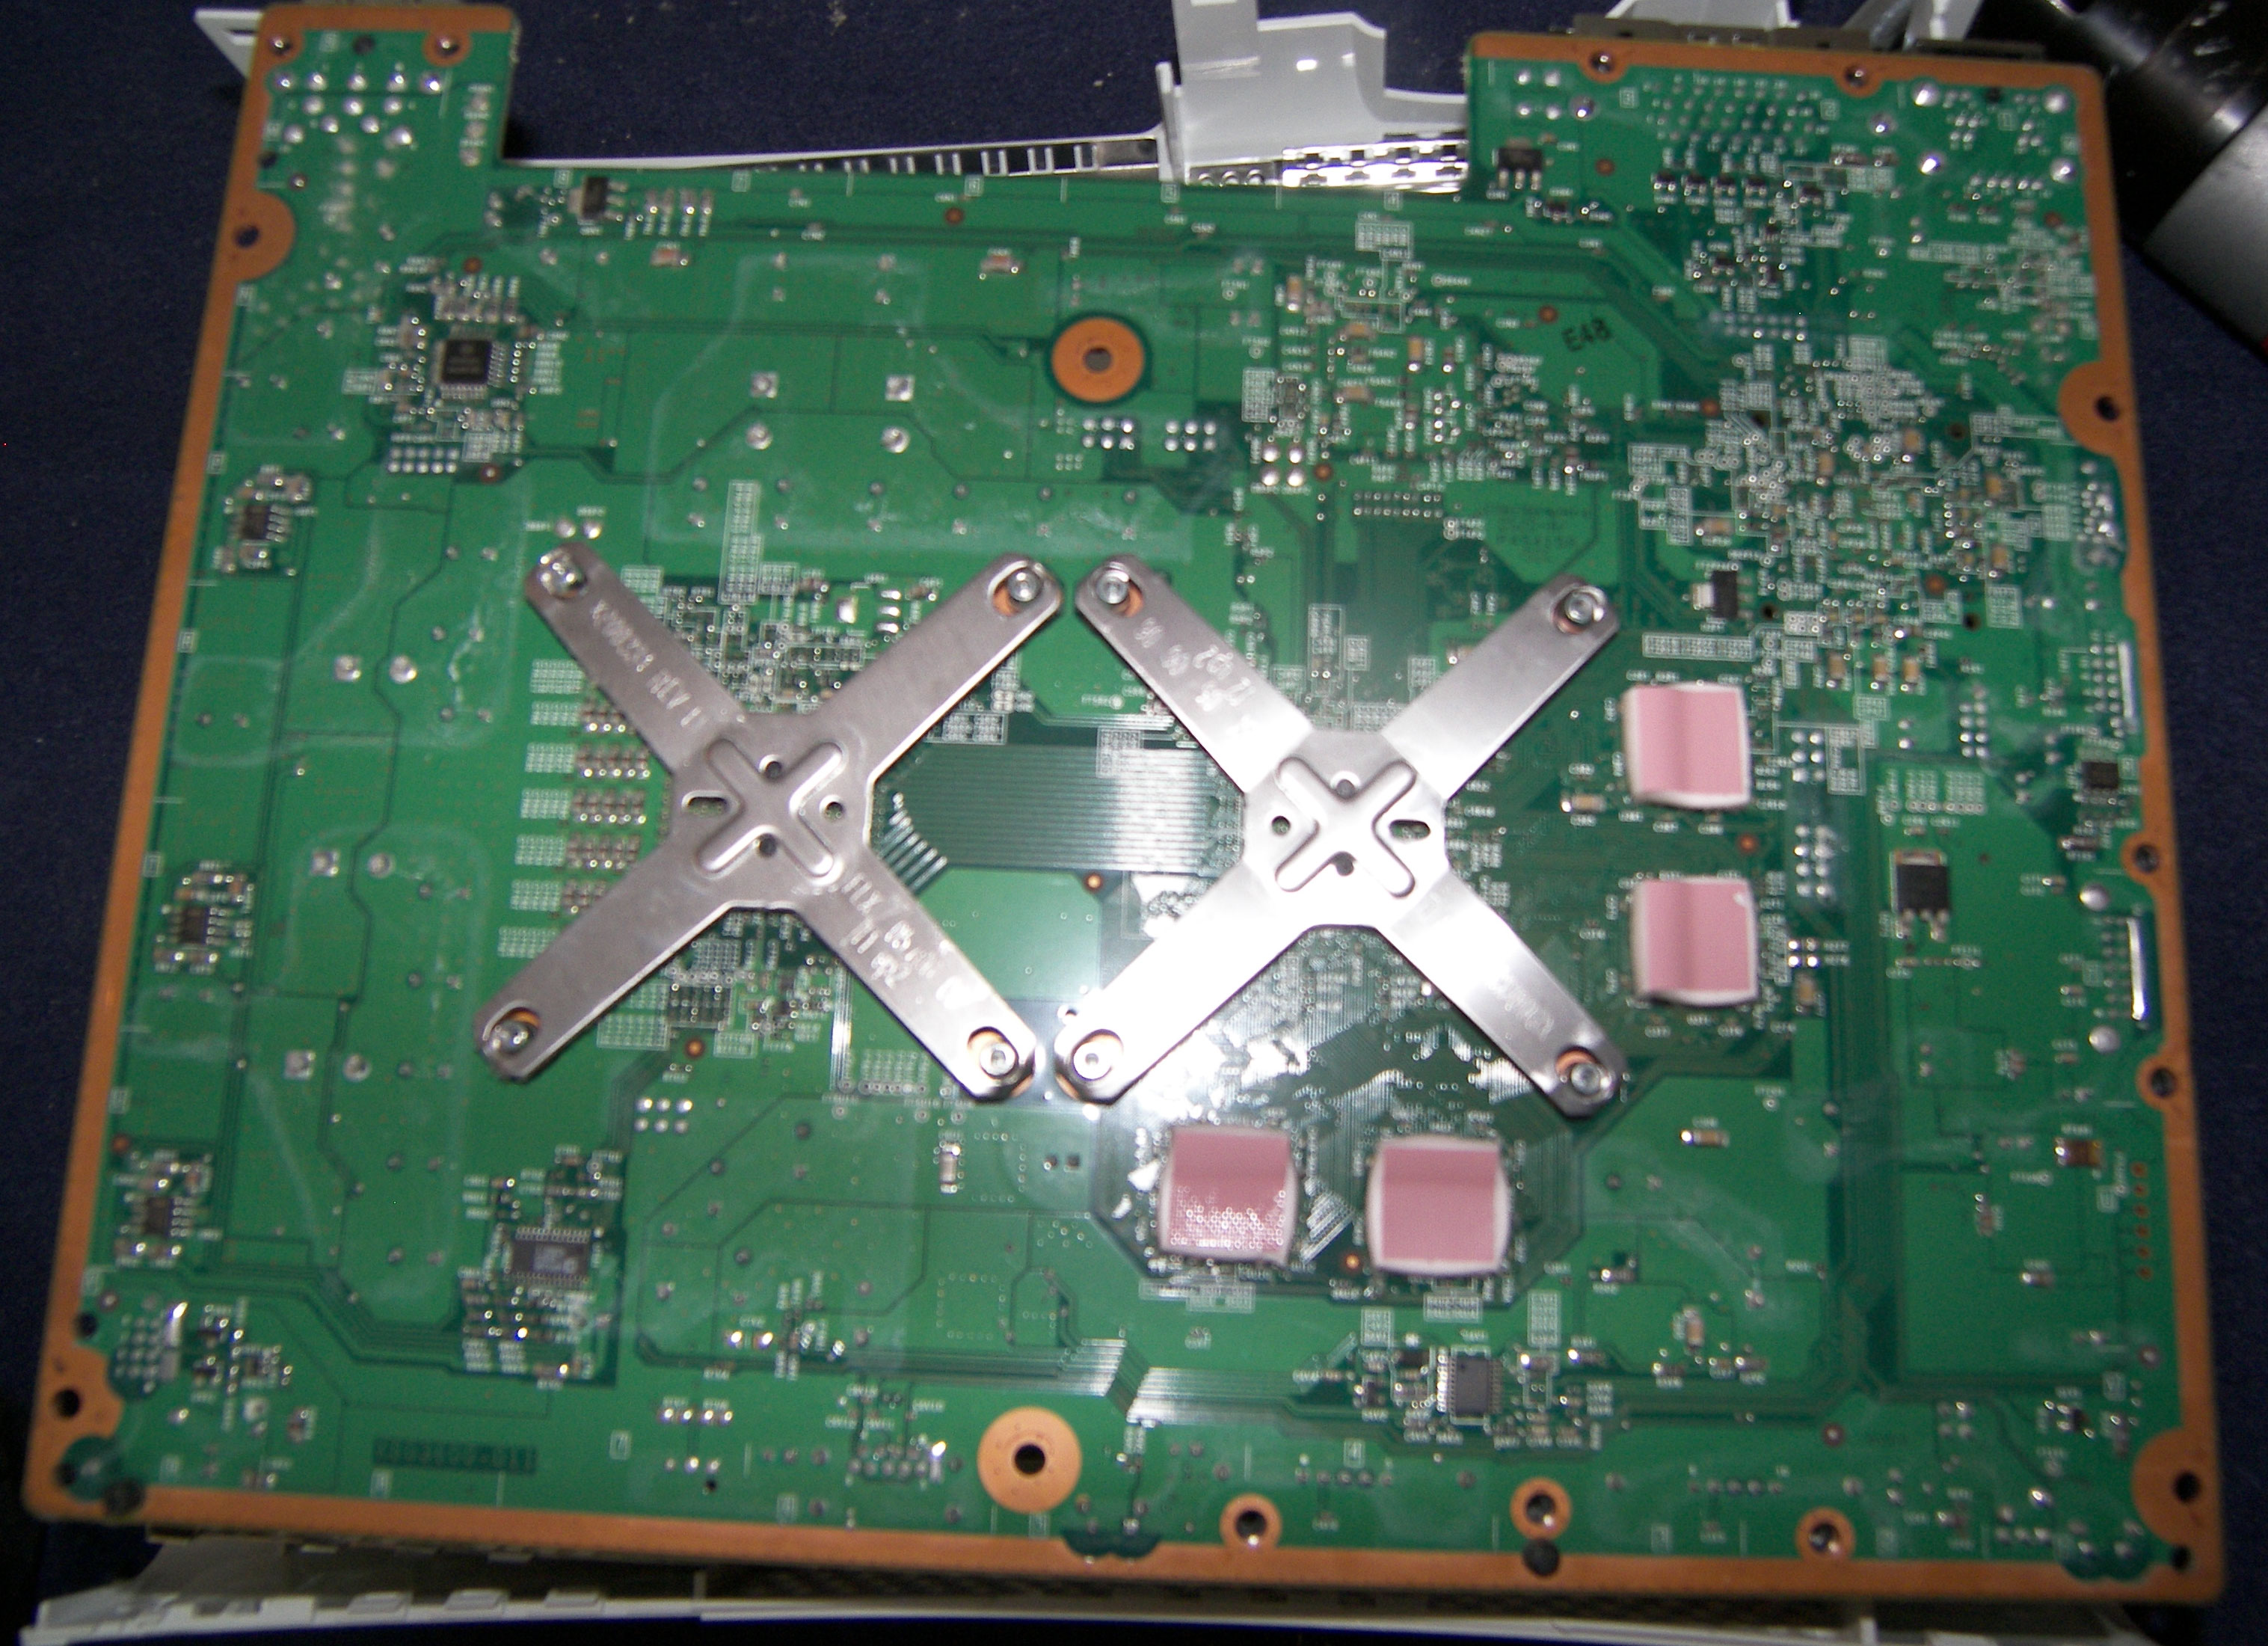 |
This is where you have to really tread lightly! One slip of that little screw driver can lead to it stabbing either YOU or the motherboard. I think you can live with a stab wound in the leg but your precious xbox can't survive being stabbed hard. You wedge a small tip like my small screw driver into the end of the clamp and basically rock it back and forth where your goal is to basically pry the metal piece outward and up. This requires a bit of force at times so take your time and rock it back and forth and from all sides you can get to. You will have the clip right at the top and about to release MANY times just to rock it in the wrong direction and watch it fall right back down to the bottom! These things are just an insanely bad idea! They obviously don't work properly since you're reading this guide! Once you get your first one off you'll understand the concept and luckily the 4th and 8th one come off by themselves so you only have to suffer through this act 6 times.... |
 |
| Once you get back from the ER and having your screw driver removed from your thigh hopefully you have the X-clamps off and then can simply lift the heatsinks off! Underneath them you'll find a thermal goo or in the case of this one it looked more like a putty which is BAD because that is significantly harder to remove. You will have to clean as much of this goo off as you can. Rubbing alcohol and a little rubbing will take care of things unless its fully dried and hardened. In those cases you may have to use something like goo gone or scrub with the rough side of a sponge. | 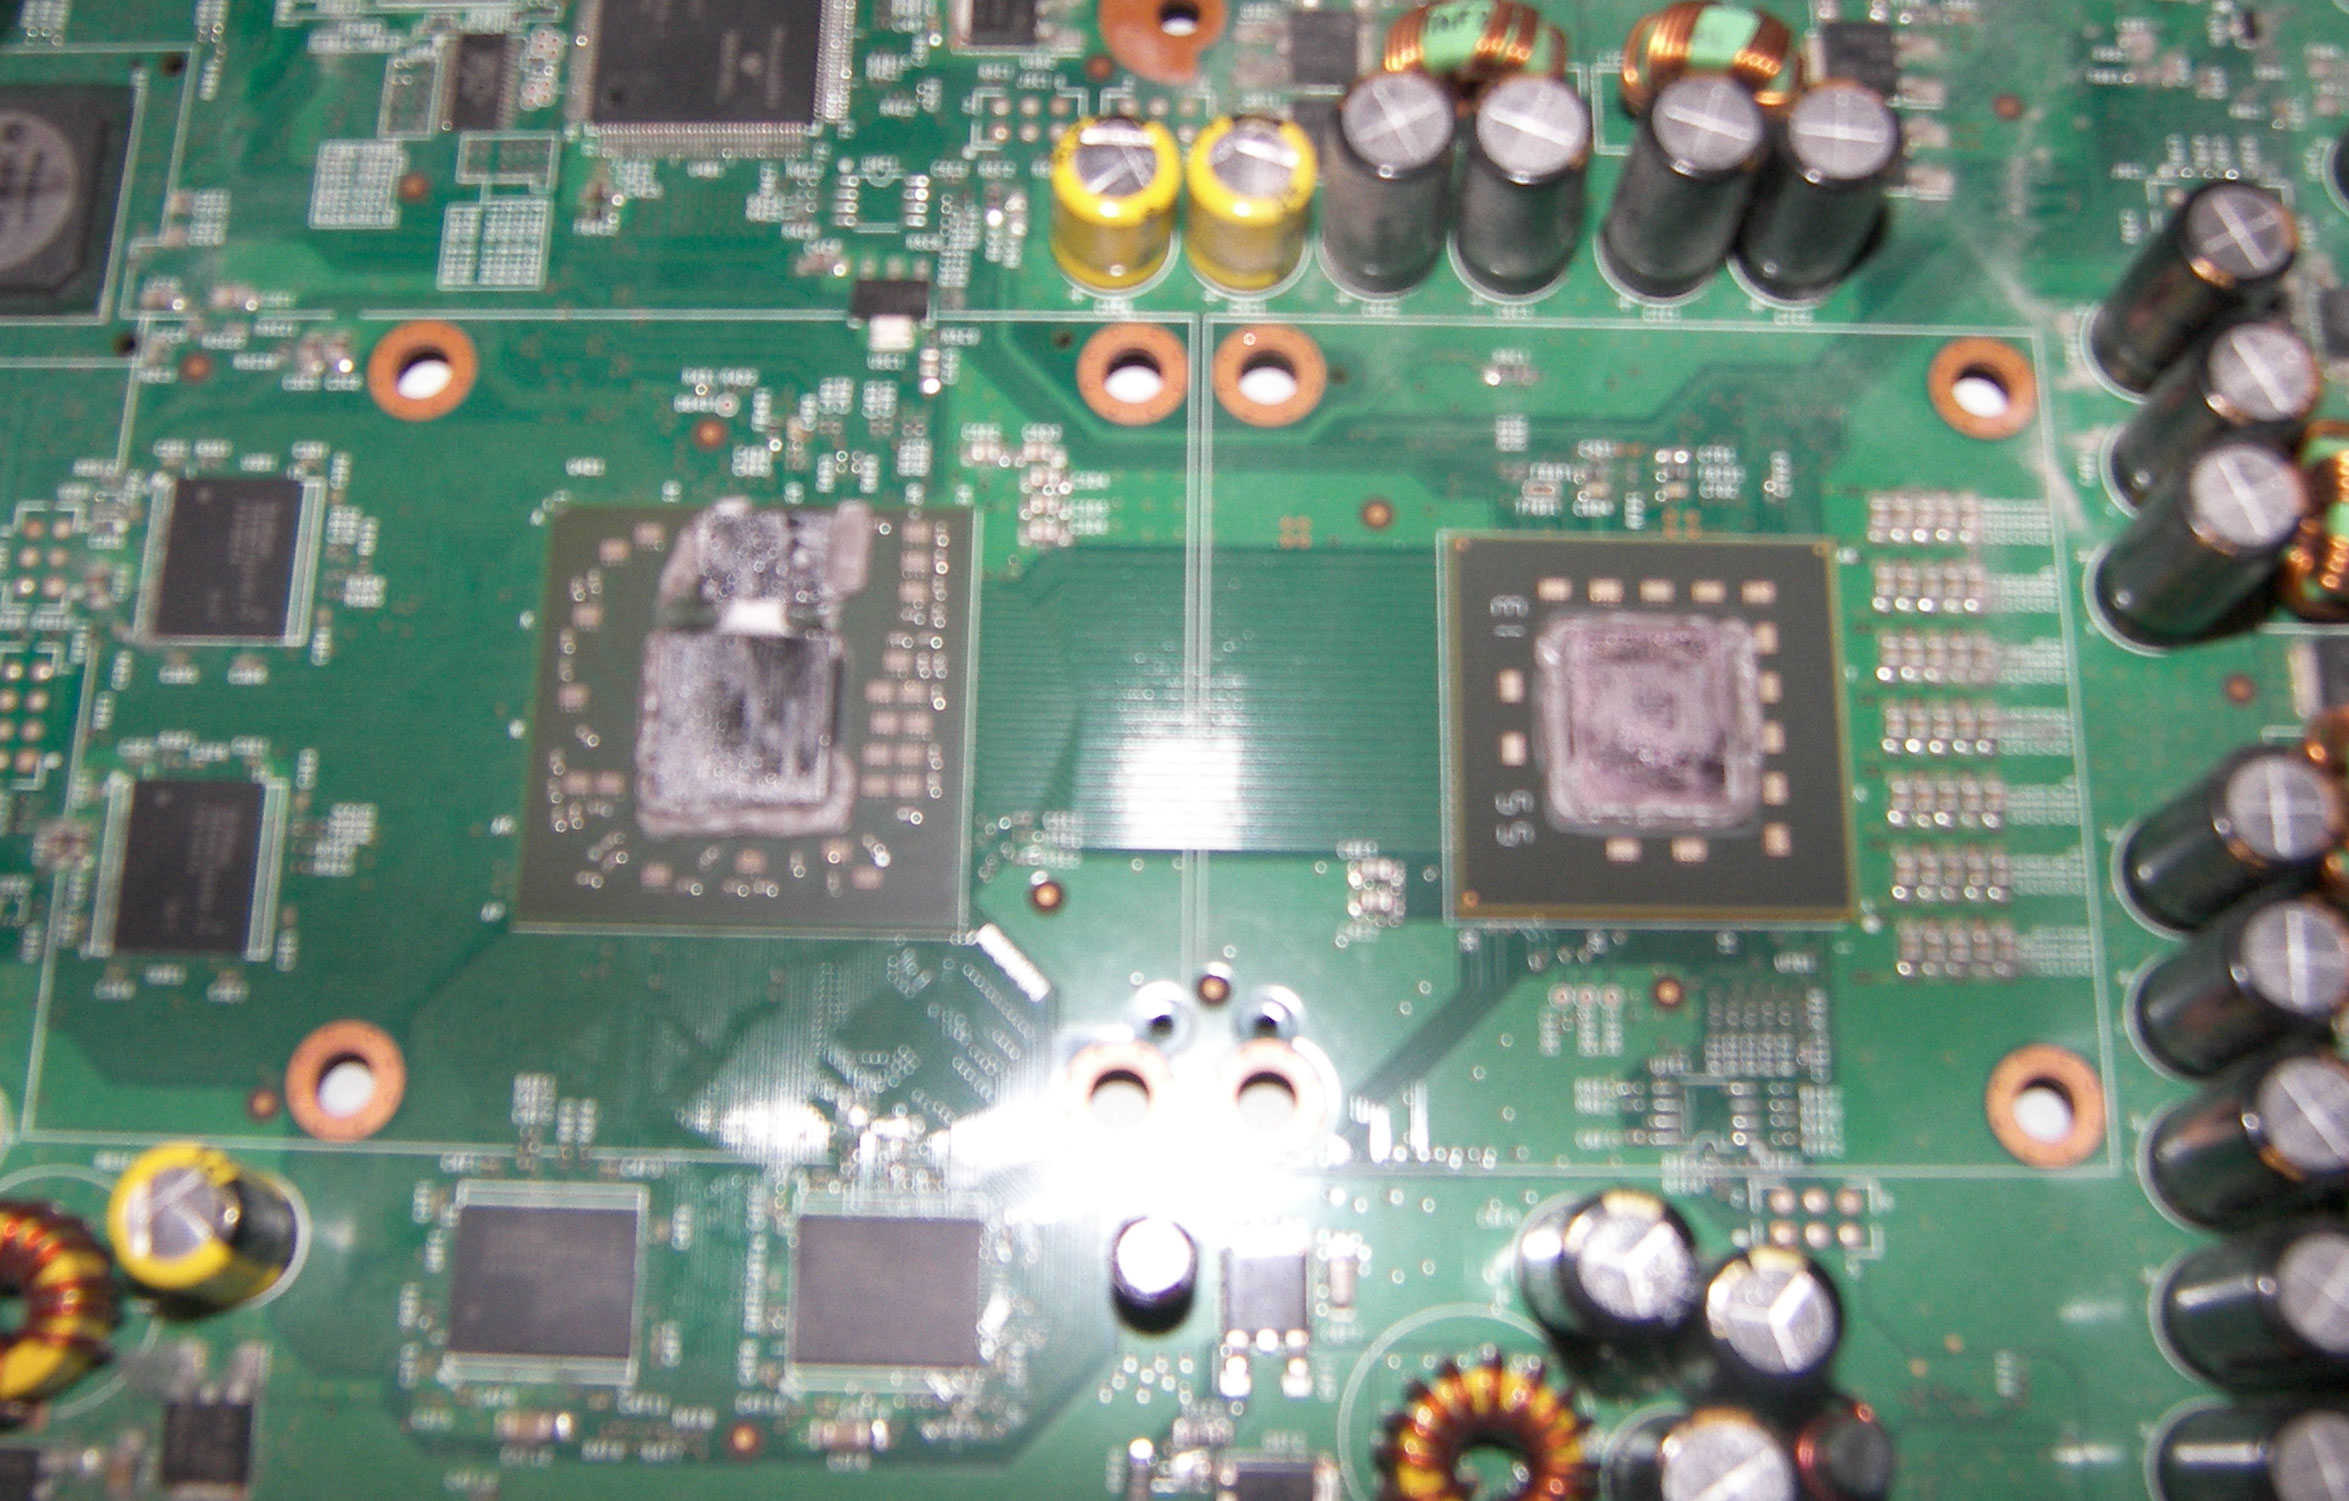 |
| The bottom side of the heatsinks look like this: | 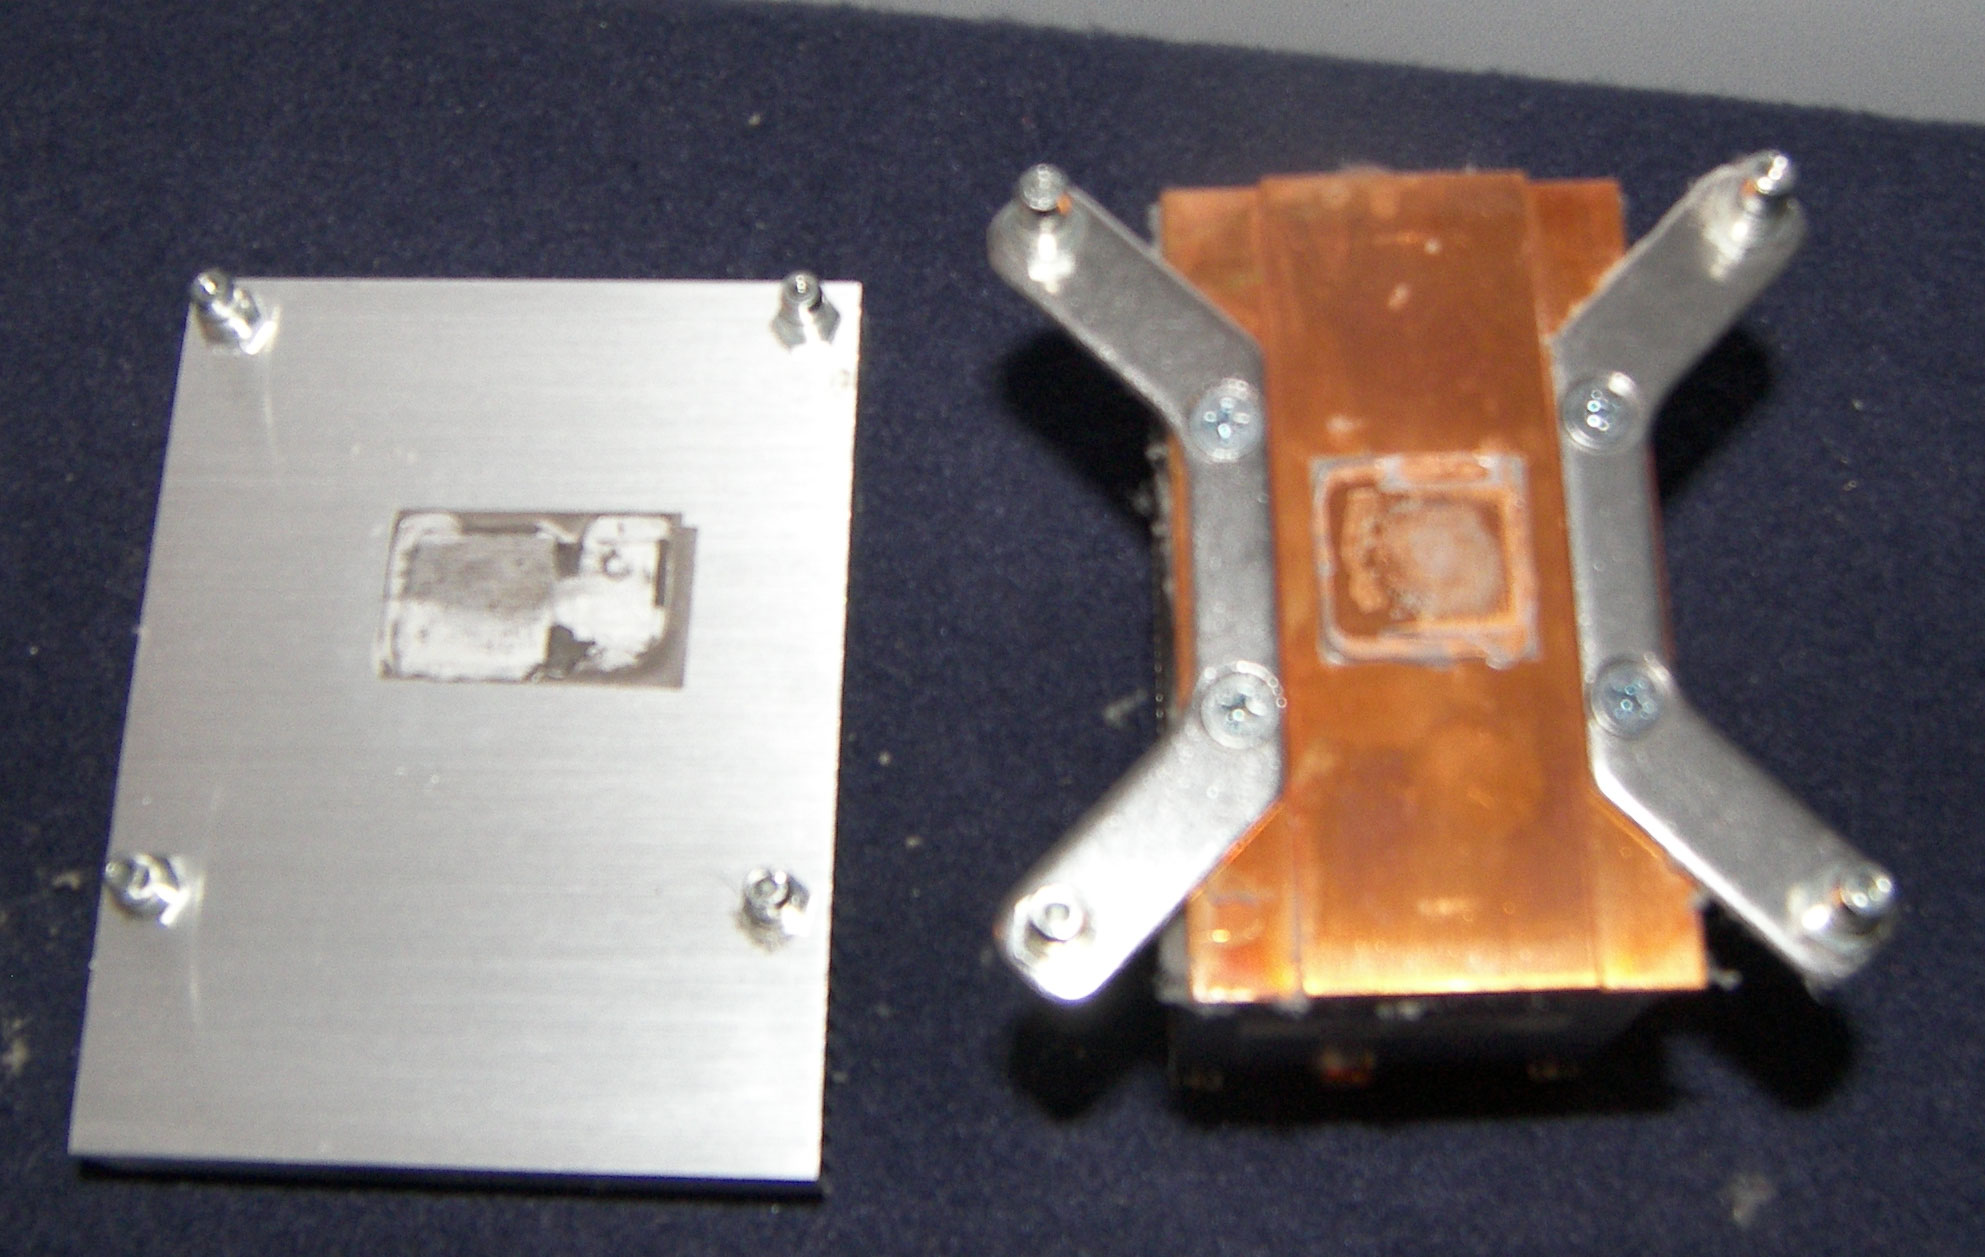 |
| I personally used my 1/4" (not sure what this bit is called) with my handy skil ratchet and quickly took all 8 pegs off the bottom of the heatsinks. |  |
Once all 8 pegs are removed and the heatsinks are cleaned off they'll look something like this: In the cooling world people use a strategy called "lapping" to smooth the bottom of the heatsink more which will then give you more surface area of the heatsink toughing the processor/GPU to improve cooling. I personally prefer wet sanding which is just sand paper and water but really isn't required for this repair. |
 |
| this goo just doesn't want to come off! the key is just clearing all you can from the TOP of the processor/GPU. The stuff on the sides really doens't matter. | 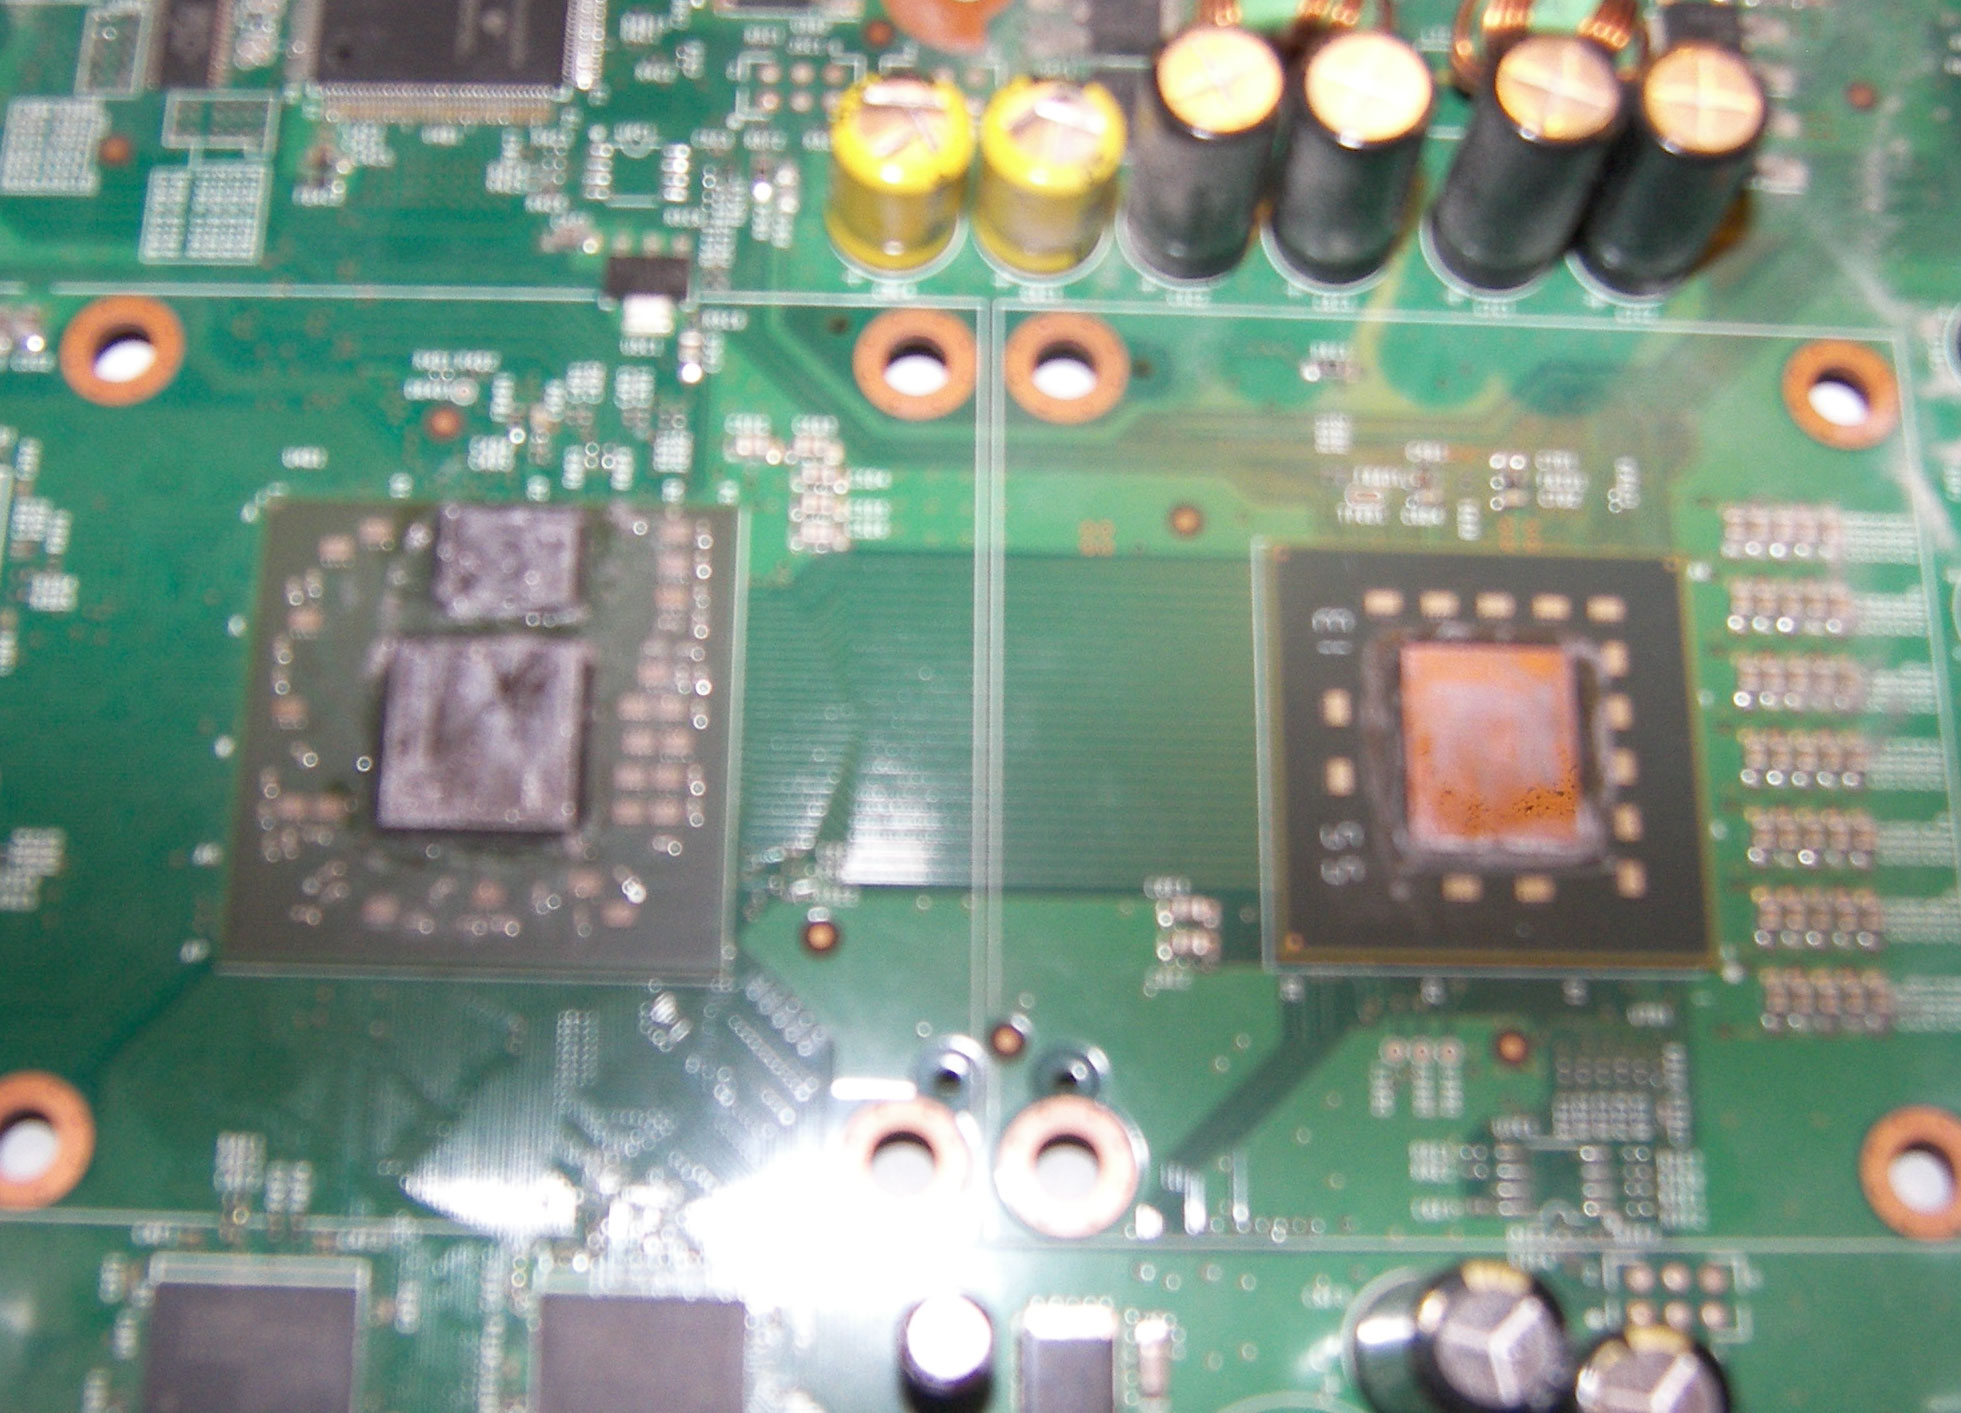 |
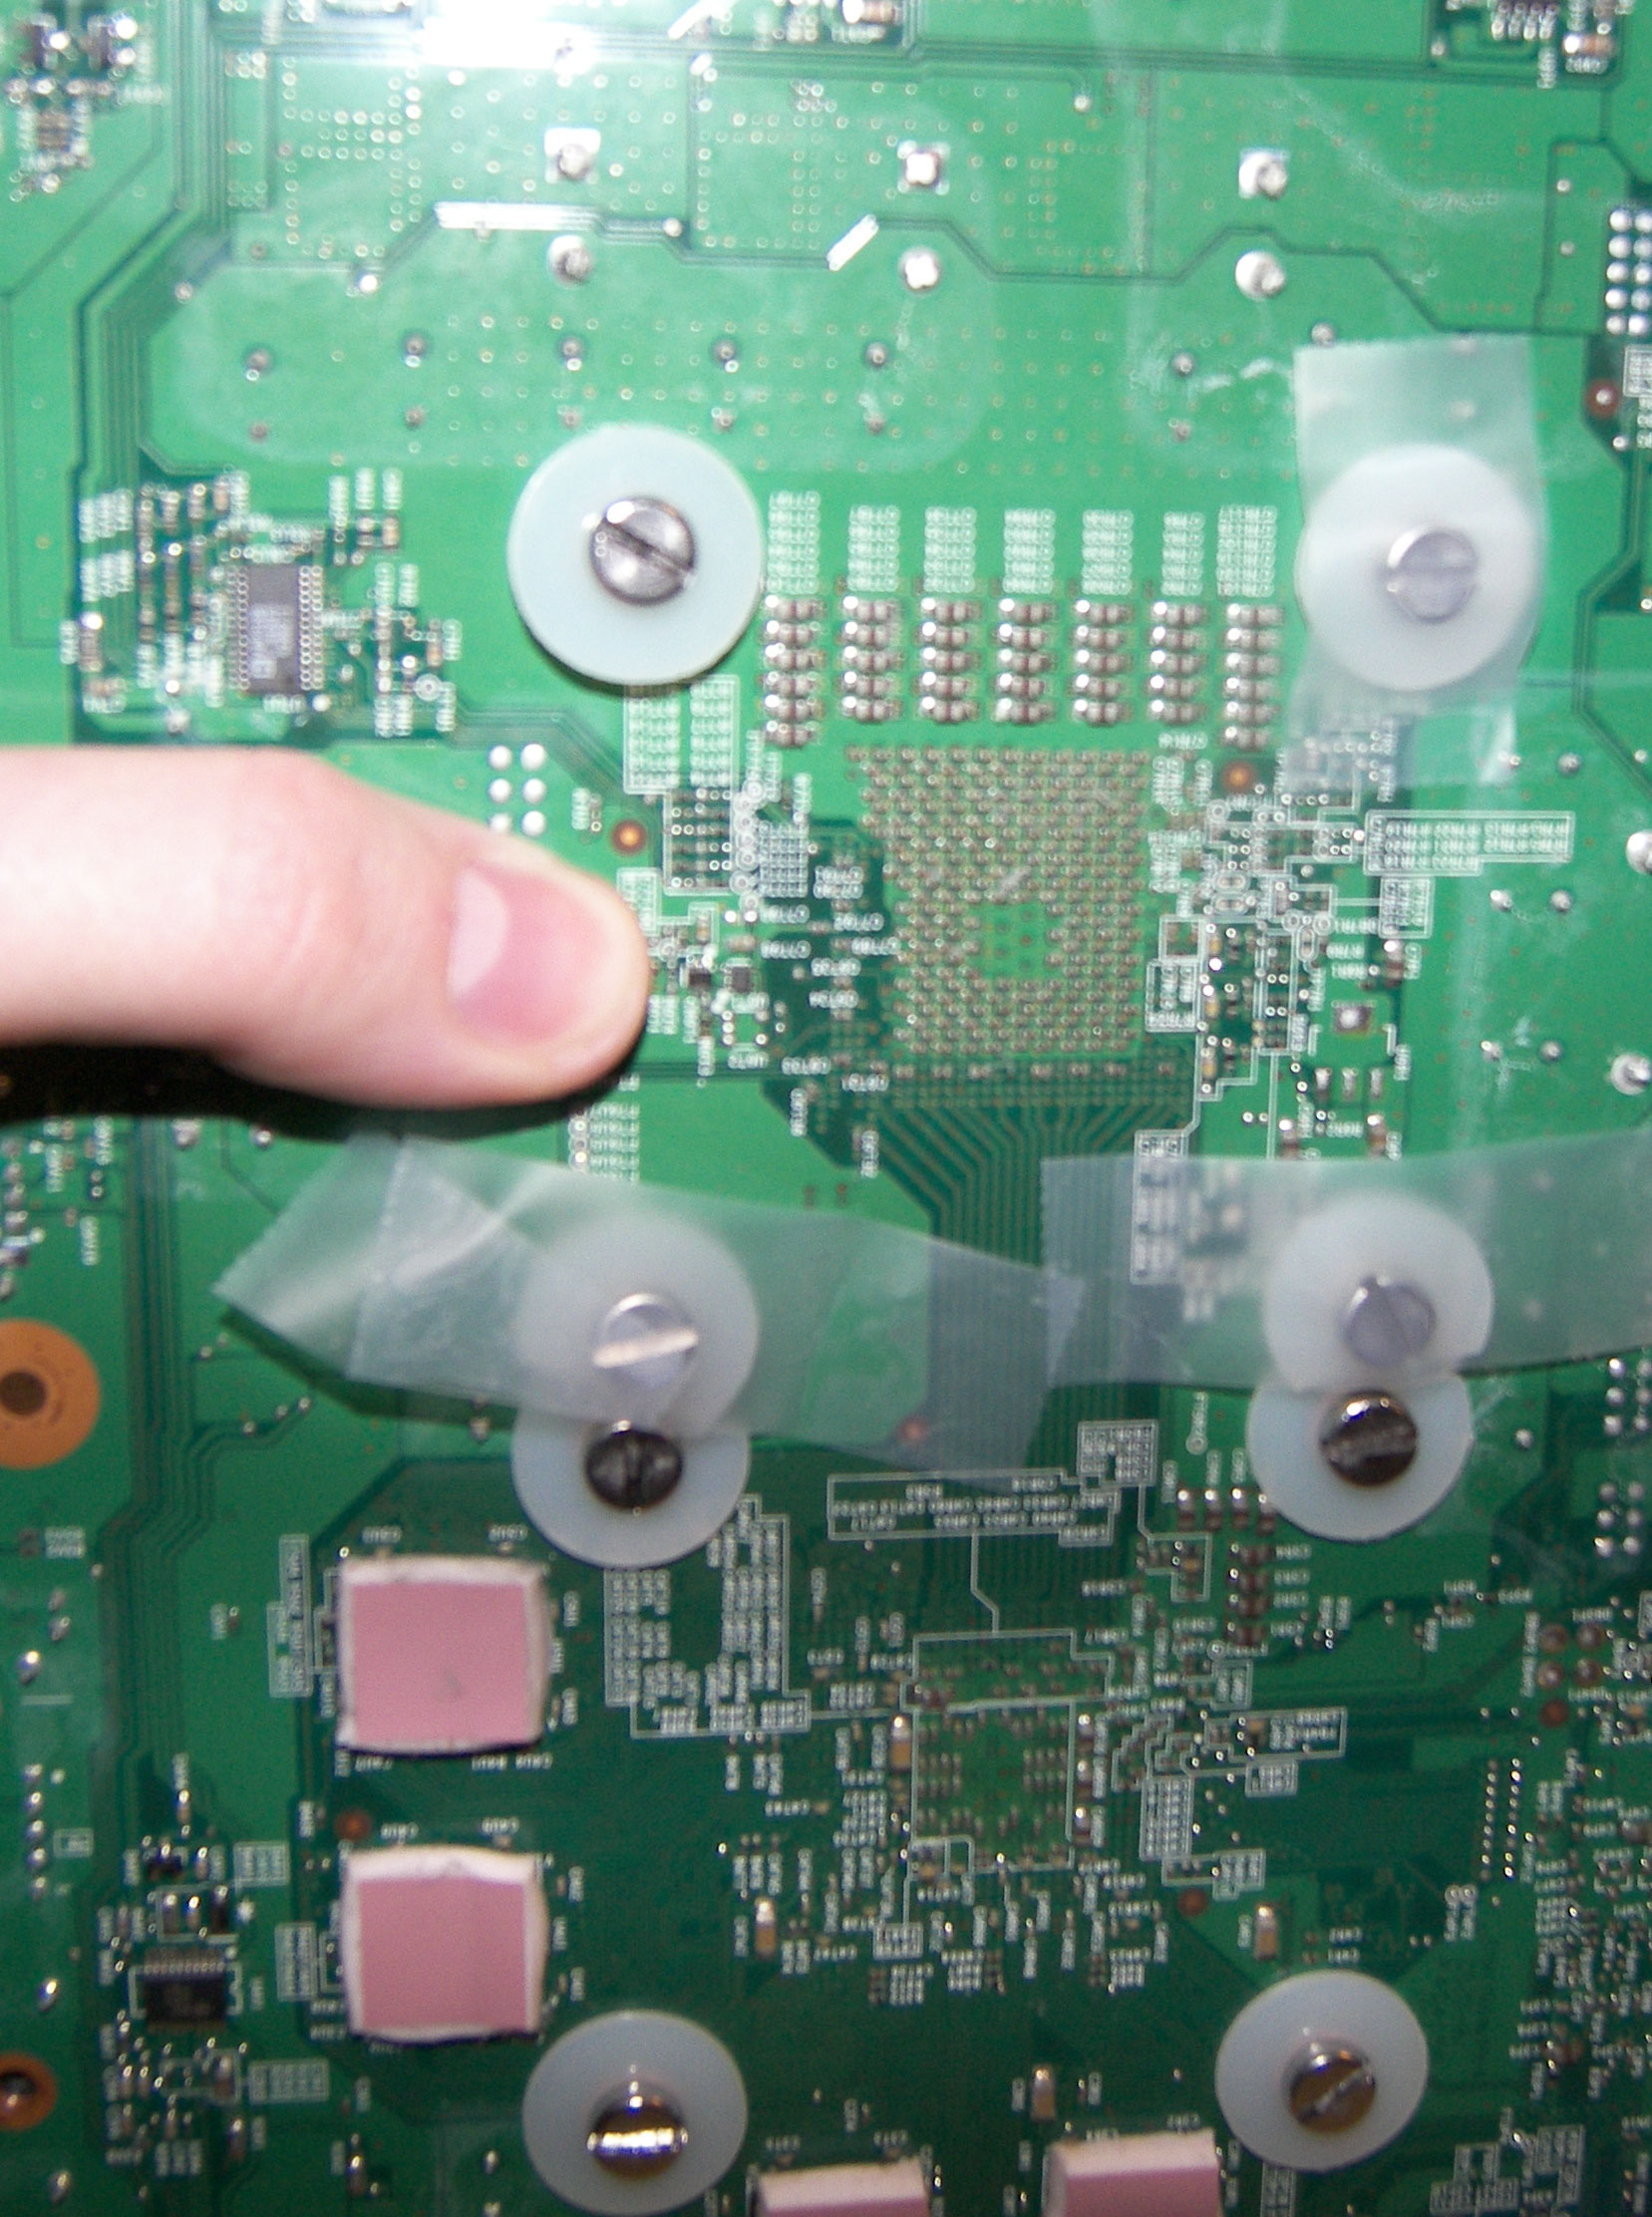
I personally use extra wide washers because I like having the extra surface area to spread the tension out more when I really tighten the screws or bolts down. This requires me to trim a little bit off of the sides of some of the washers before I put them on. This to me is a trade I'm willing to take. the 4 in the middle have to be trimmed on 1 side while the 4 outside ones are good at full size. From the bottom side of your motherboard put 1 washer and 1 screw in each of the 8 holes. |
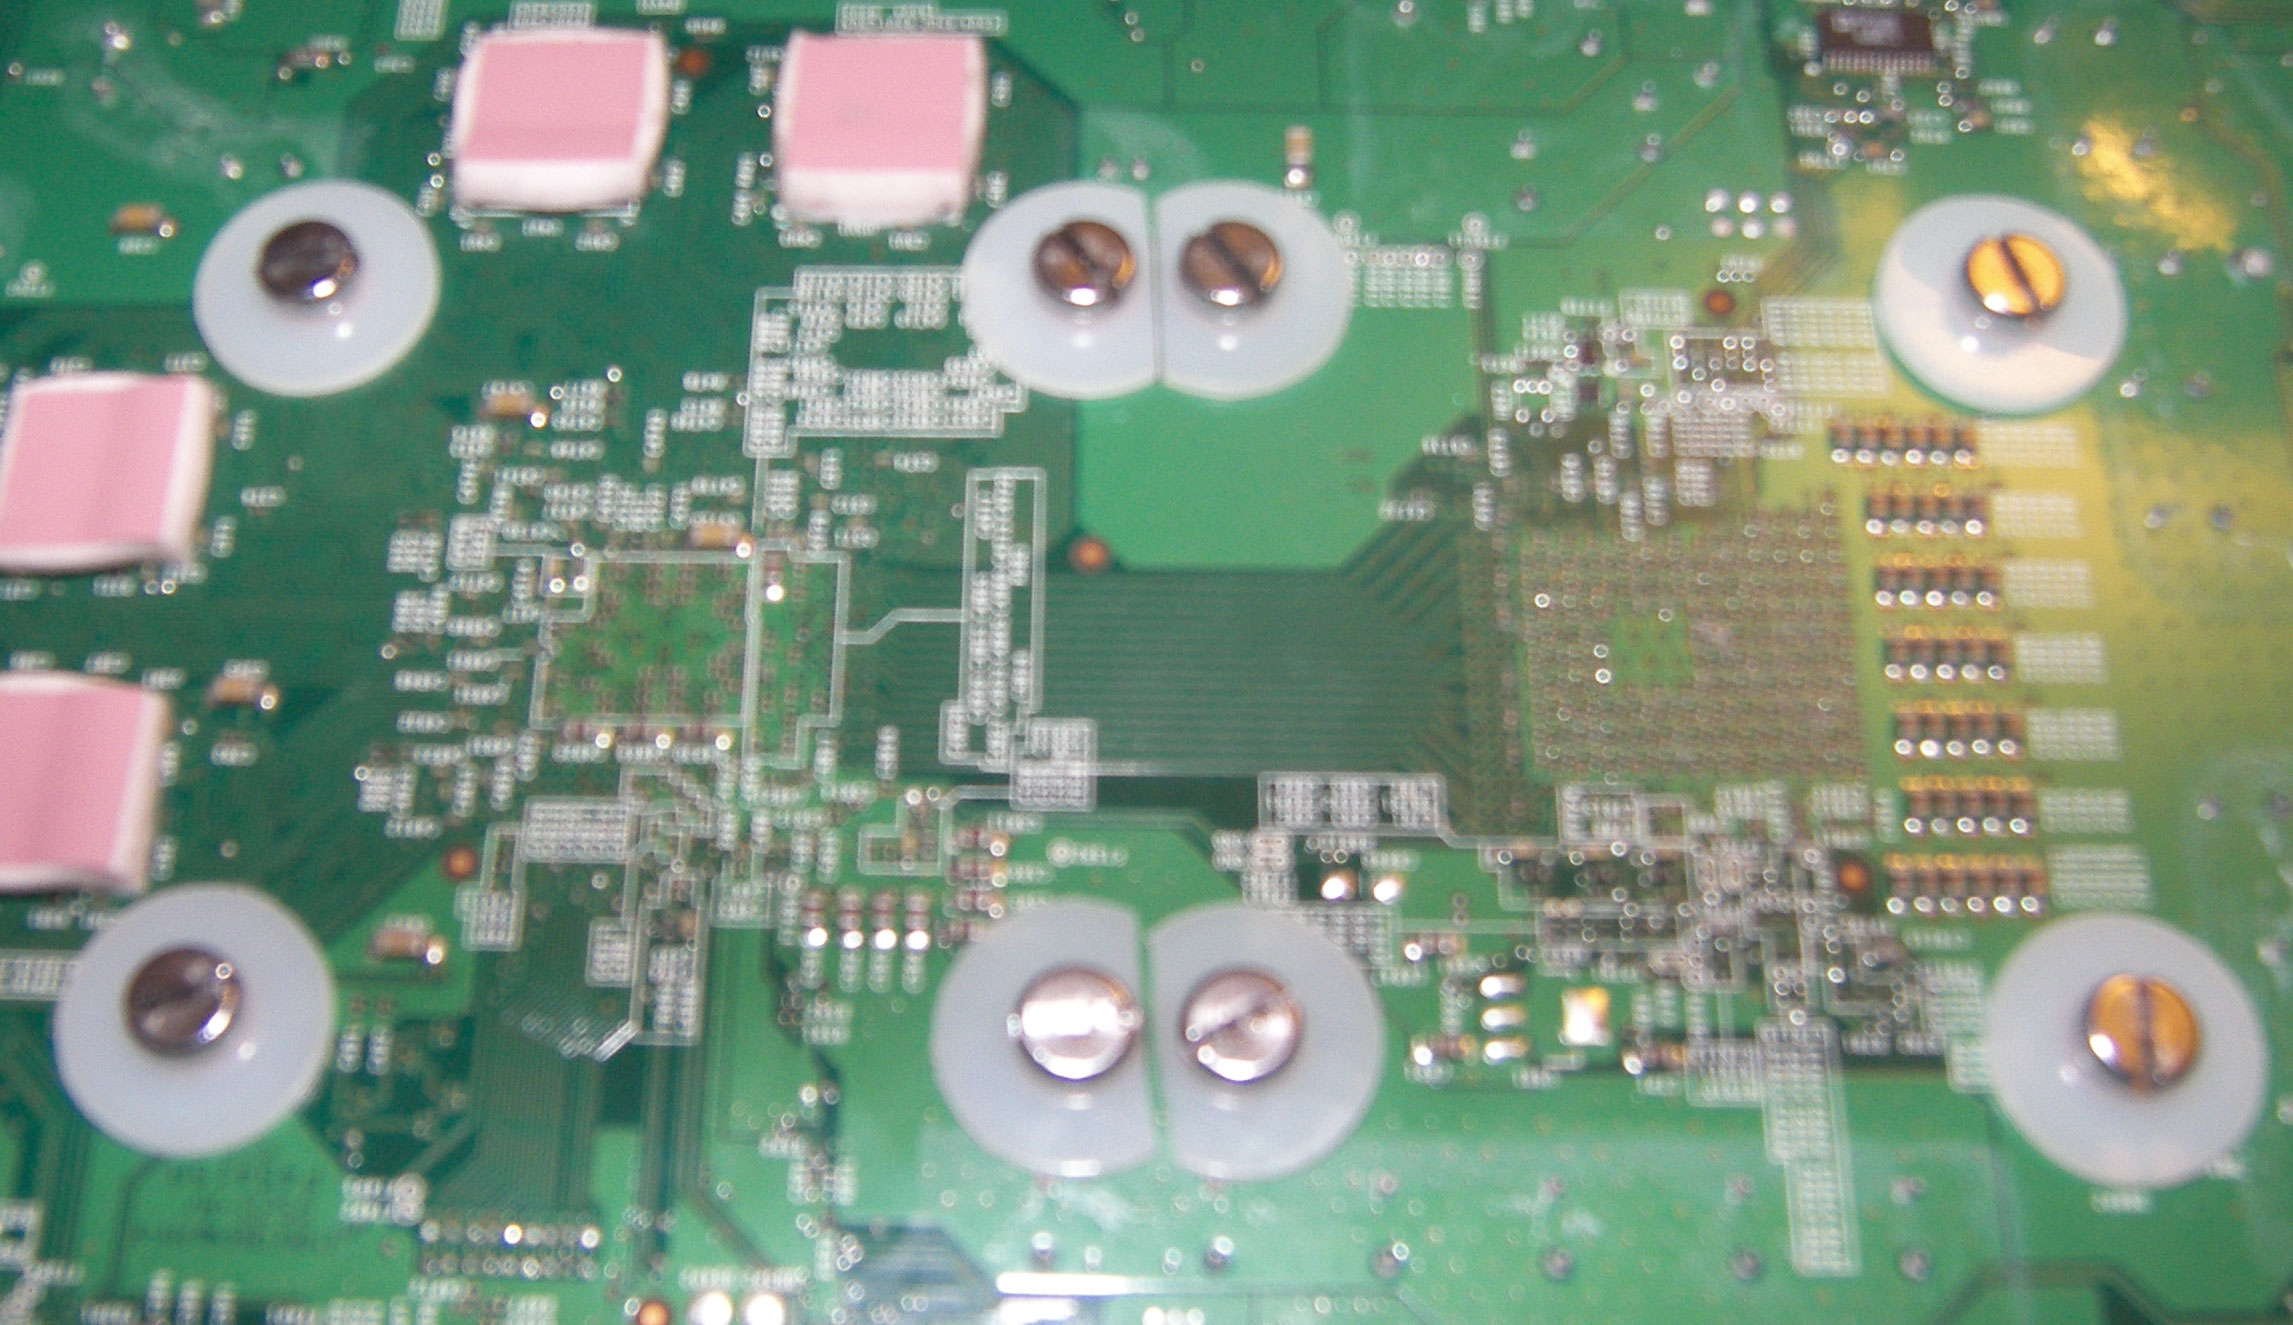 |
I then tape them down so I can flip the motherboard over and maneuver easily without having to hold onto screws. |
 |
I then put the washers on the top side. the 2 washers on the bottom middle have to be trim on 2 sides due to those capacitors while 5 have to be trimmed on 1 side and 1 is good at normal size. |
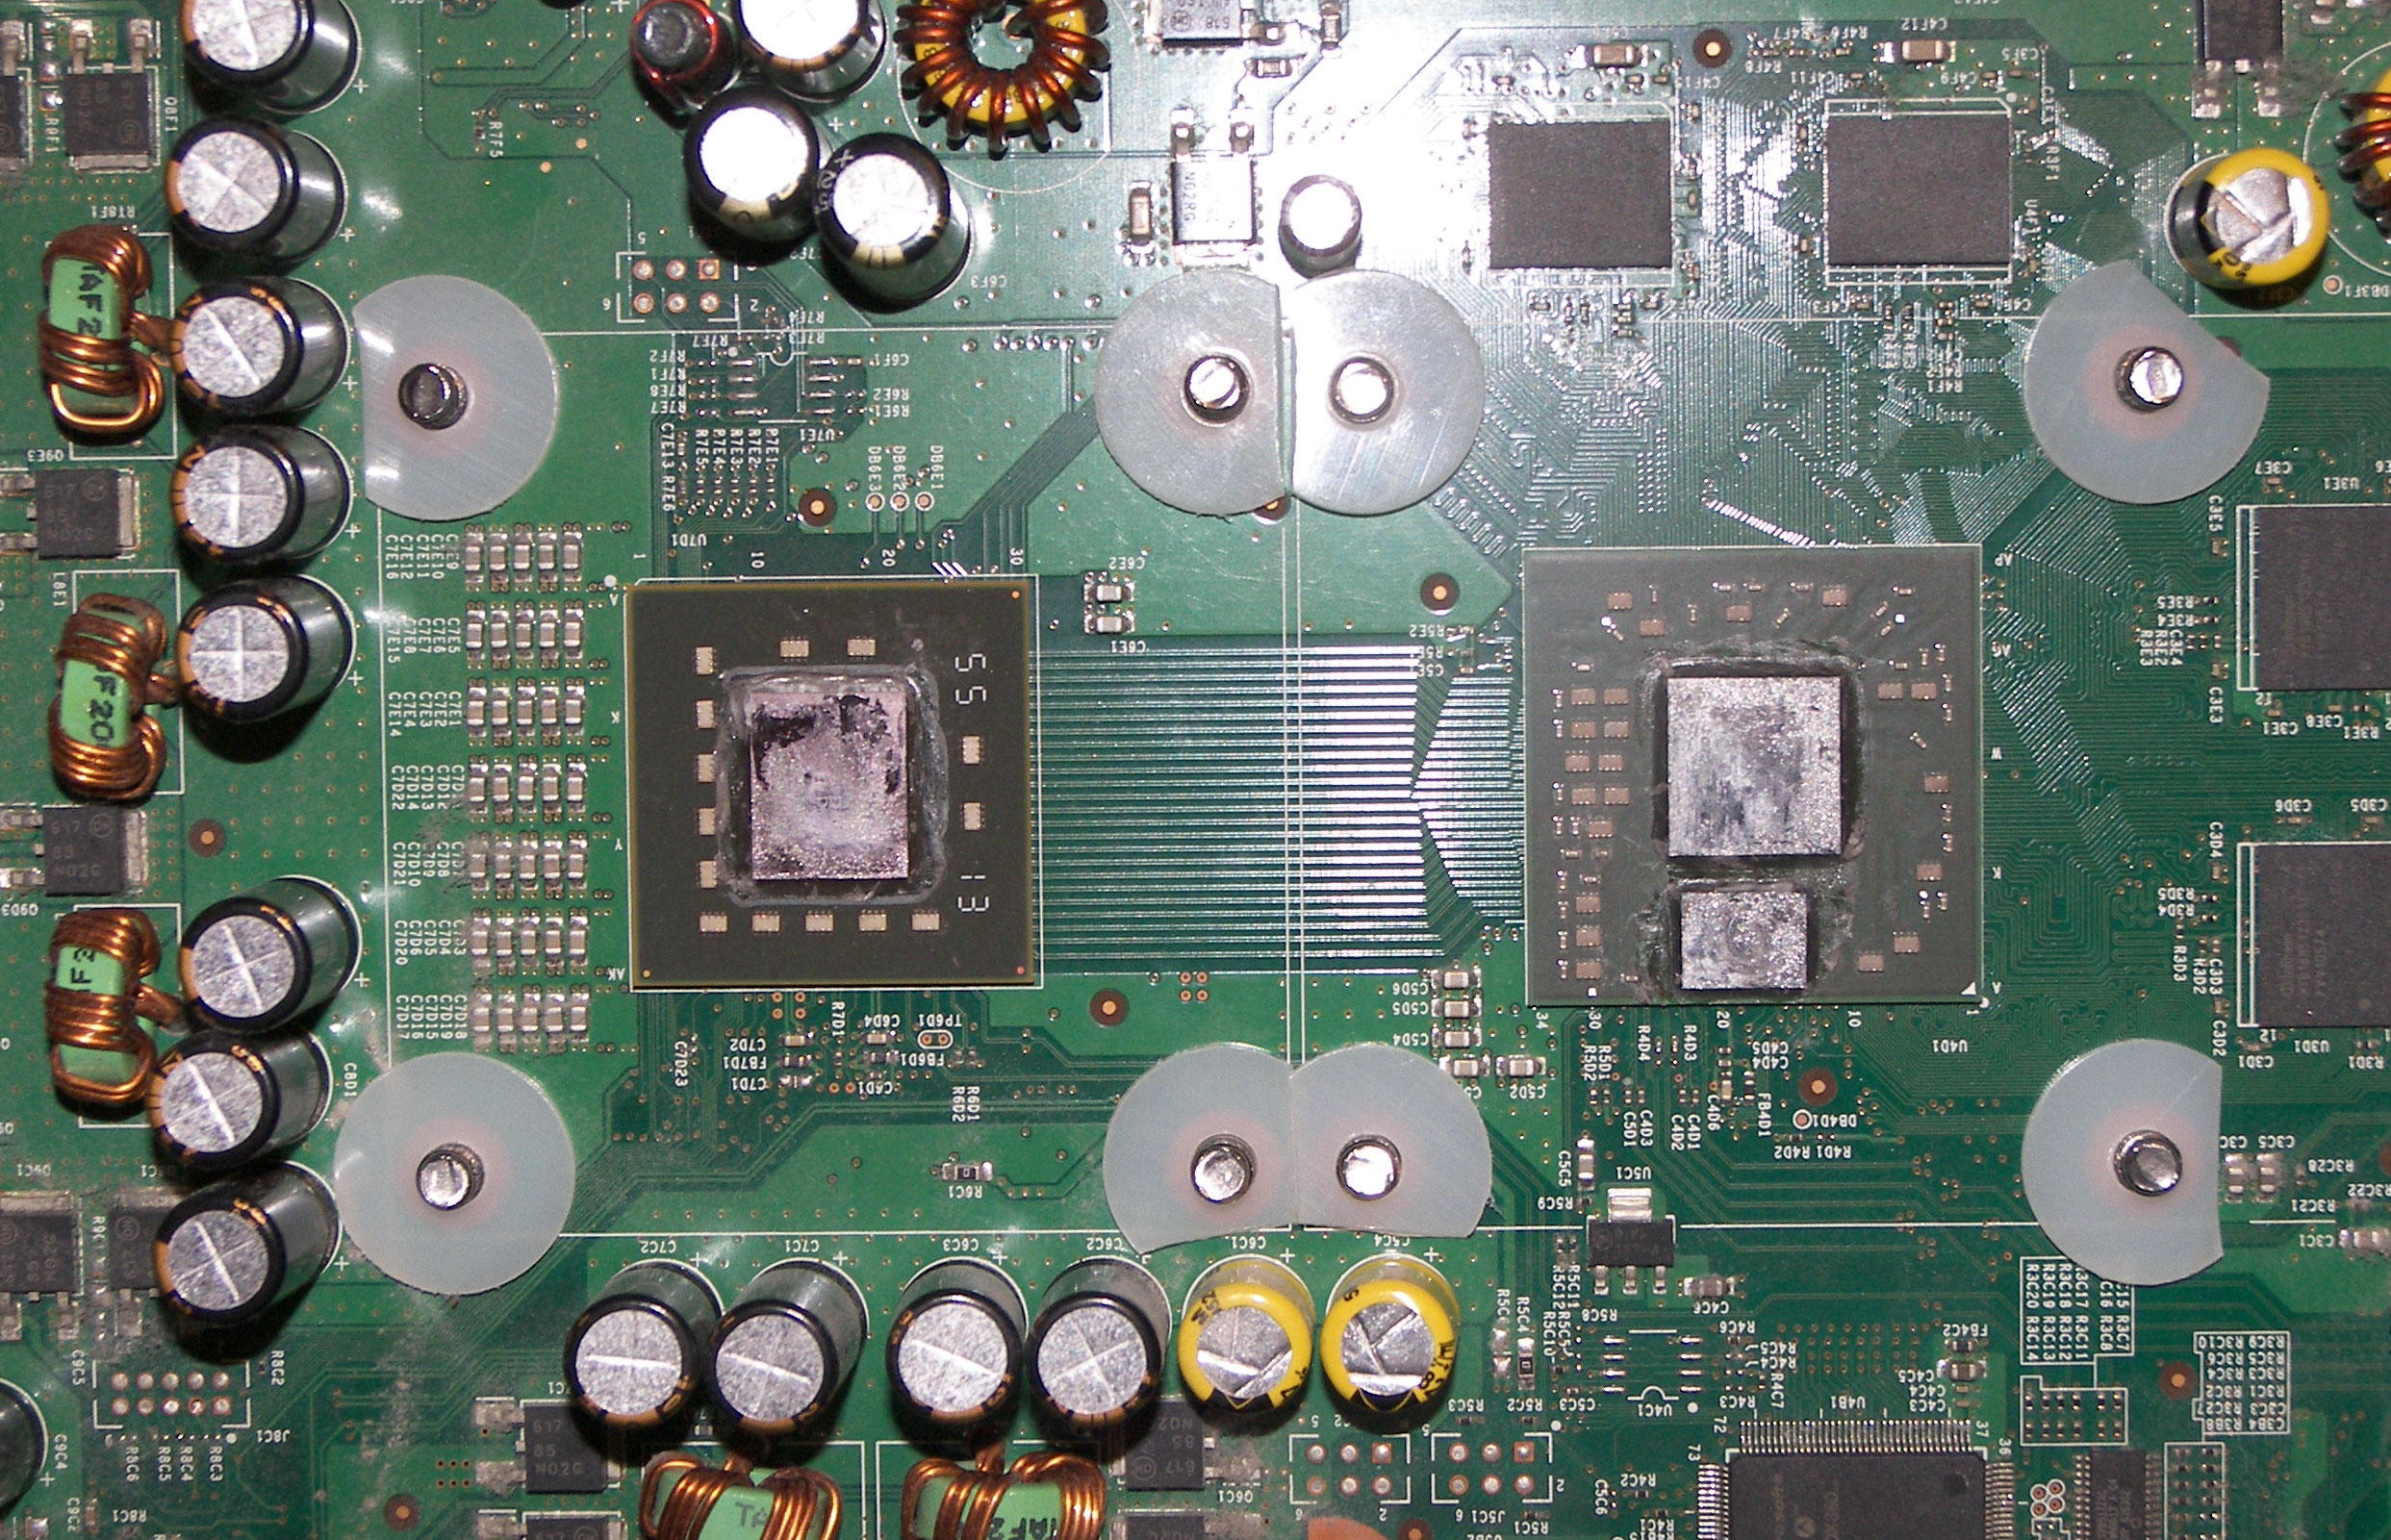 |
| the last thing I do before putting the heatsink on is apply a VERY thin layer of thermal paste. In this example I used arctic silver but at the price simply isn't worth it for most people! I had run out of normal paste and arctic silver was the only thing a store near my carried. |  |
Now go ahead and put ONE heatsink on at a time and slowly bolt it down. While doing this don't tighten it down much at all. Start with the top left one then the bottom right one then the bottom left one then the top right. You should go around in a pattern like that slowly tightening it down a little at a time until you start to feel some tension on the screw. Get them all down to that start of tension of going around 3-4 times then you're safe to tighten down as much as you want to! I've put a decent amount of power into this and haven't caused any damage so as long as you tighten it a little at a time across all 4 screws you should be safe. |
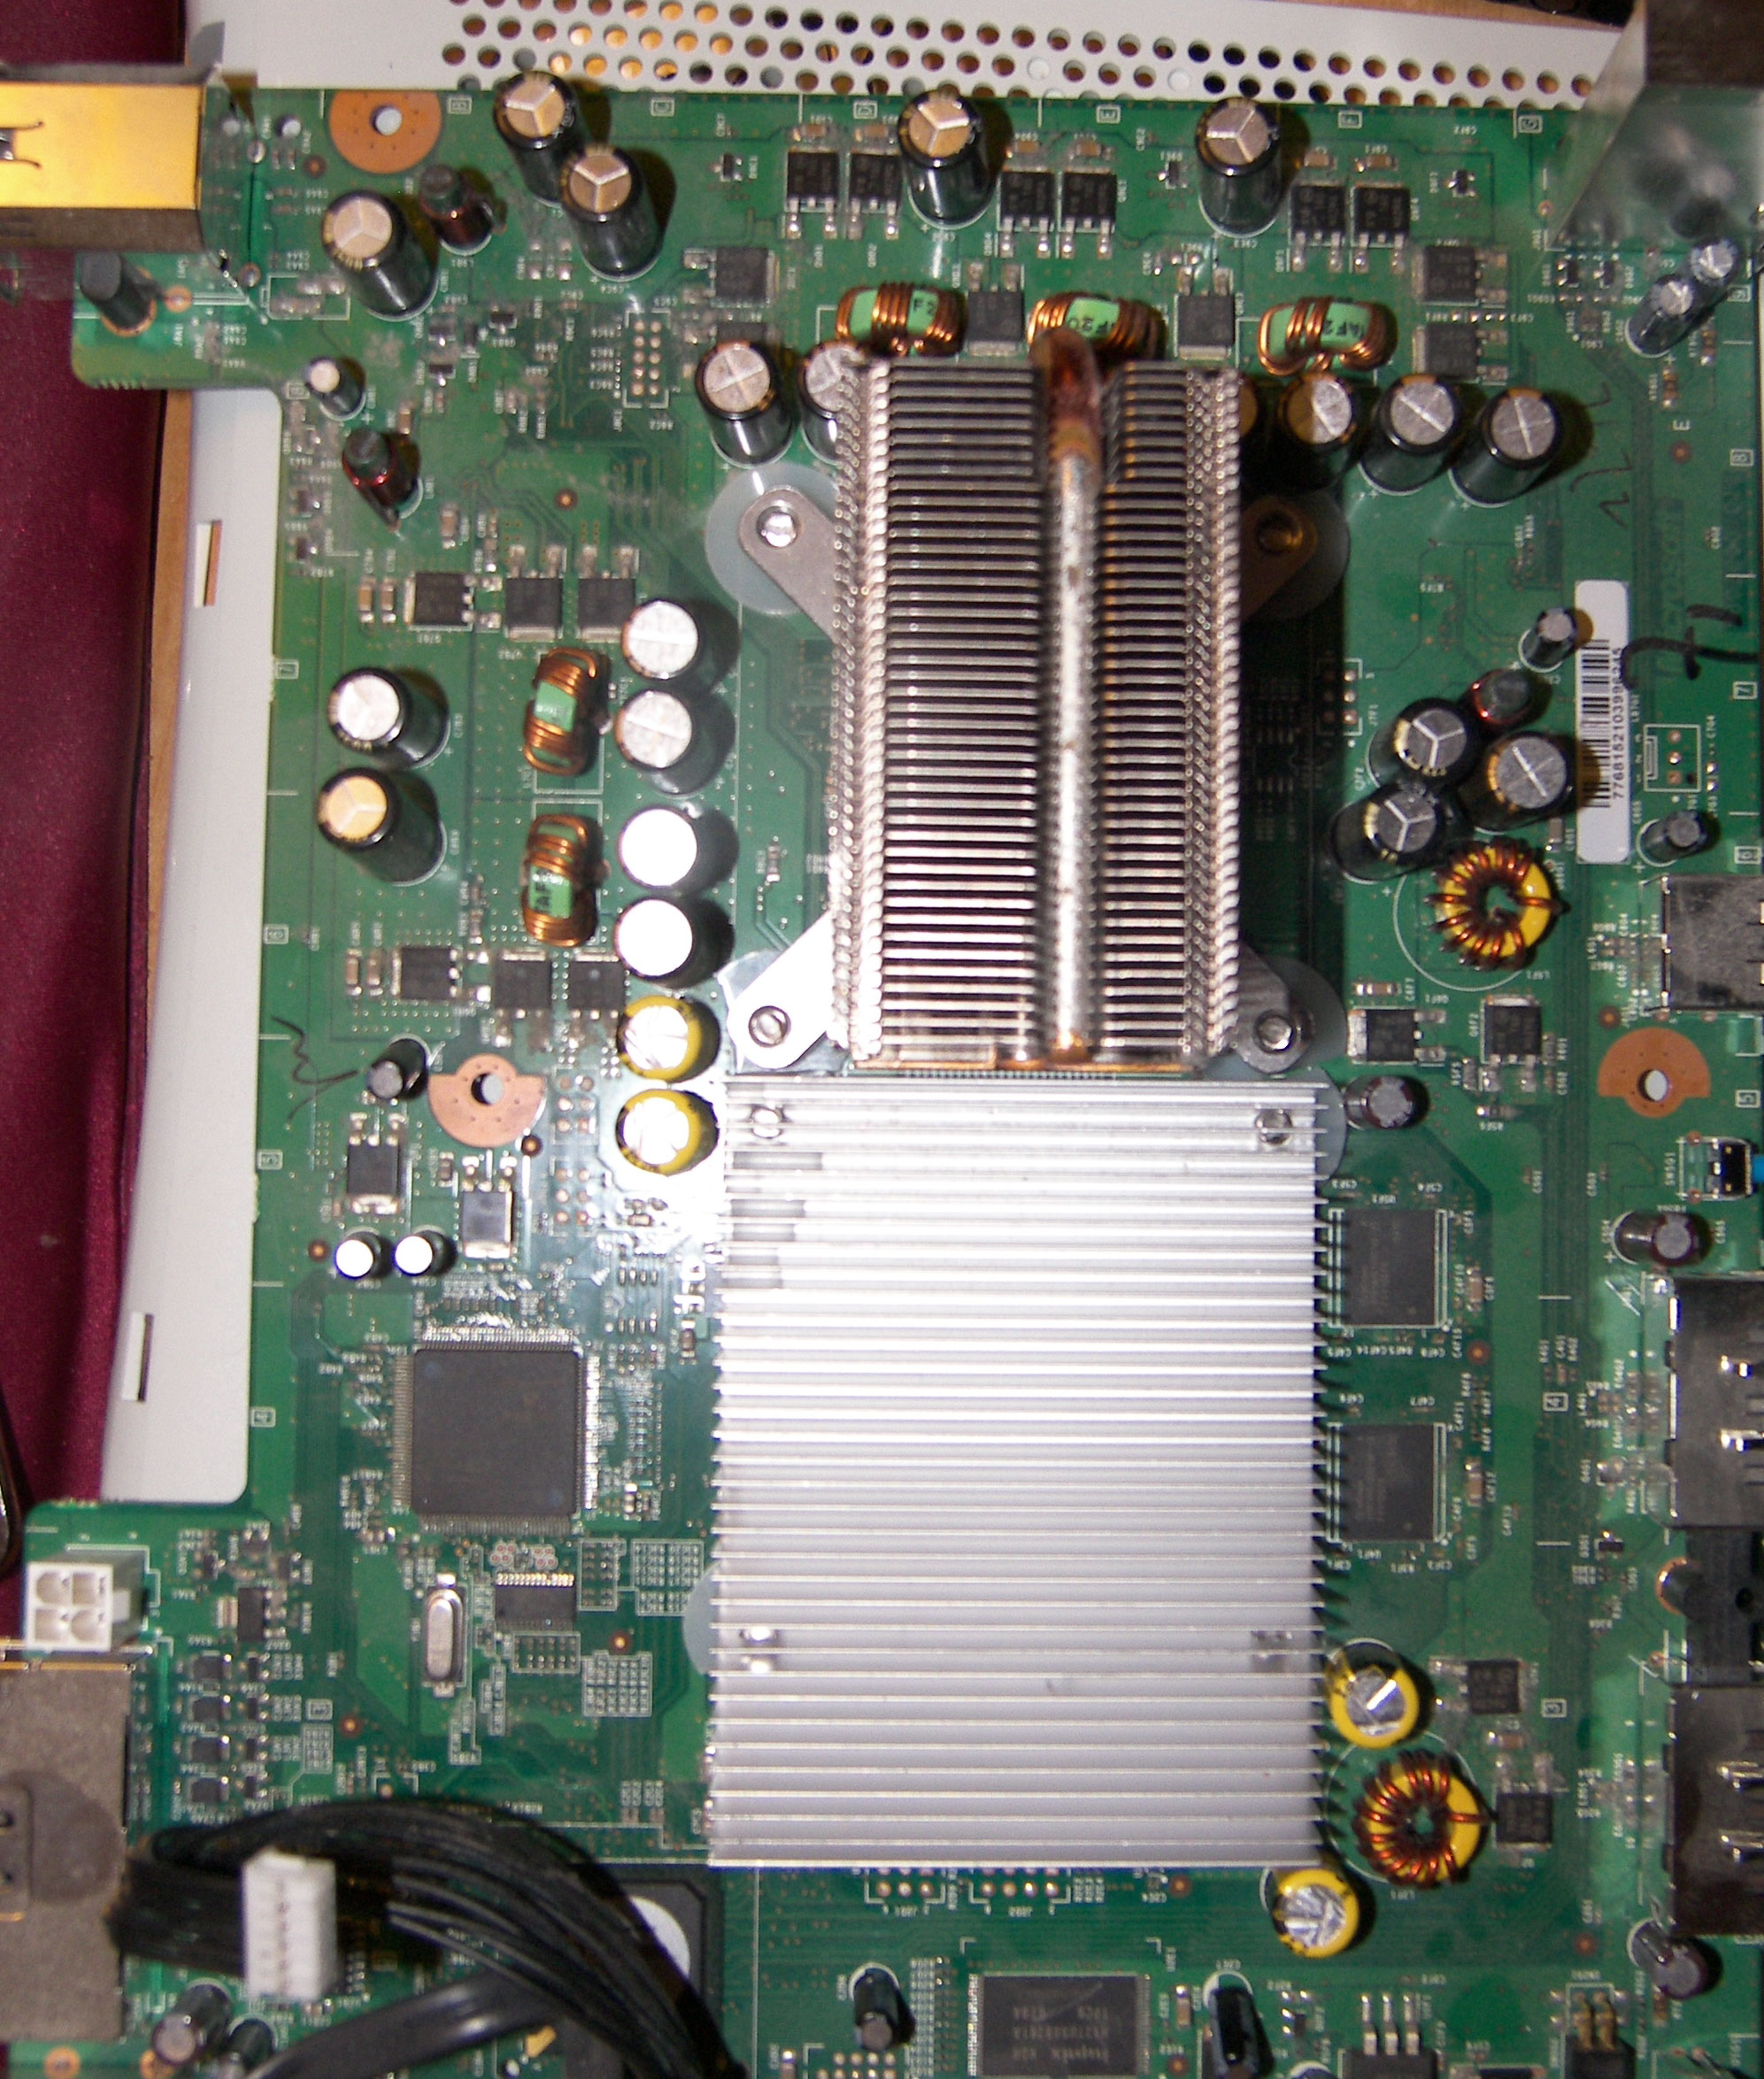  |
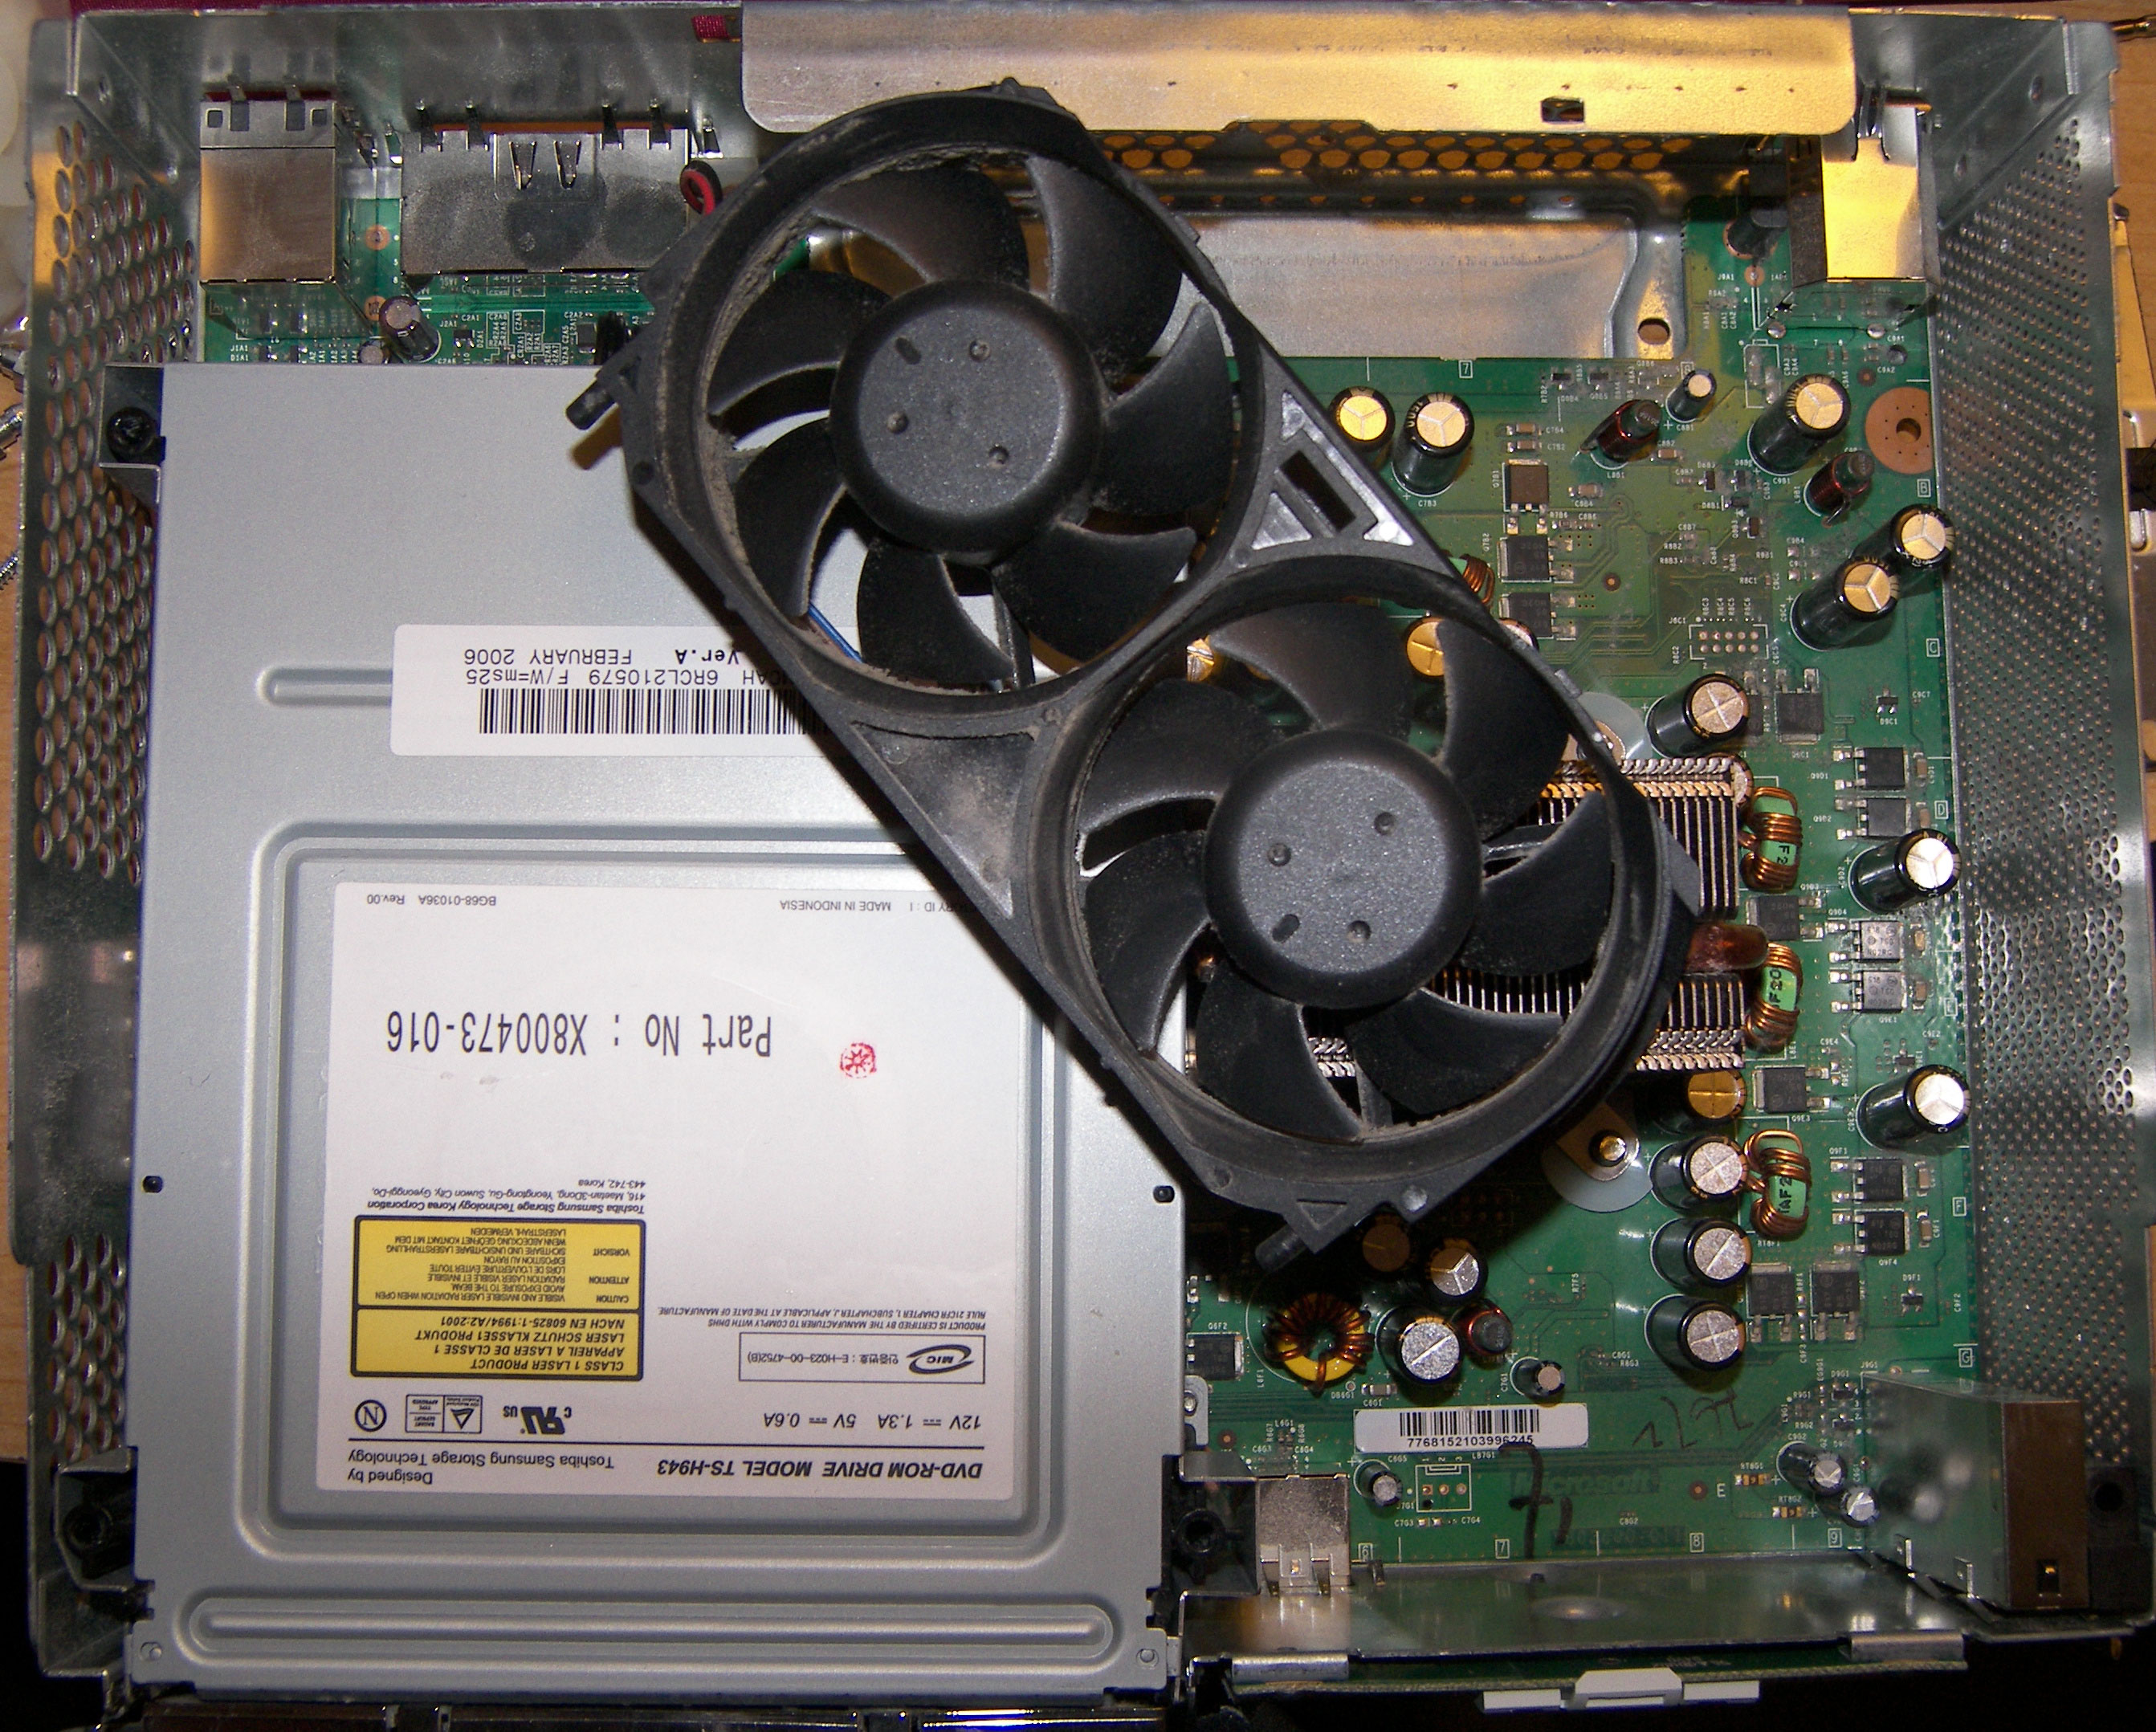
Once you're all tightened down basically just follow these steps in reverse! Here we have a tip that you MUST follow! see the picture on the right? Plug your DVD drive back in and plug the fan in... Set the fan on top with one of the fans over the CPU heatsink like whats pictured and go play some games for a while if your system works at this point (some won't) You have to heat your GPU up for about 10-15 minutes while keeping your CPU cool. Don't leave going longer than 15 minutes or you can cause the 2 rings of death! Now go ahead and put the fan back where it belongs then the fan shroud and the rest of the case cause you're done! Let your system cool down for a little while before you hop right back into playing you newly fixed xbox 360. |
 |