Every single picture has a link to a larger version of that image available when you click on it.
Xbox 360's are easily my favorite console on the market today. They are incredibly easy to modify and for a repair guy like me its actually NICE that so many of them break down :) All that you need to get into these consoles is a pair of T8 and T10 screwdrivers or bits and a small screw driver or some other small piece to use for prying. There are custom made tools out there to help make opening an xbox a little bit easier but I prefer to keep it simple.
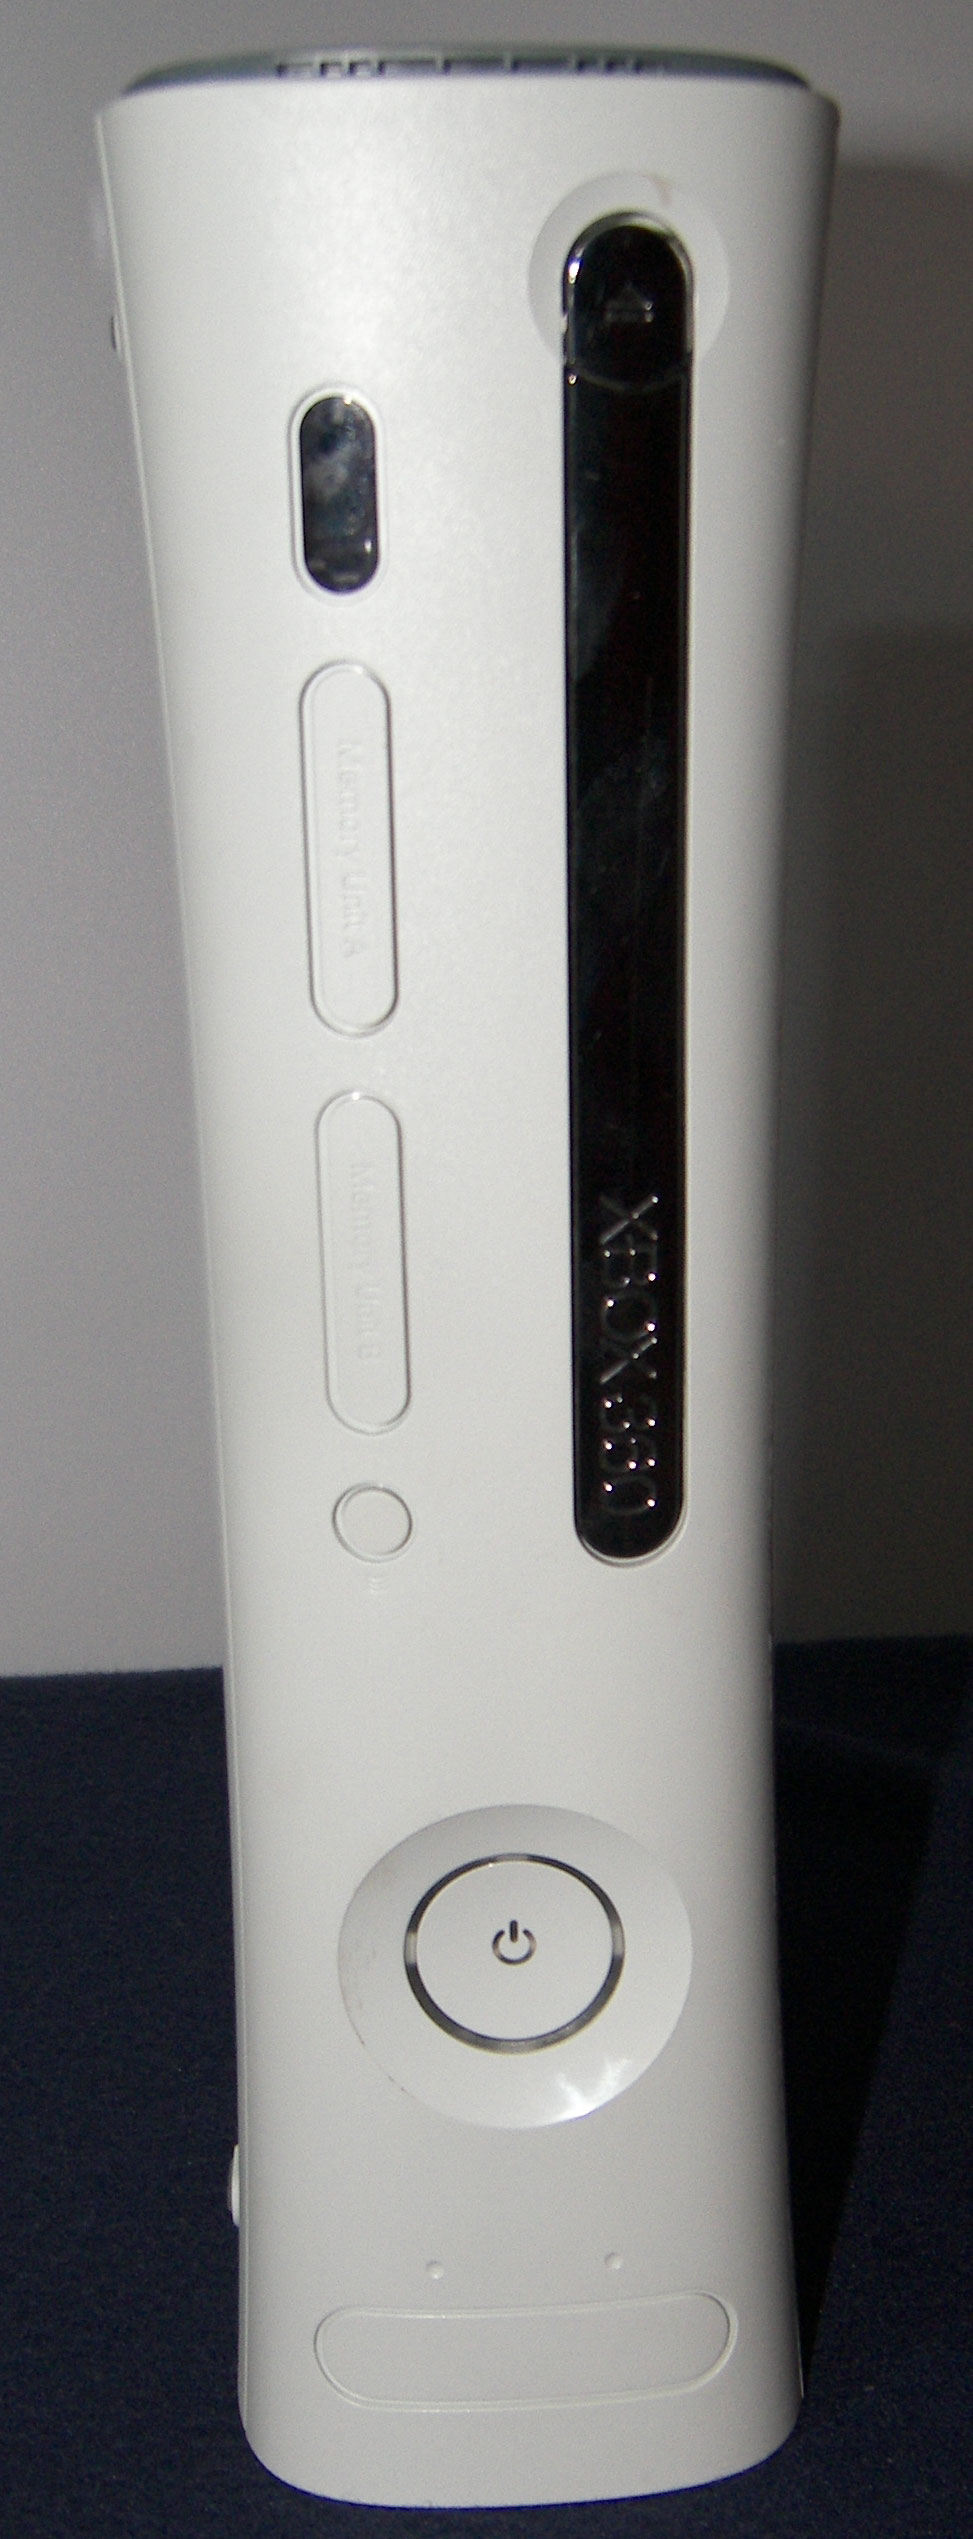
Start out by removing everything attatched to you console including your hard drive.
The front panel is a good place to start taking things apart. Insert a finger or a thumb inside the USB door and just pull.
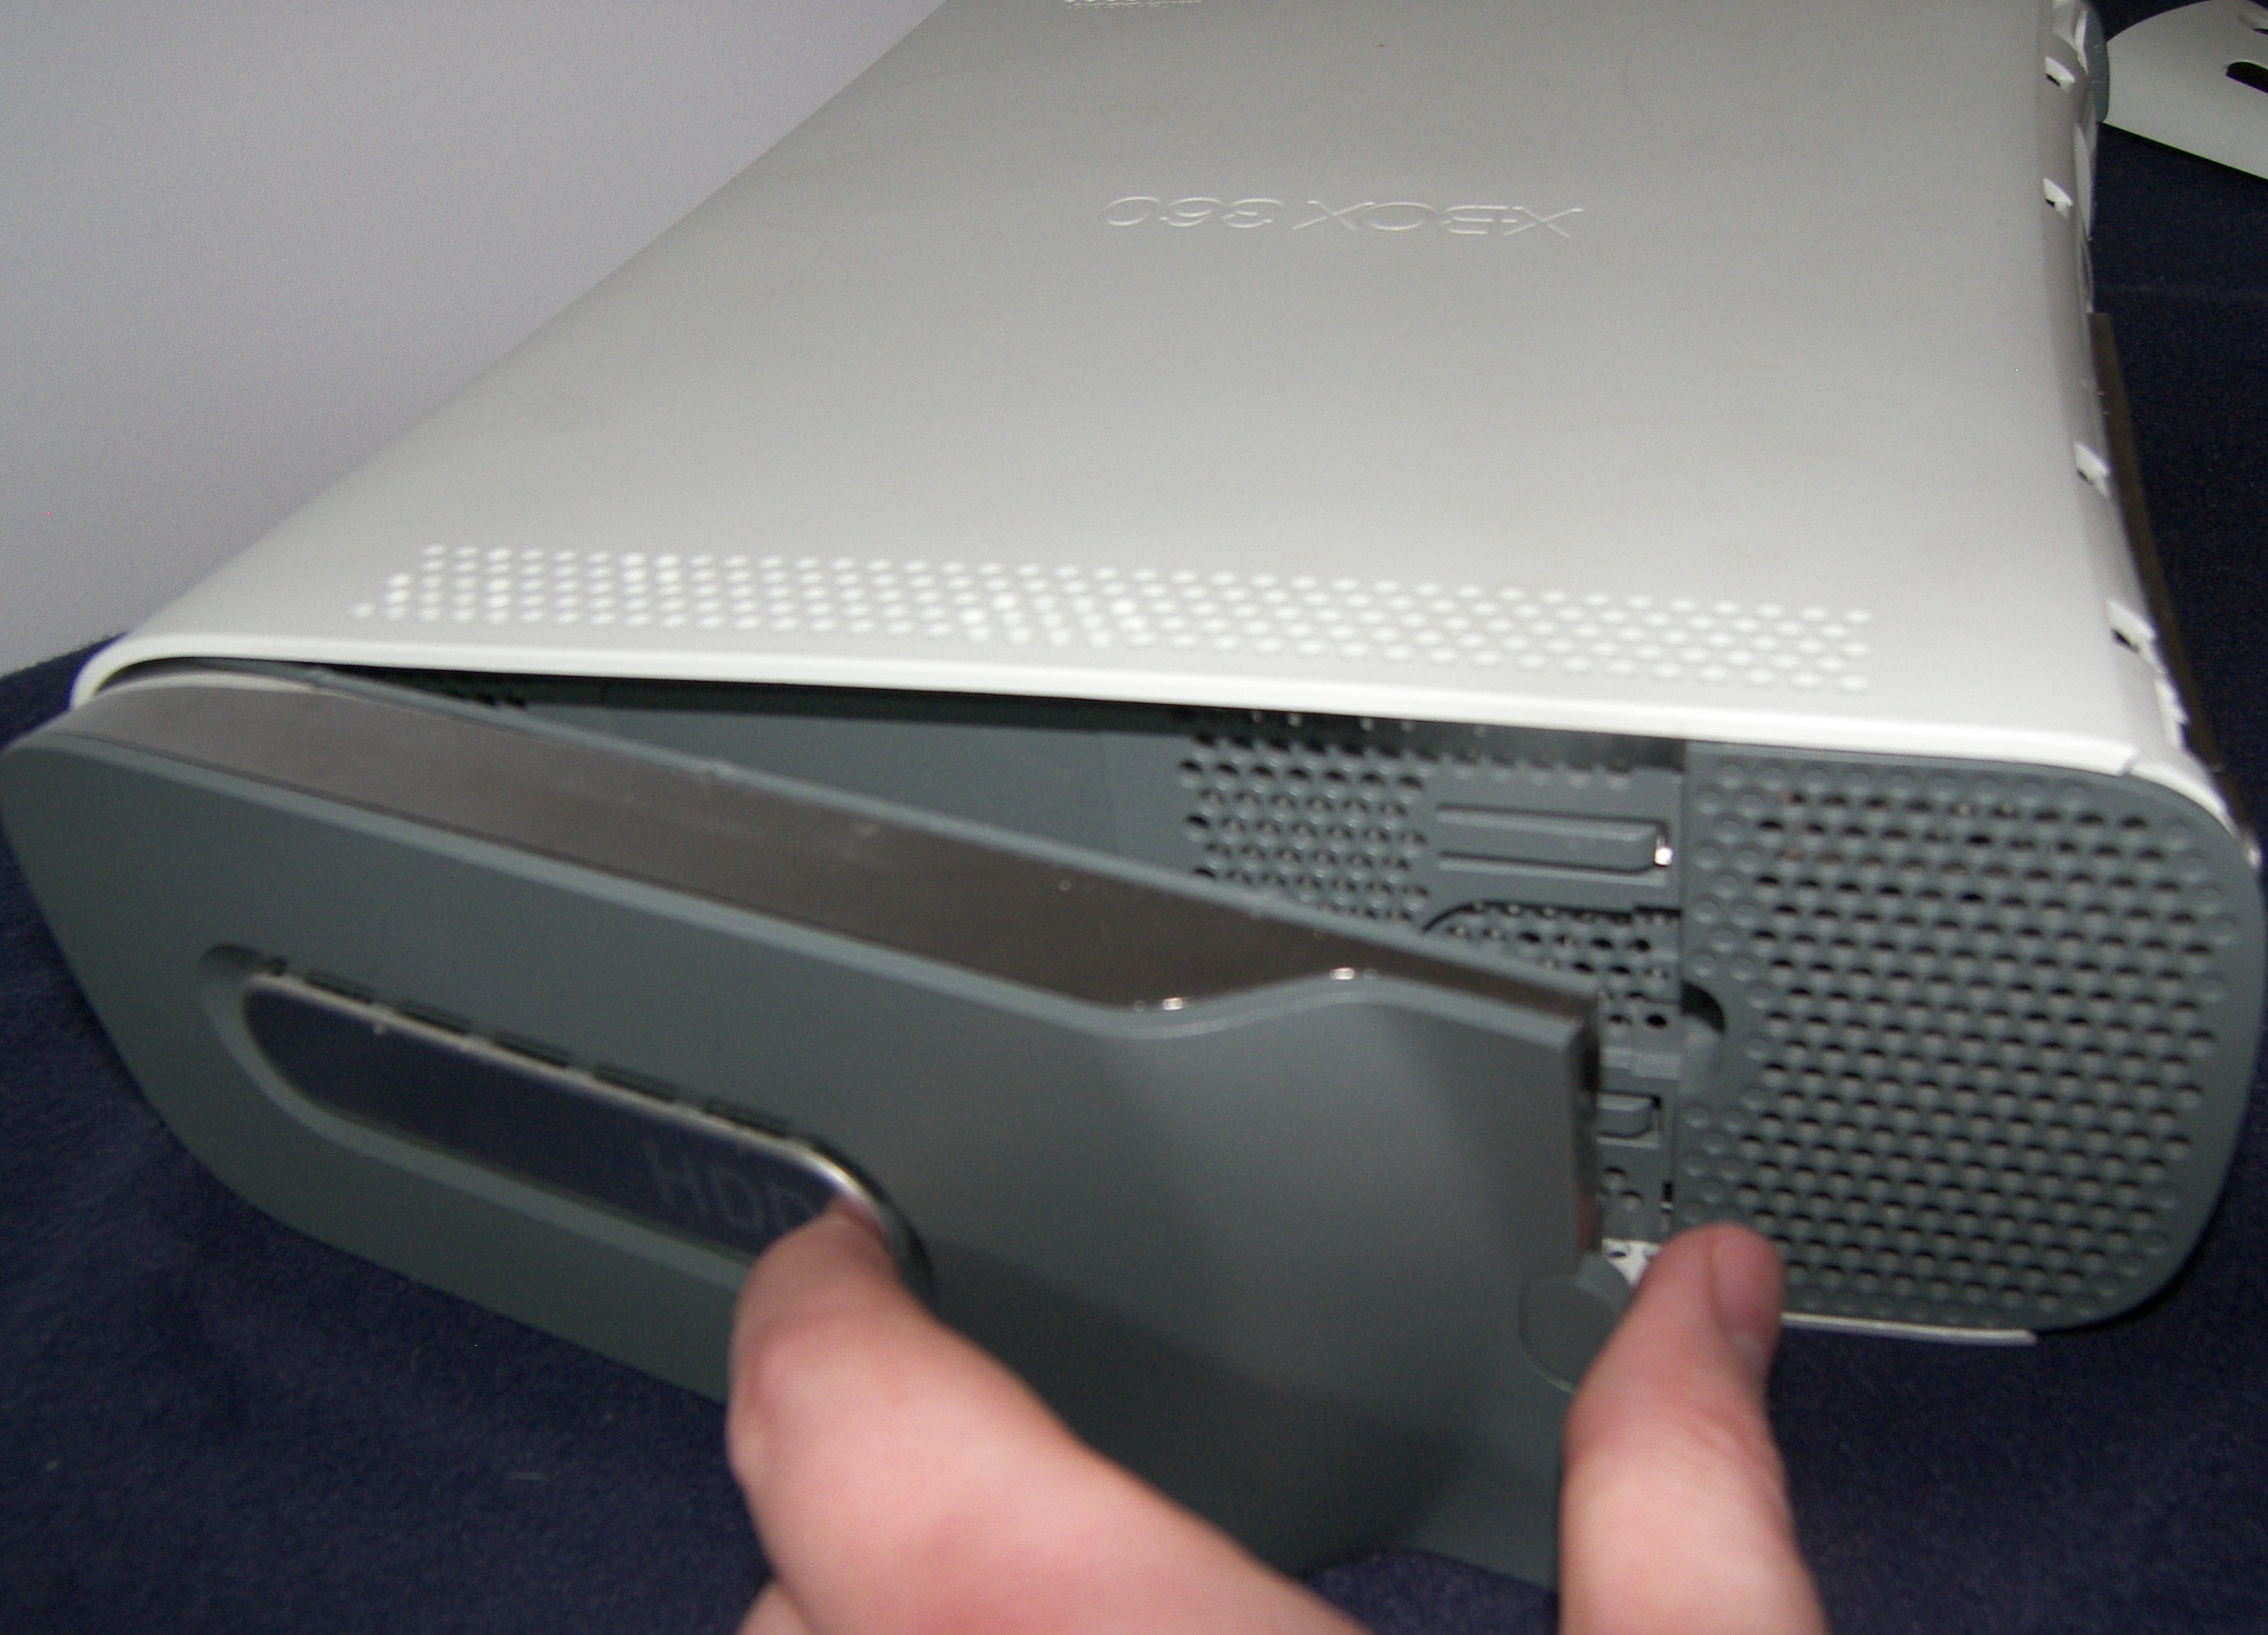
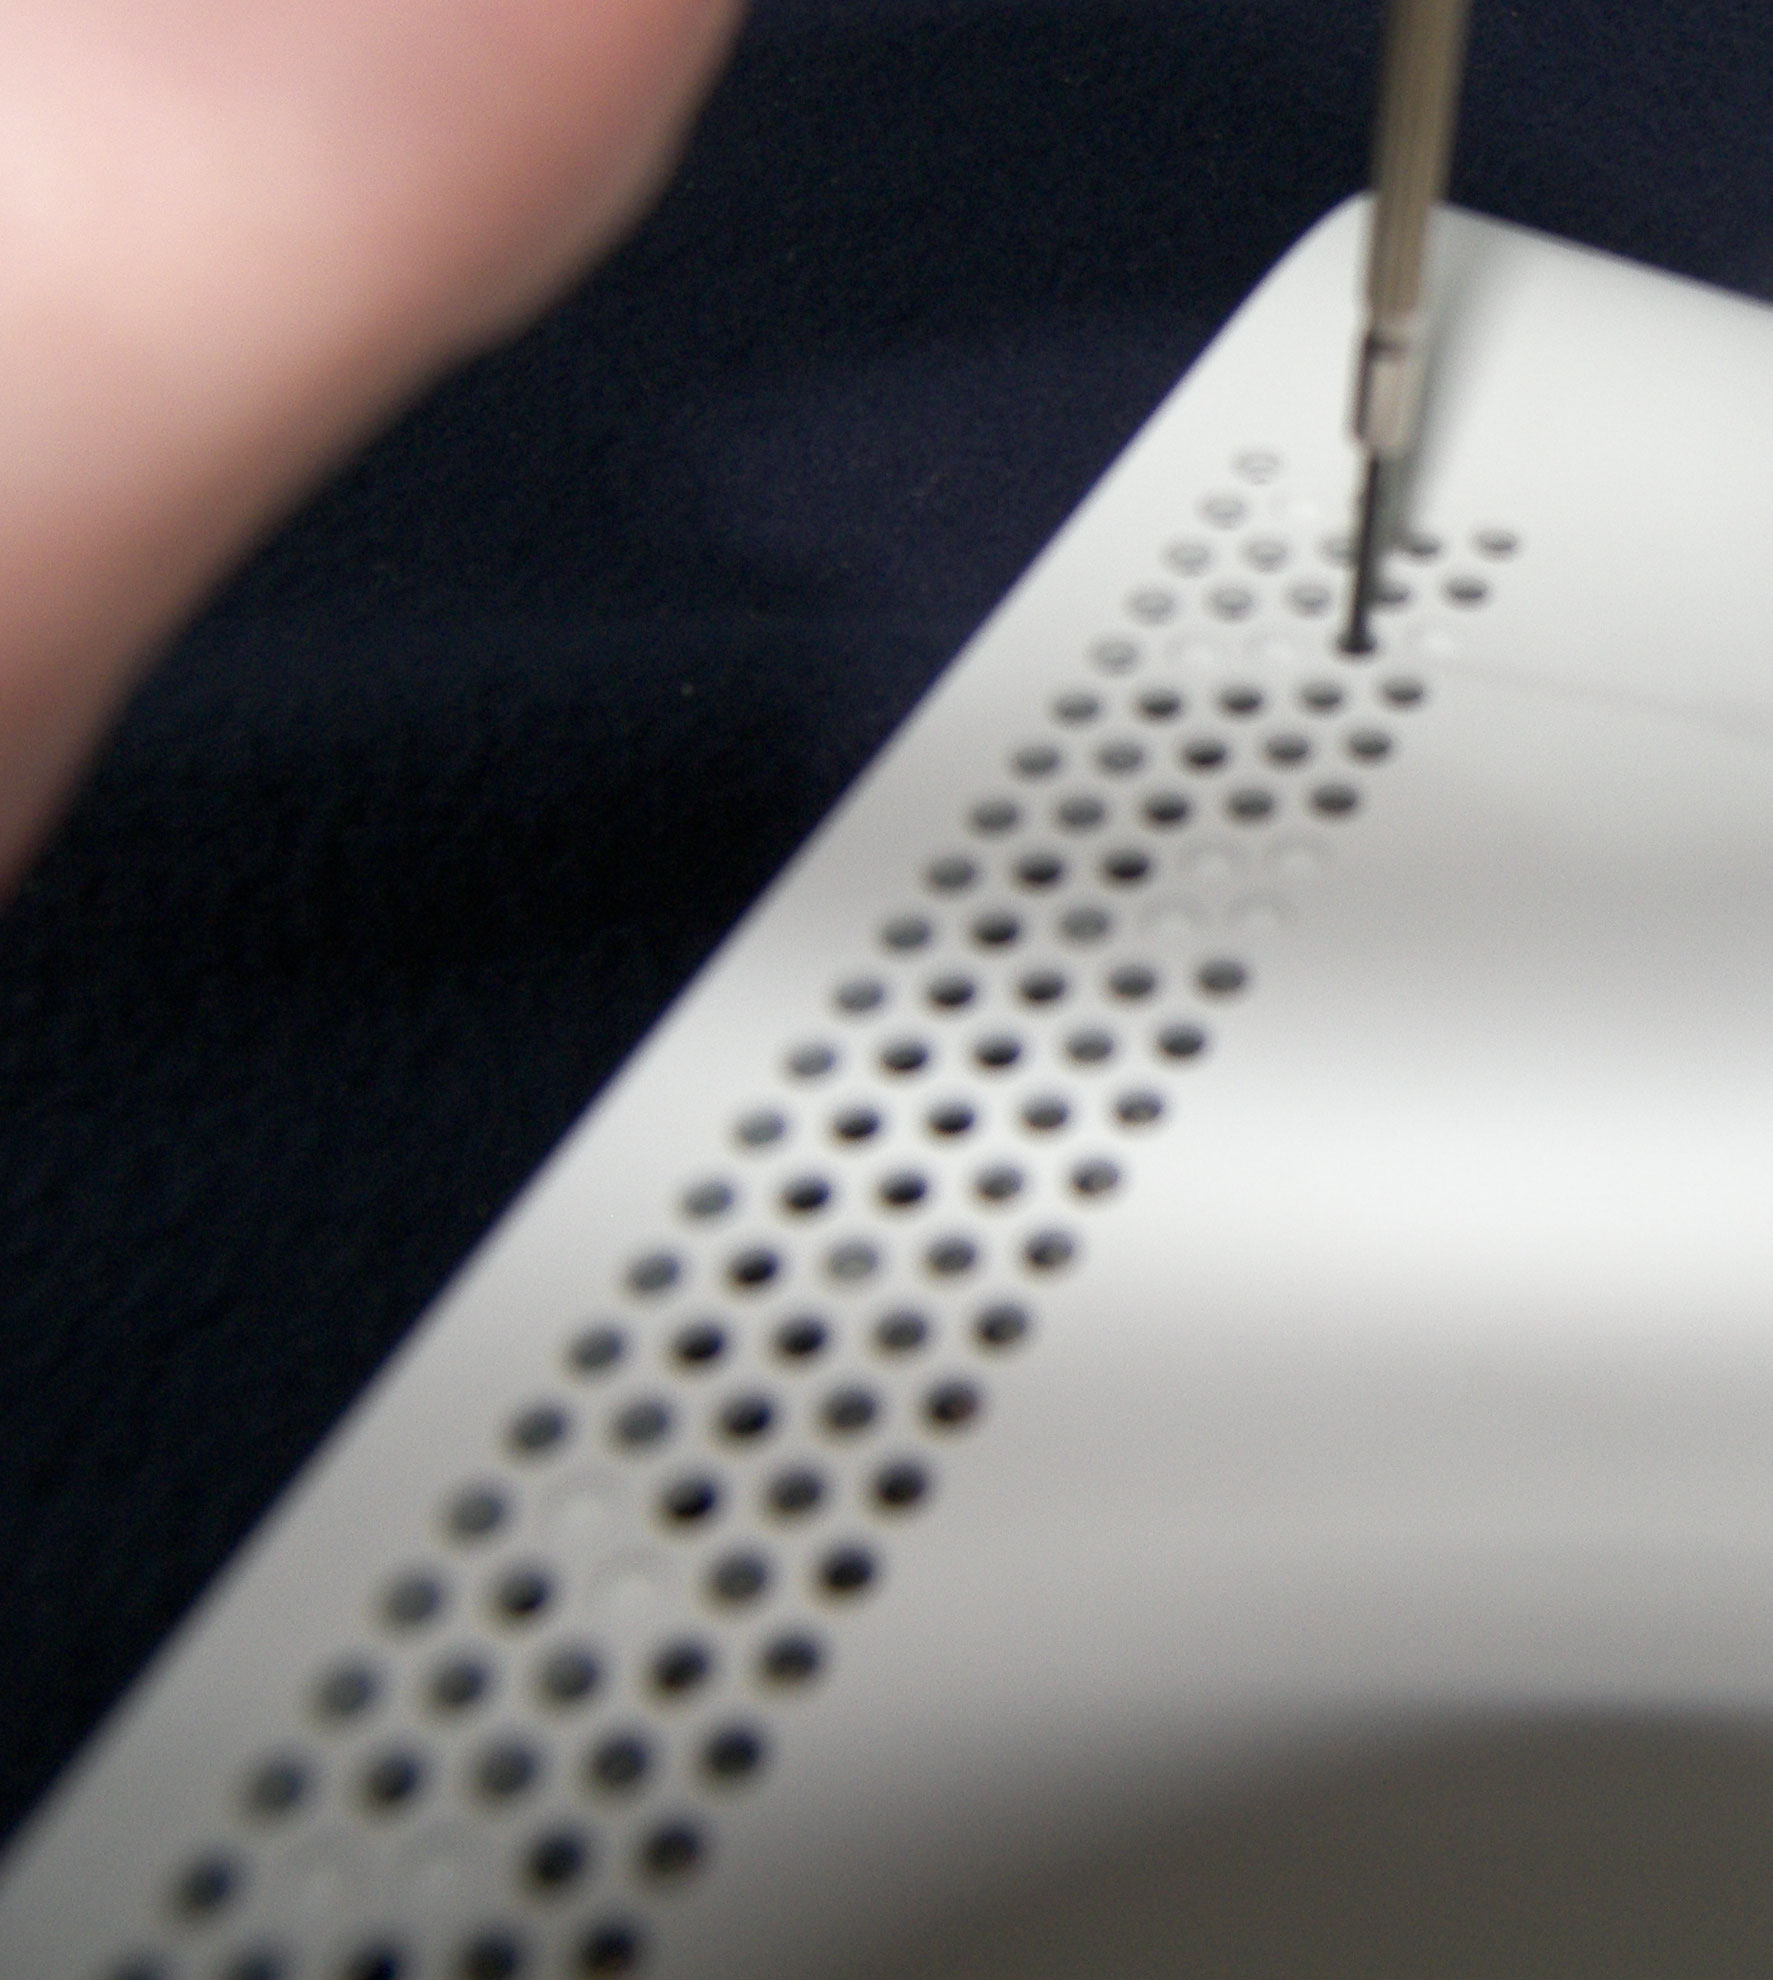
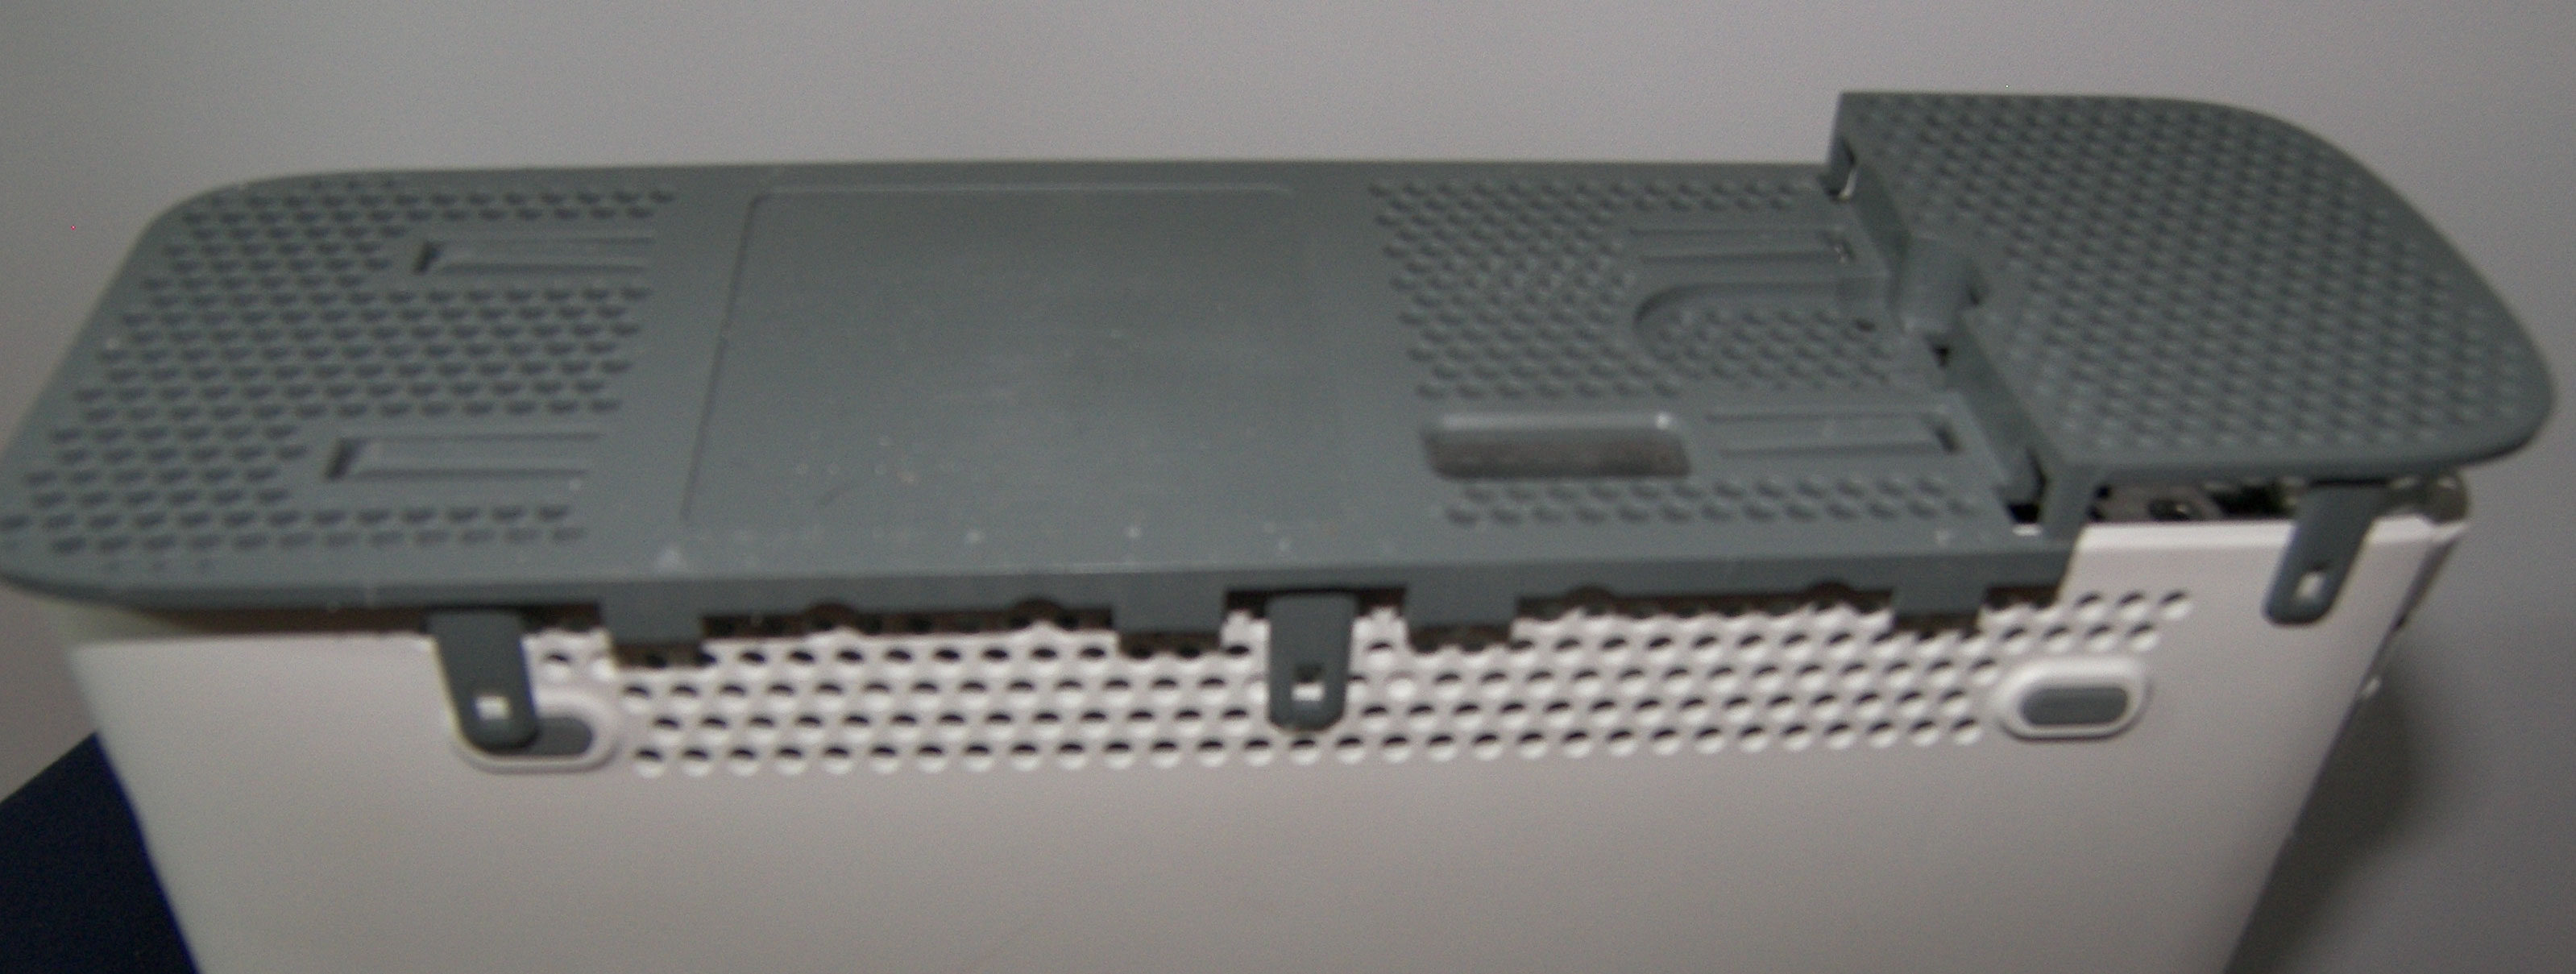
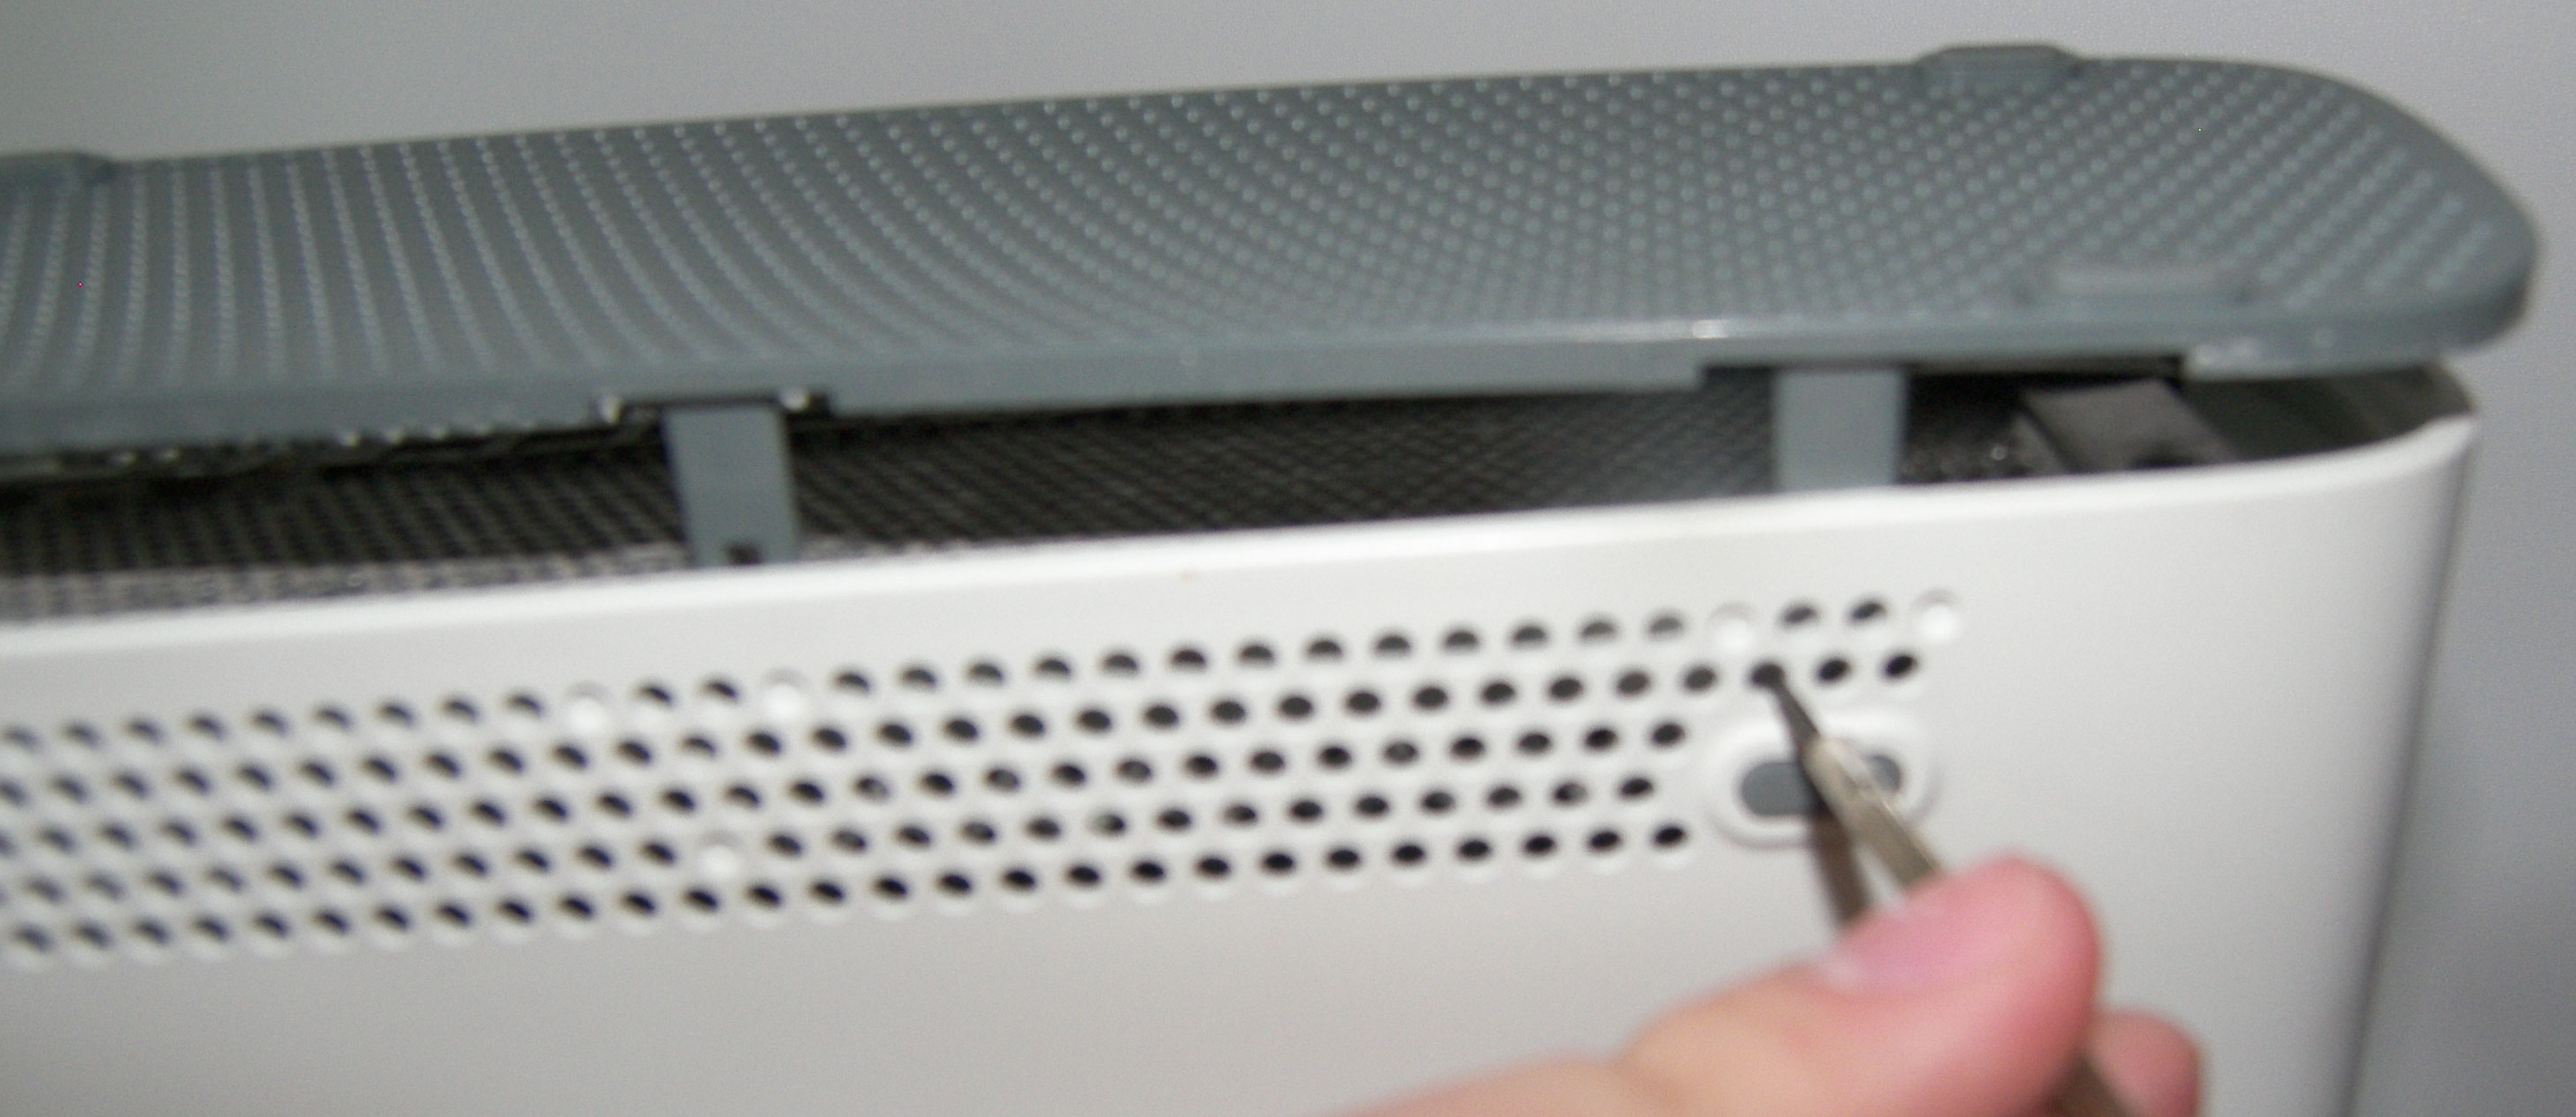
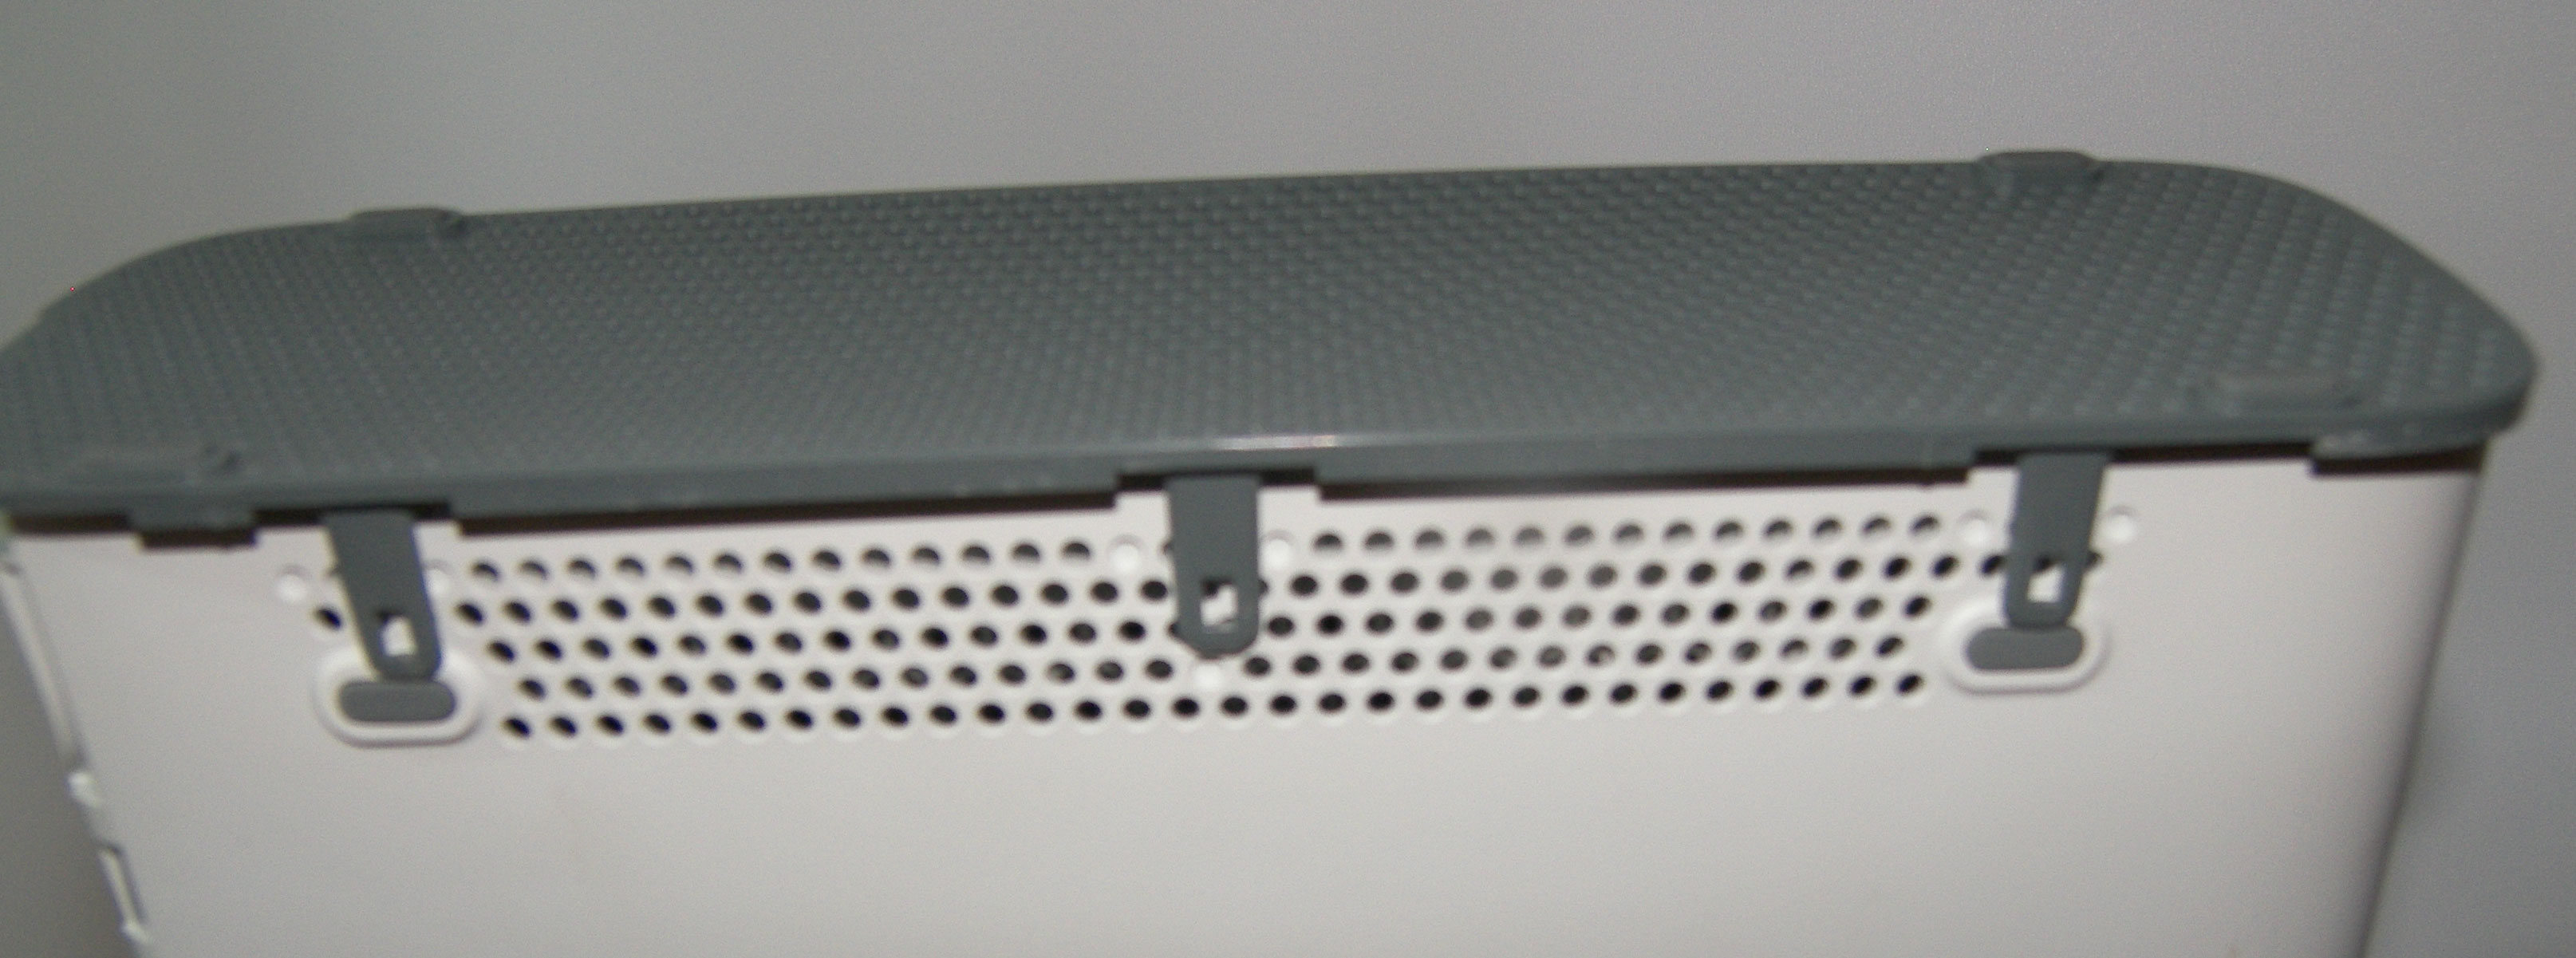
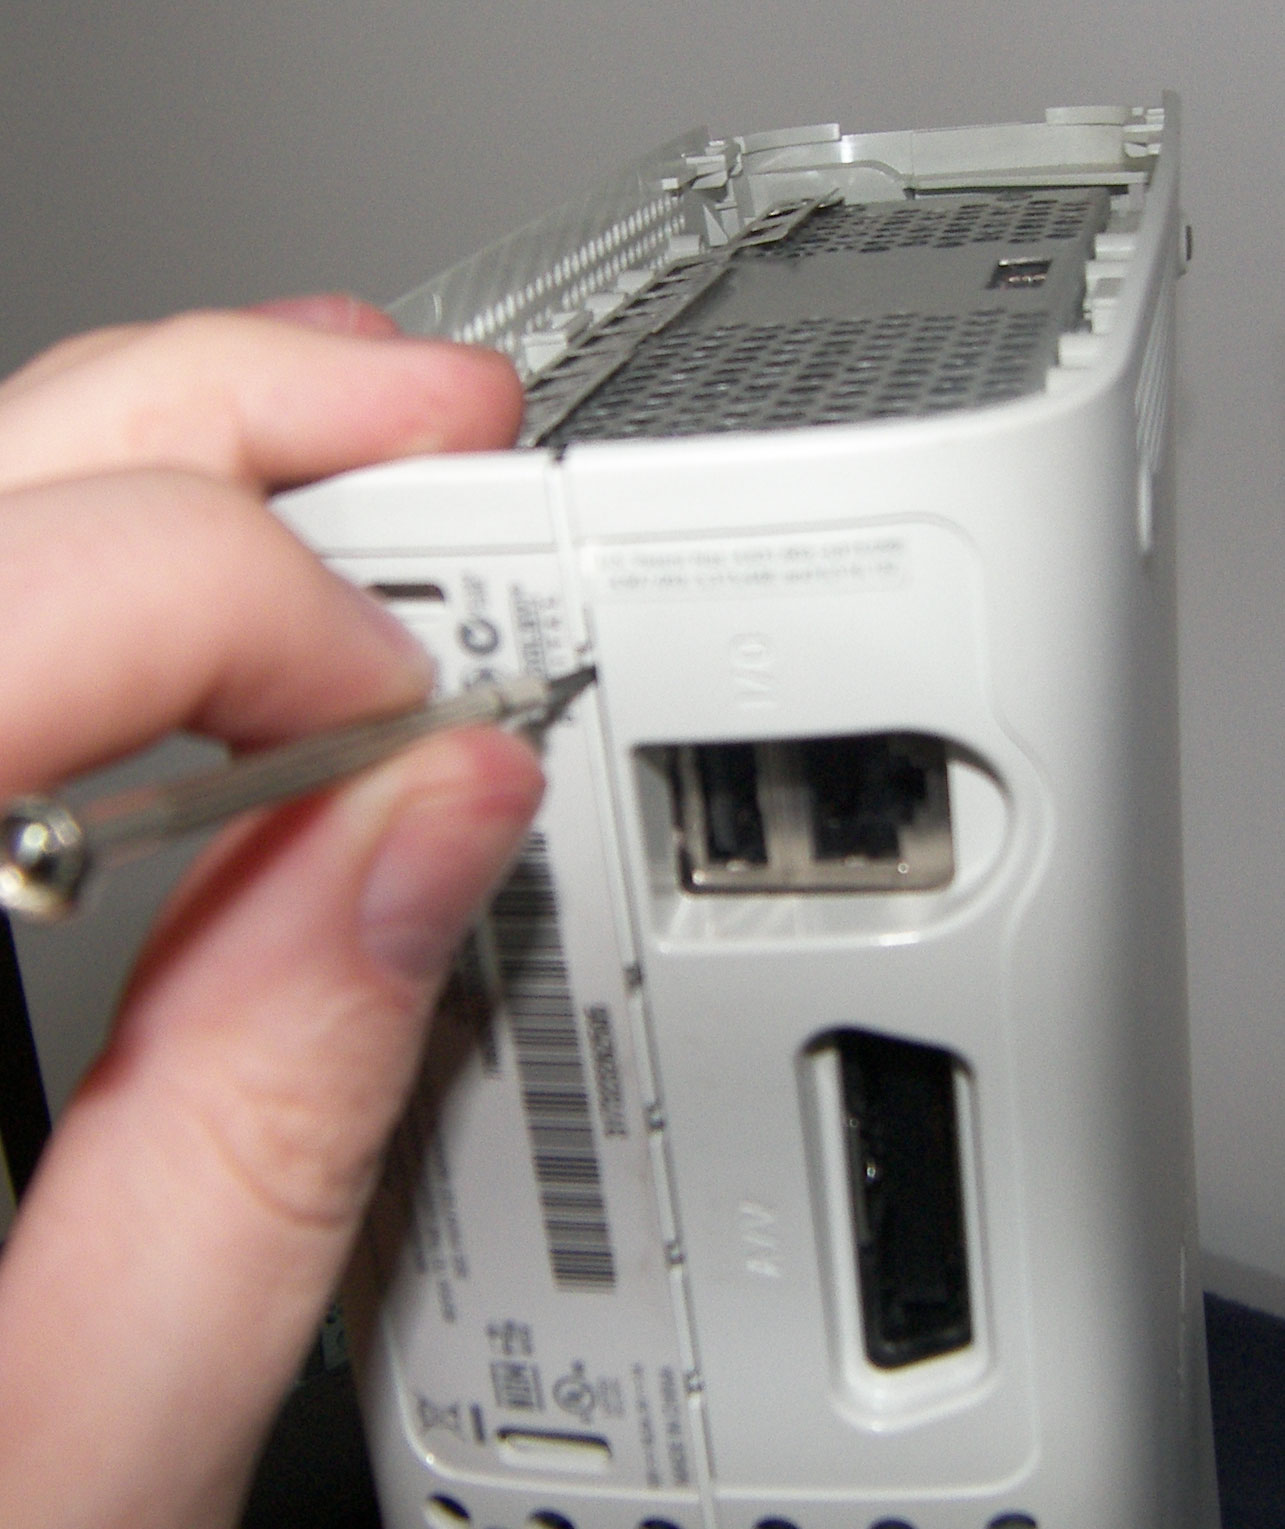
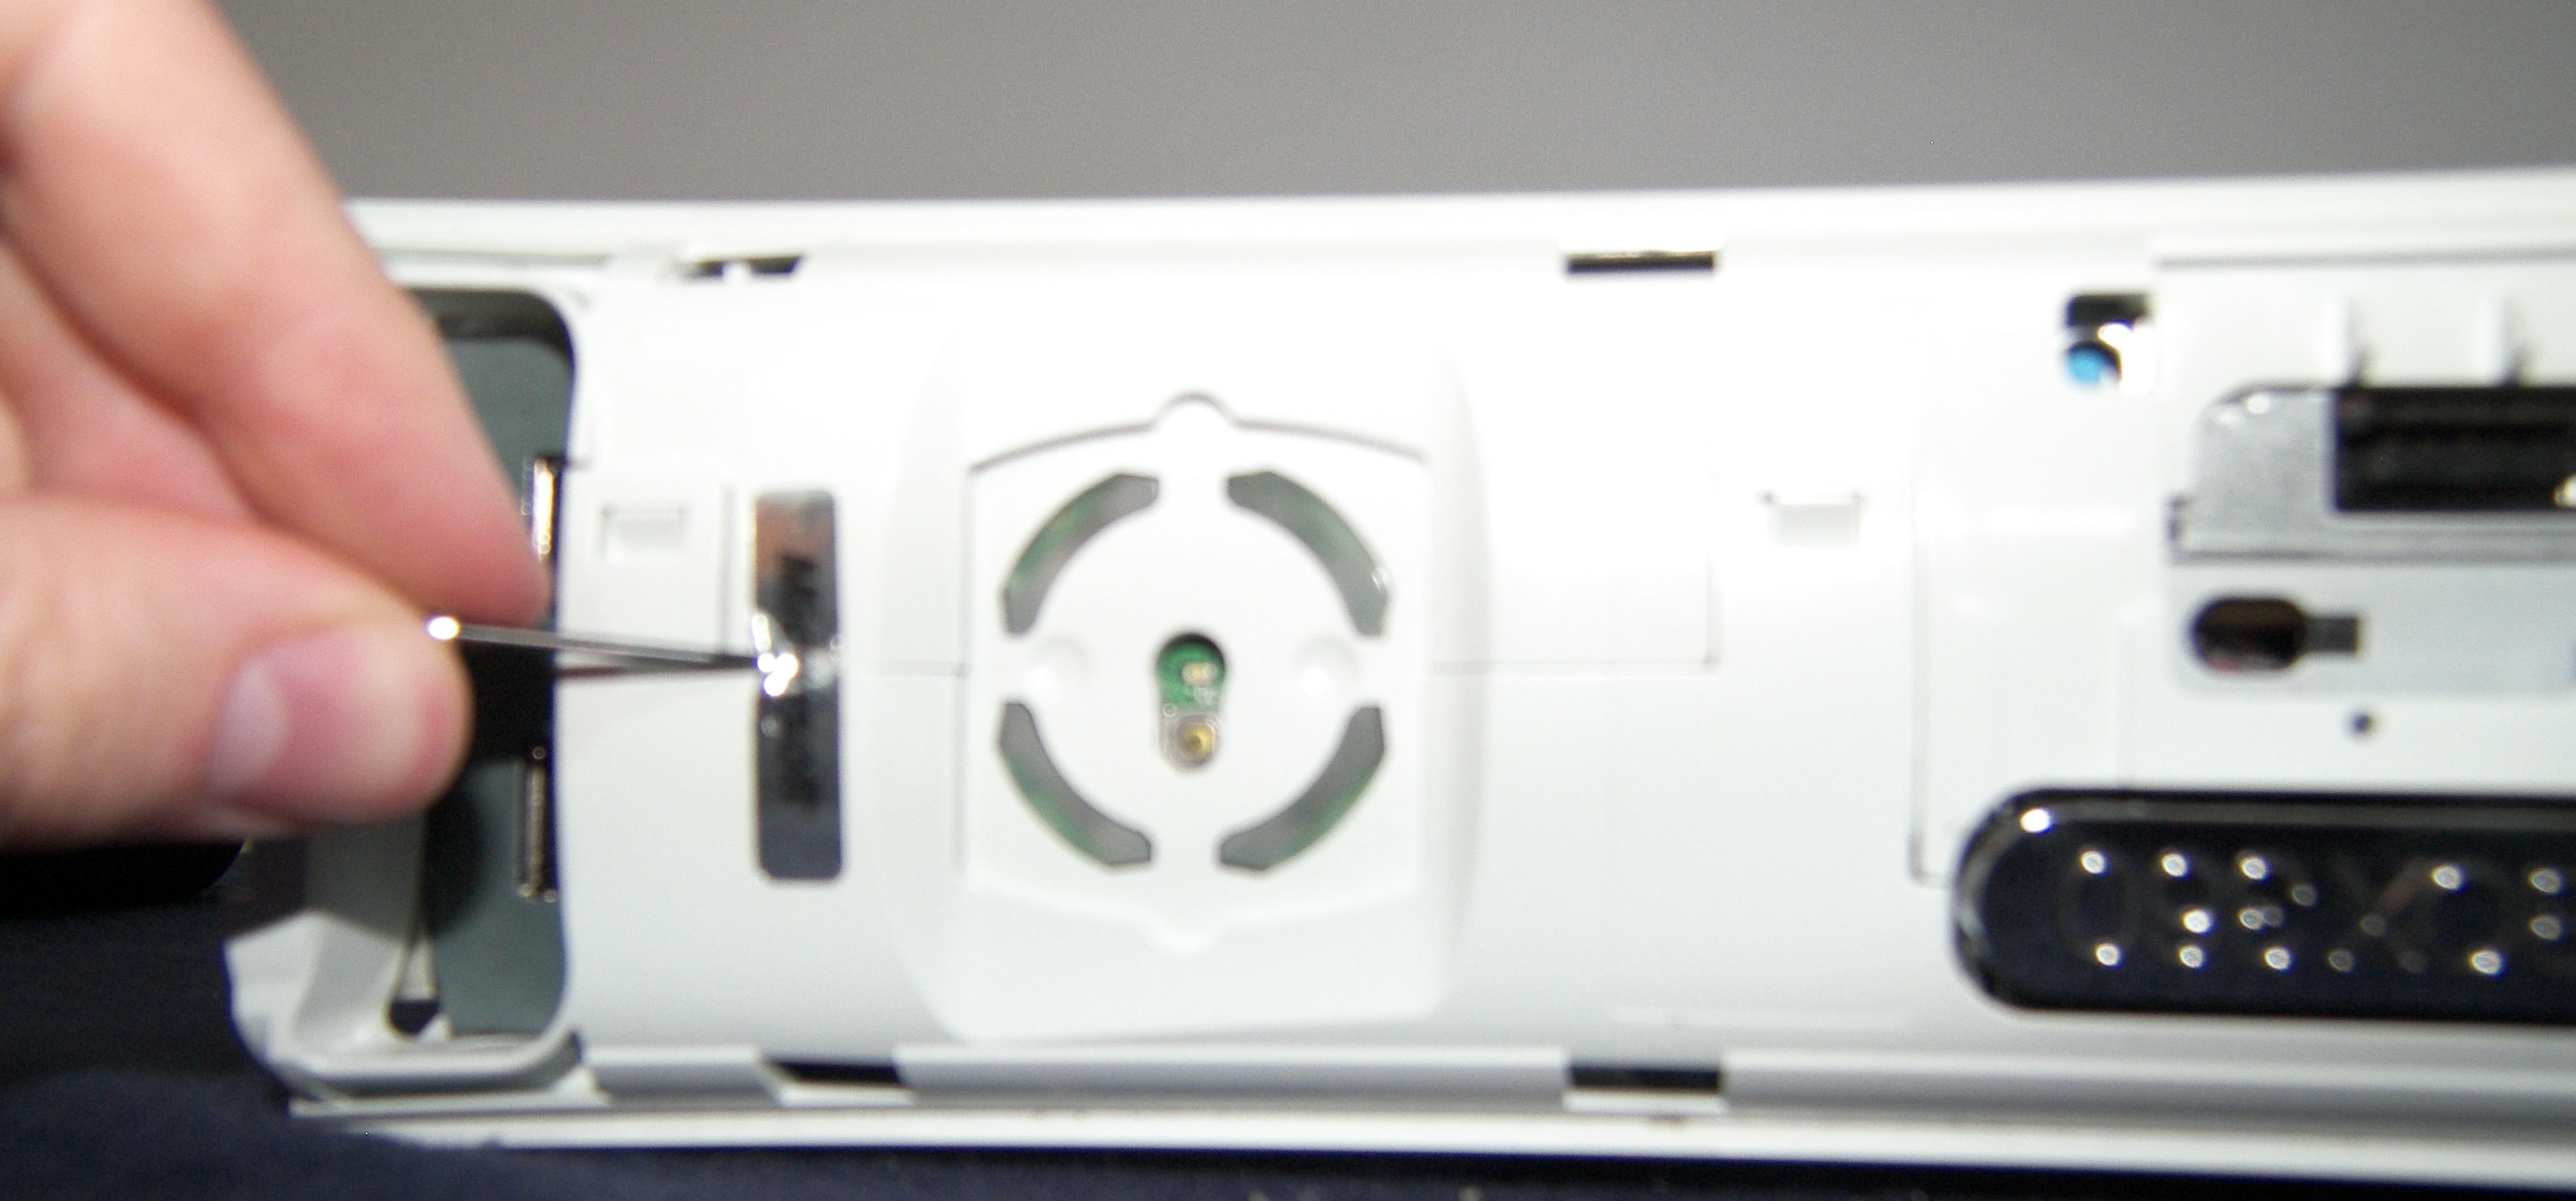
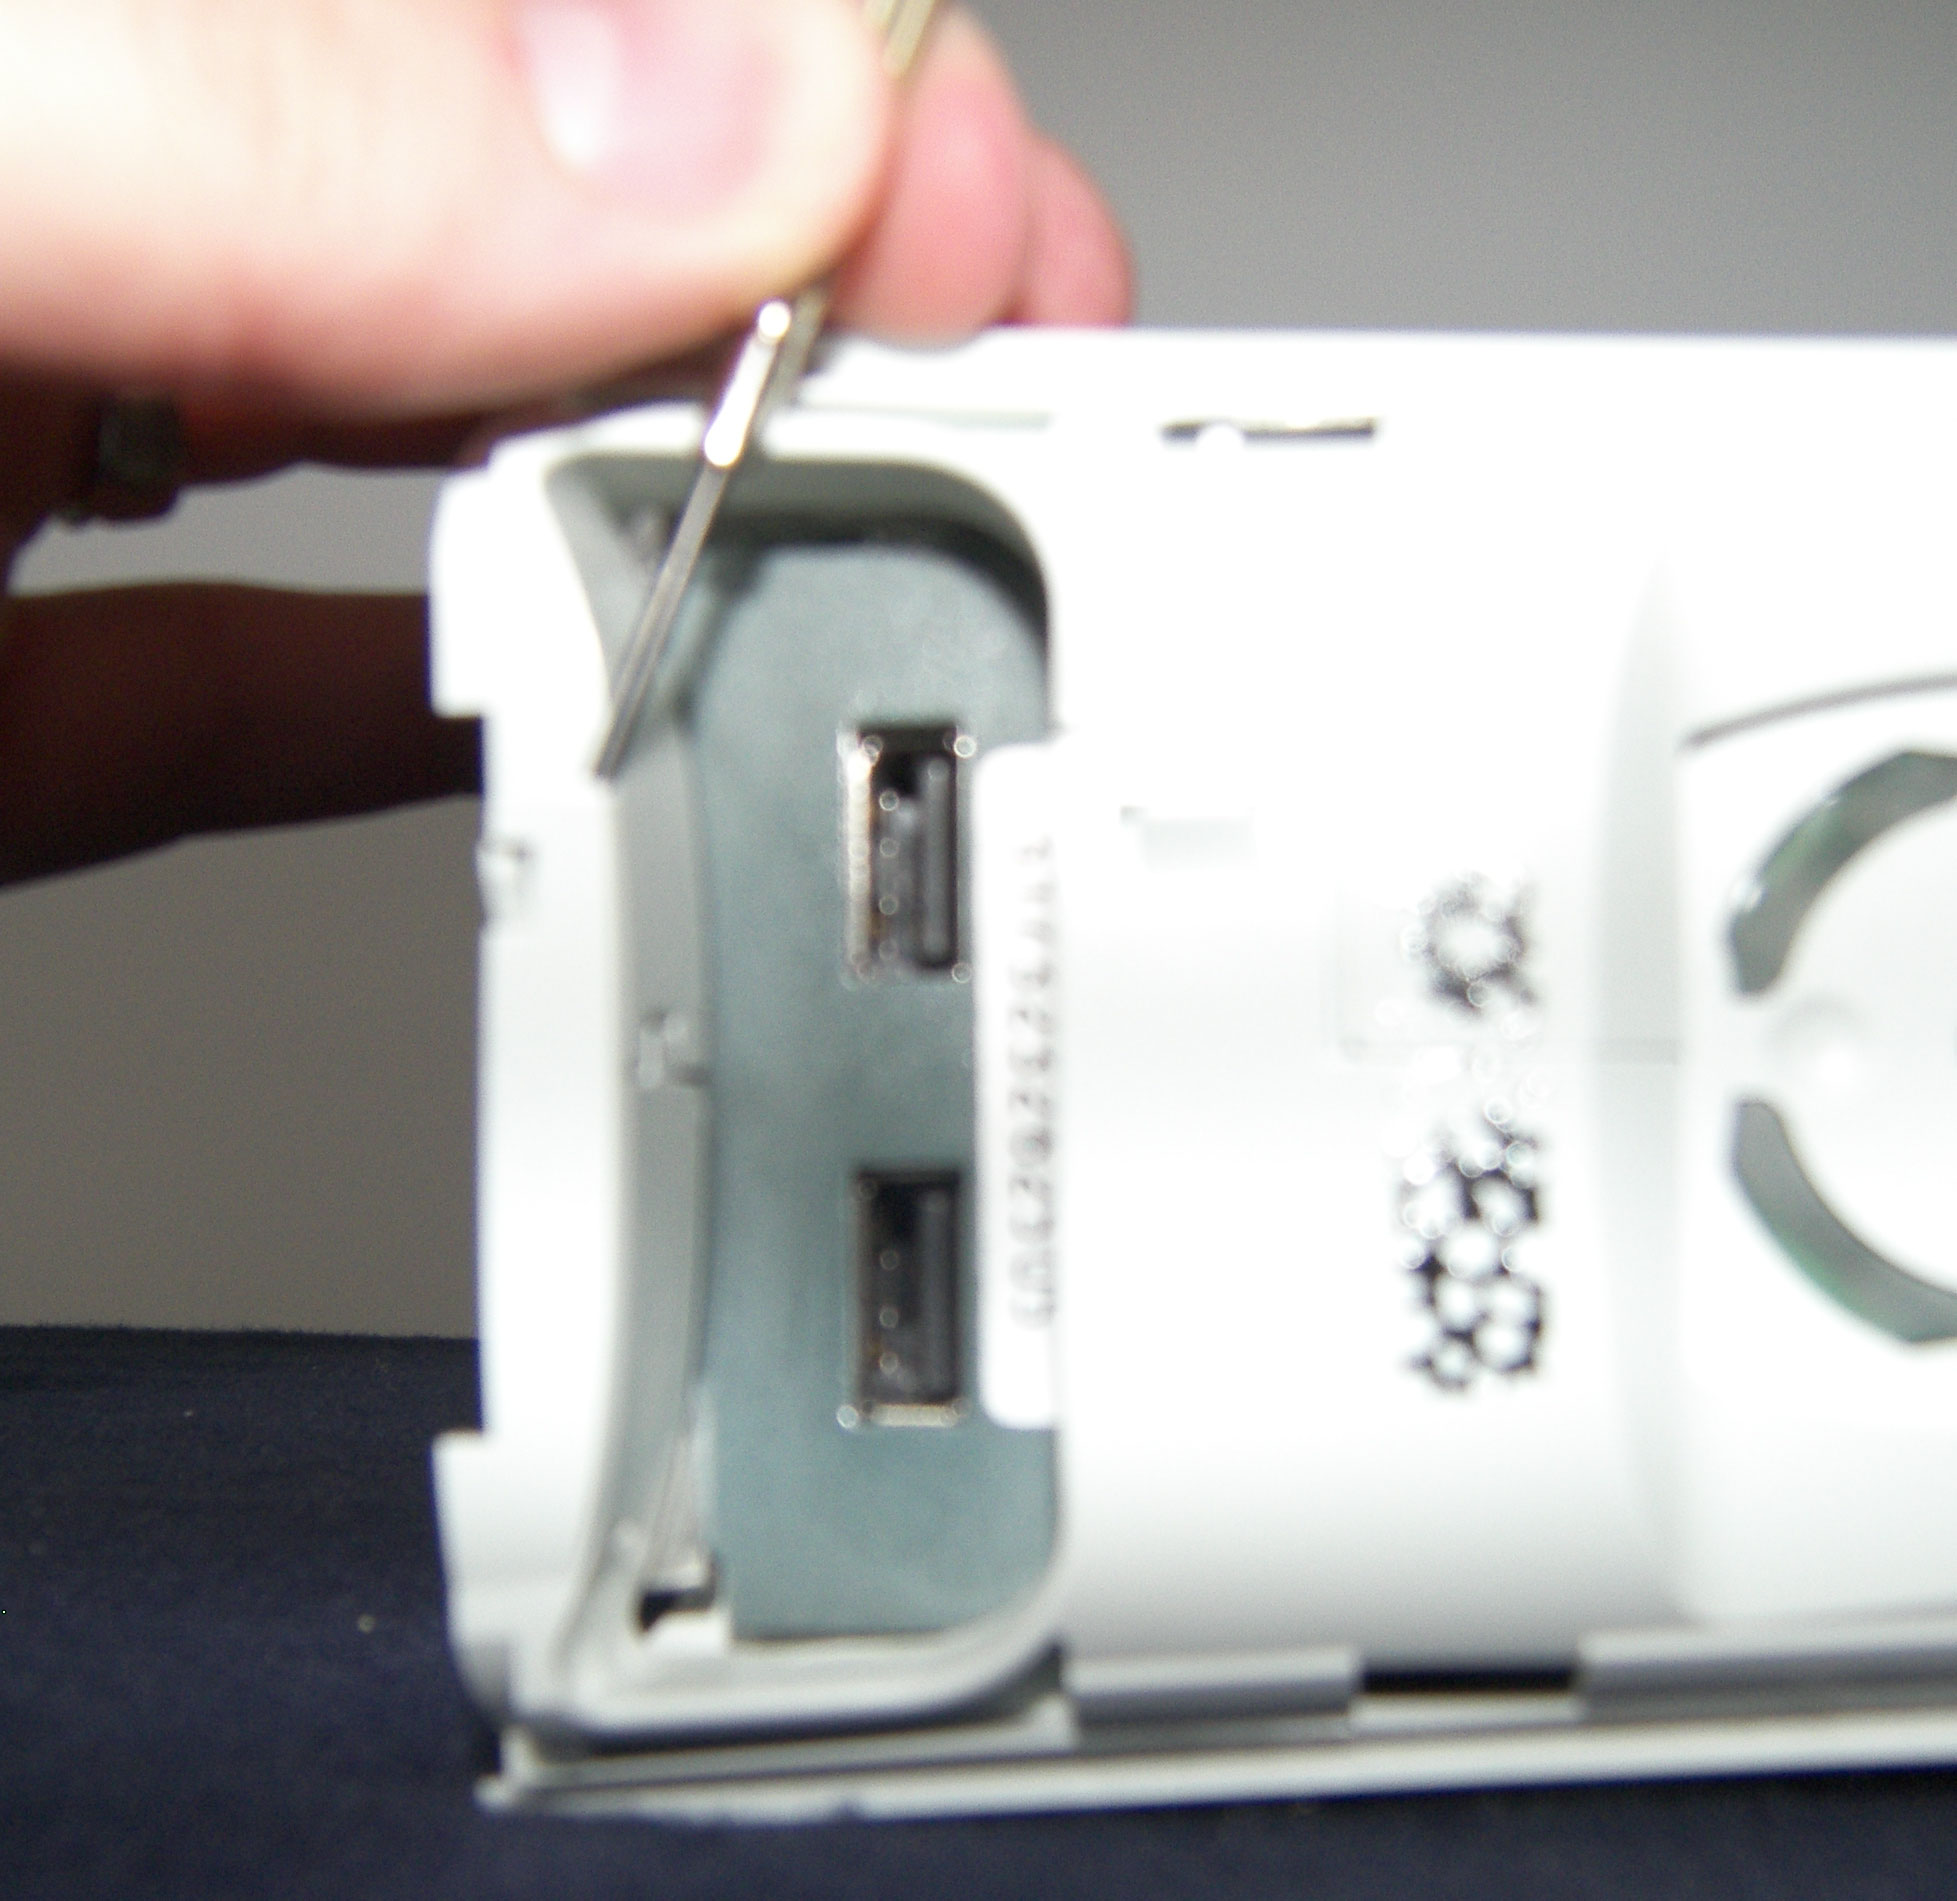
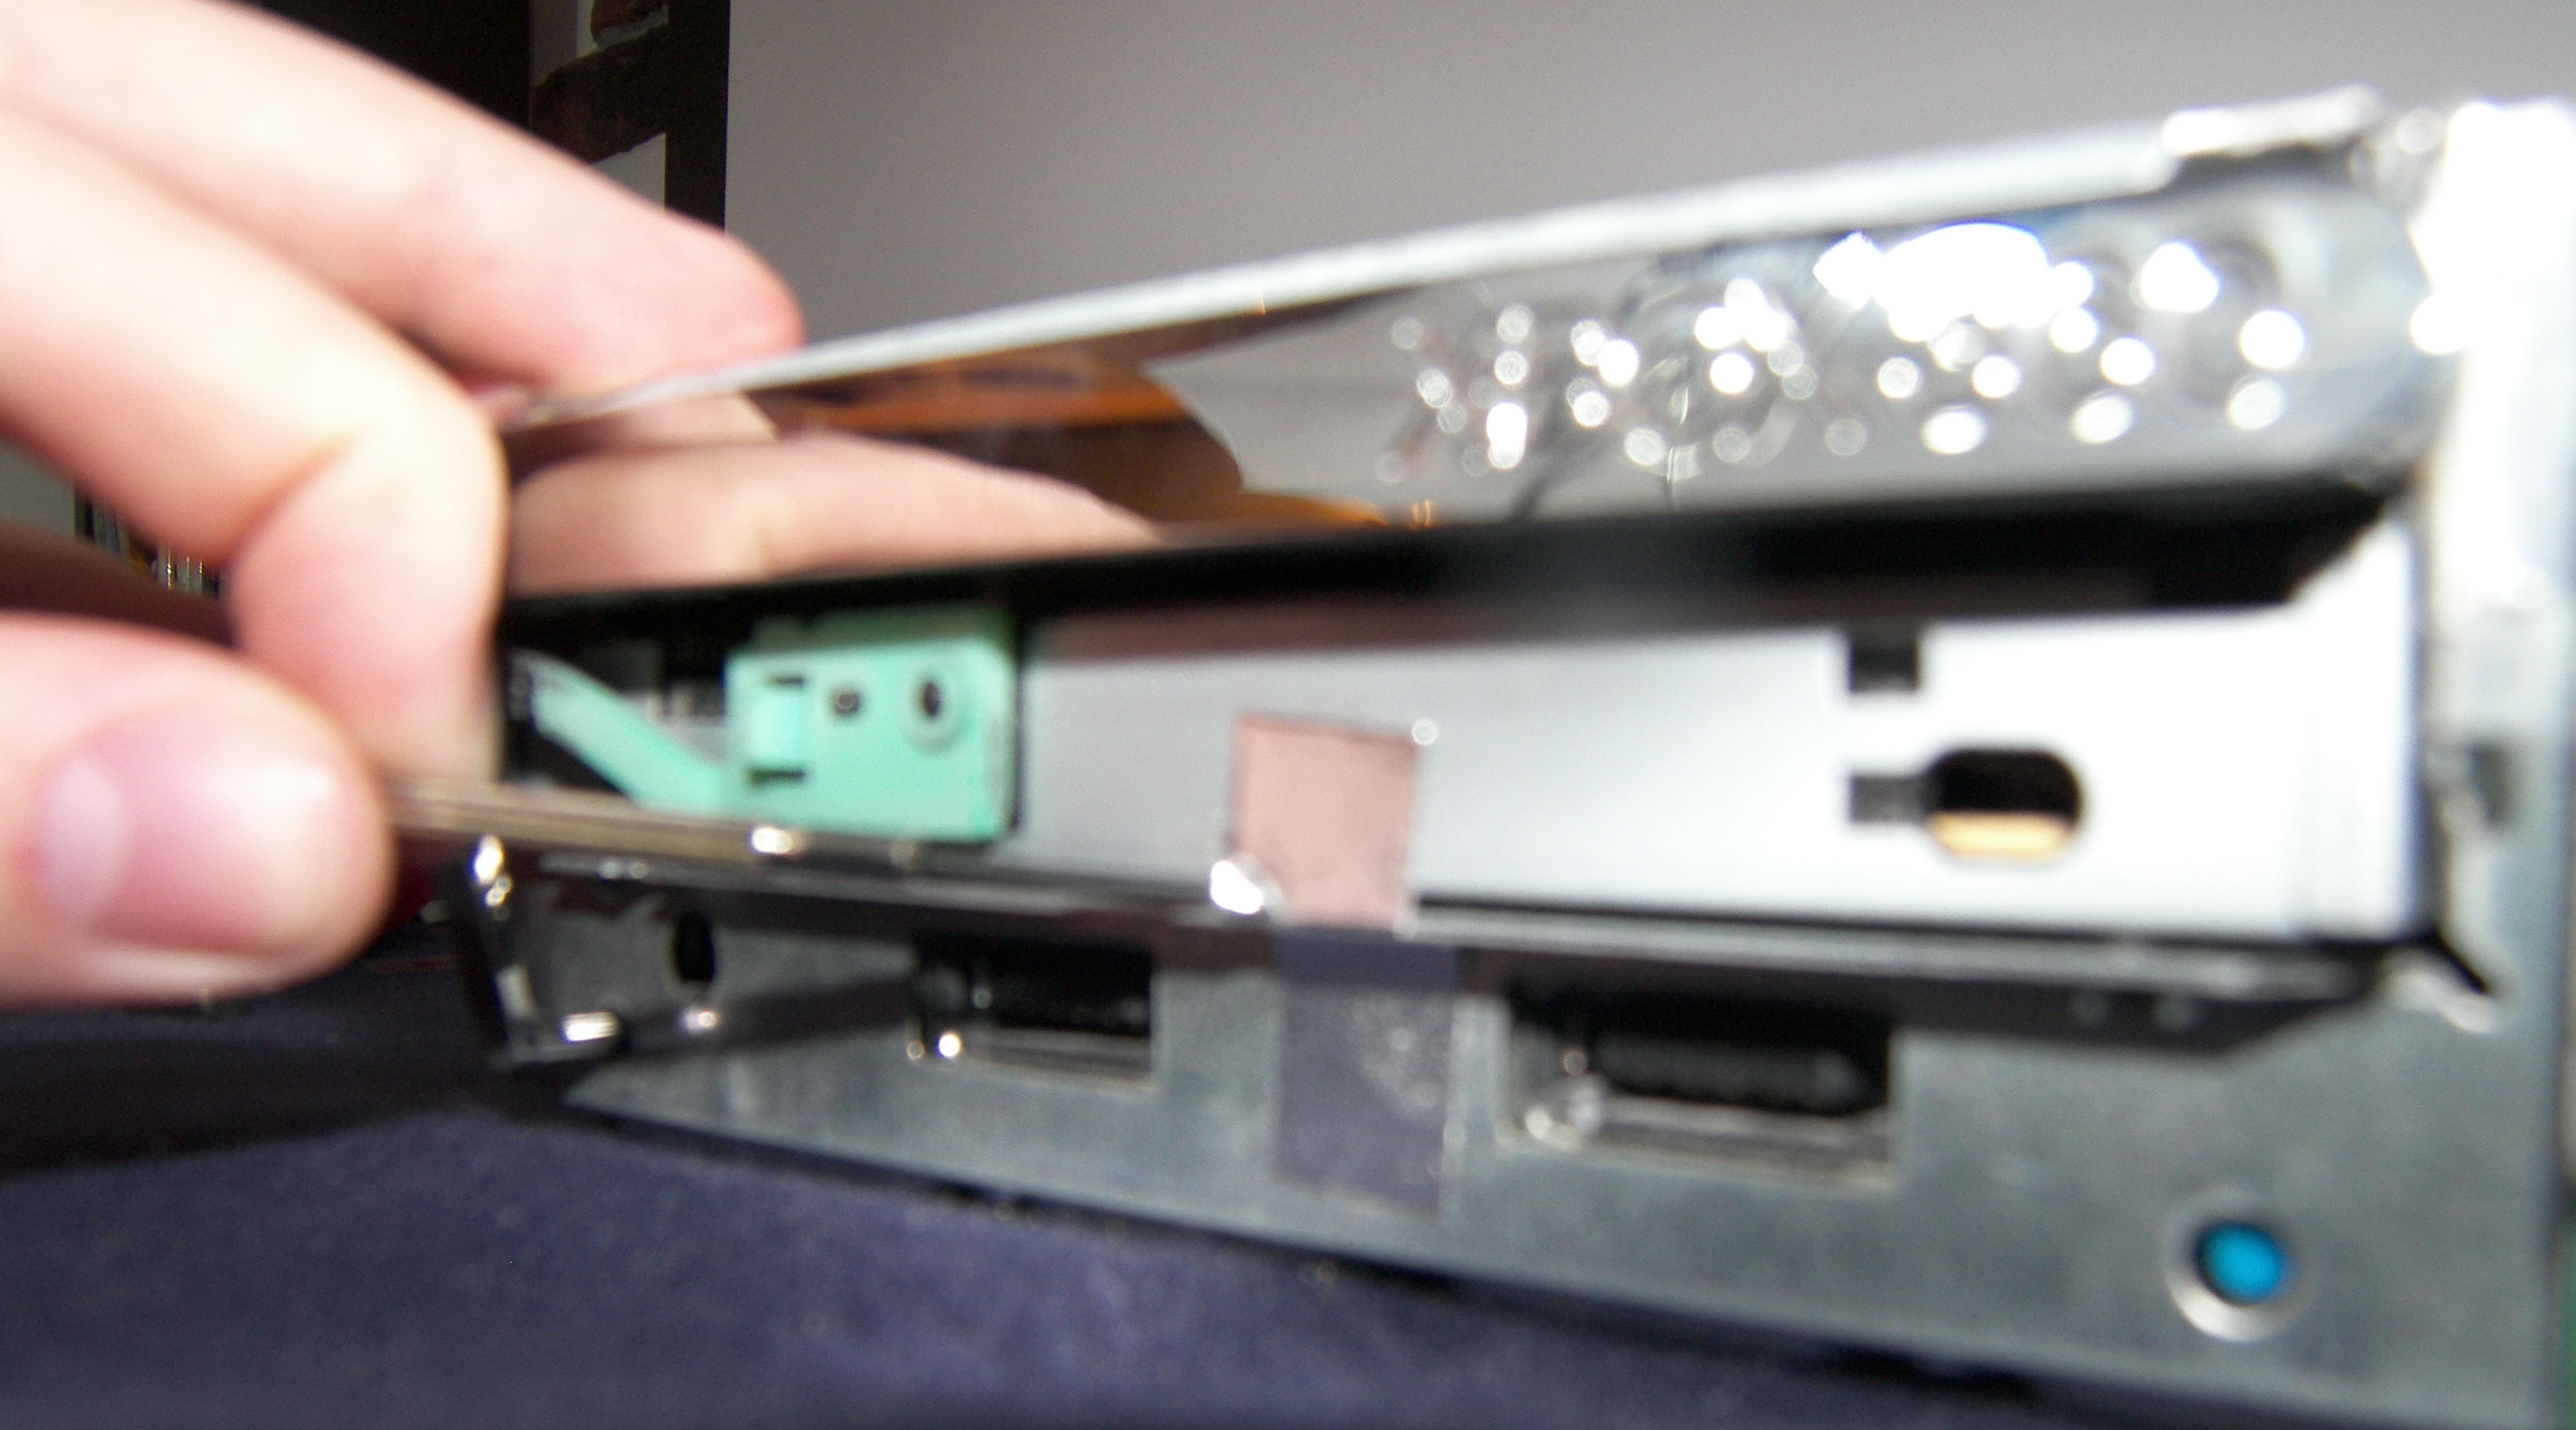
Now there are 2 grey vent plates on your Xbox, one on each side. The first one we are going to remove is the one where you hard drive plugs in at. The last picture shows you the tabs and where they are located at. To pop these tabs out we use one hand to very gently pull up on the vent panel while the other hand inserts the very small screwdriver in through those little holes and pushes the tabs out of the locking mechanism.
These tabs are on BOTH sides so you have to pop a total of 6 tabs out. Be carefull not to just pull them out because you'll never get your xbox back together properly without these tabs still being able to hold the pieces in.
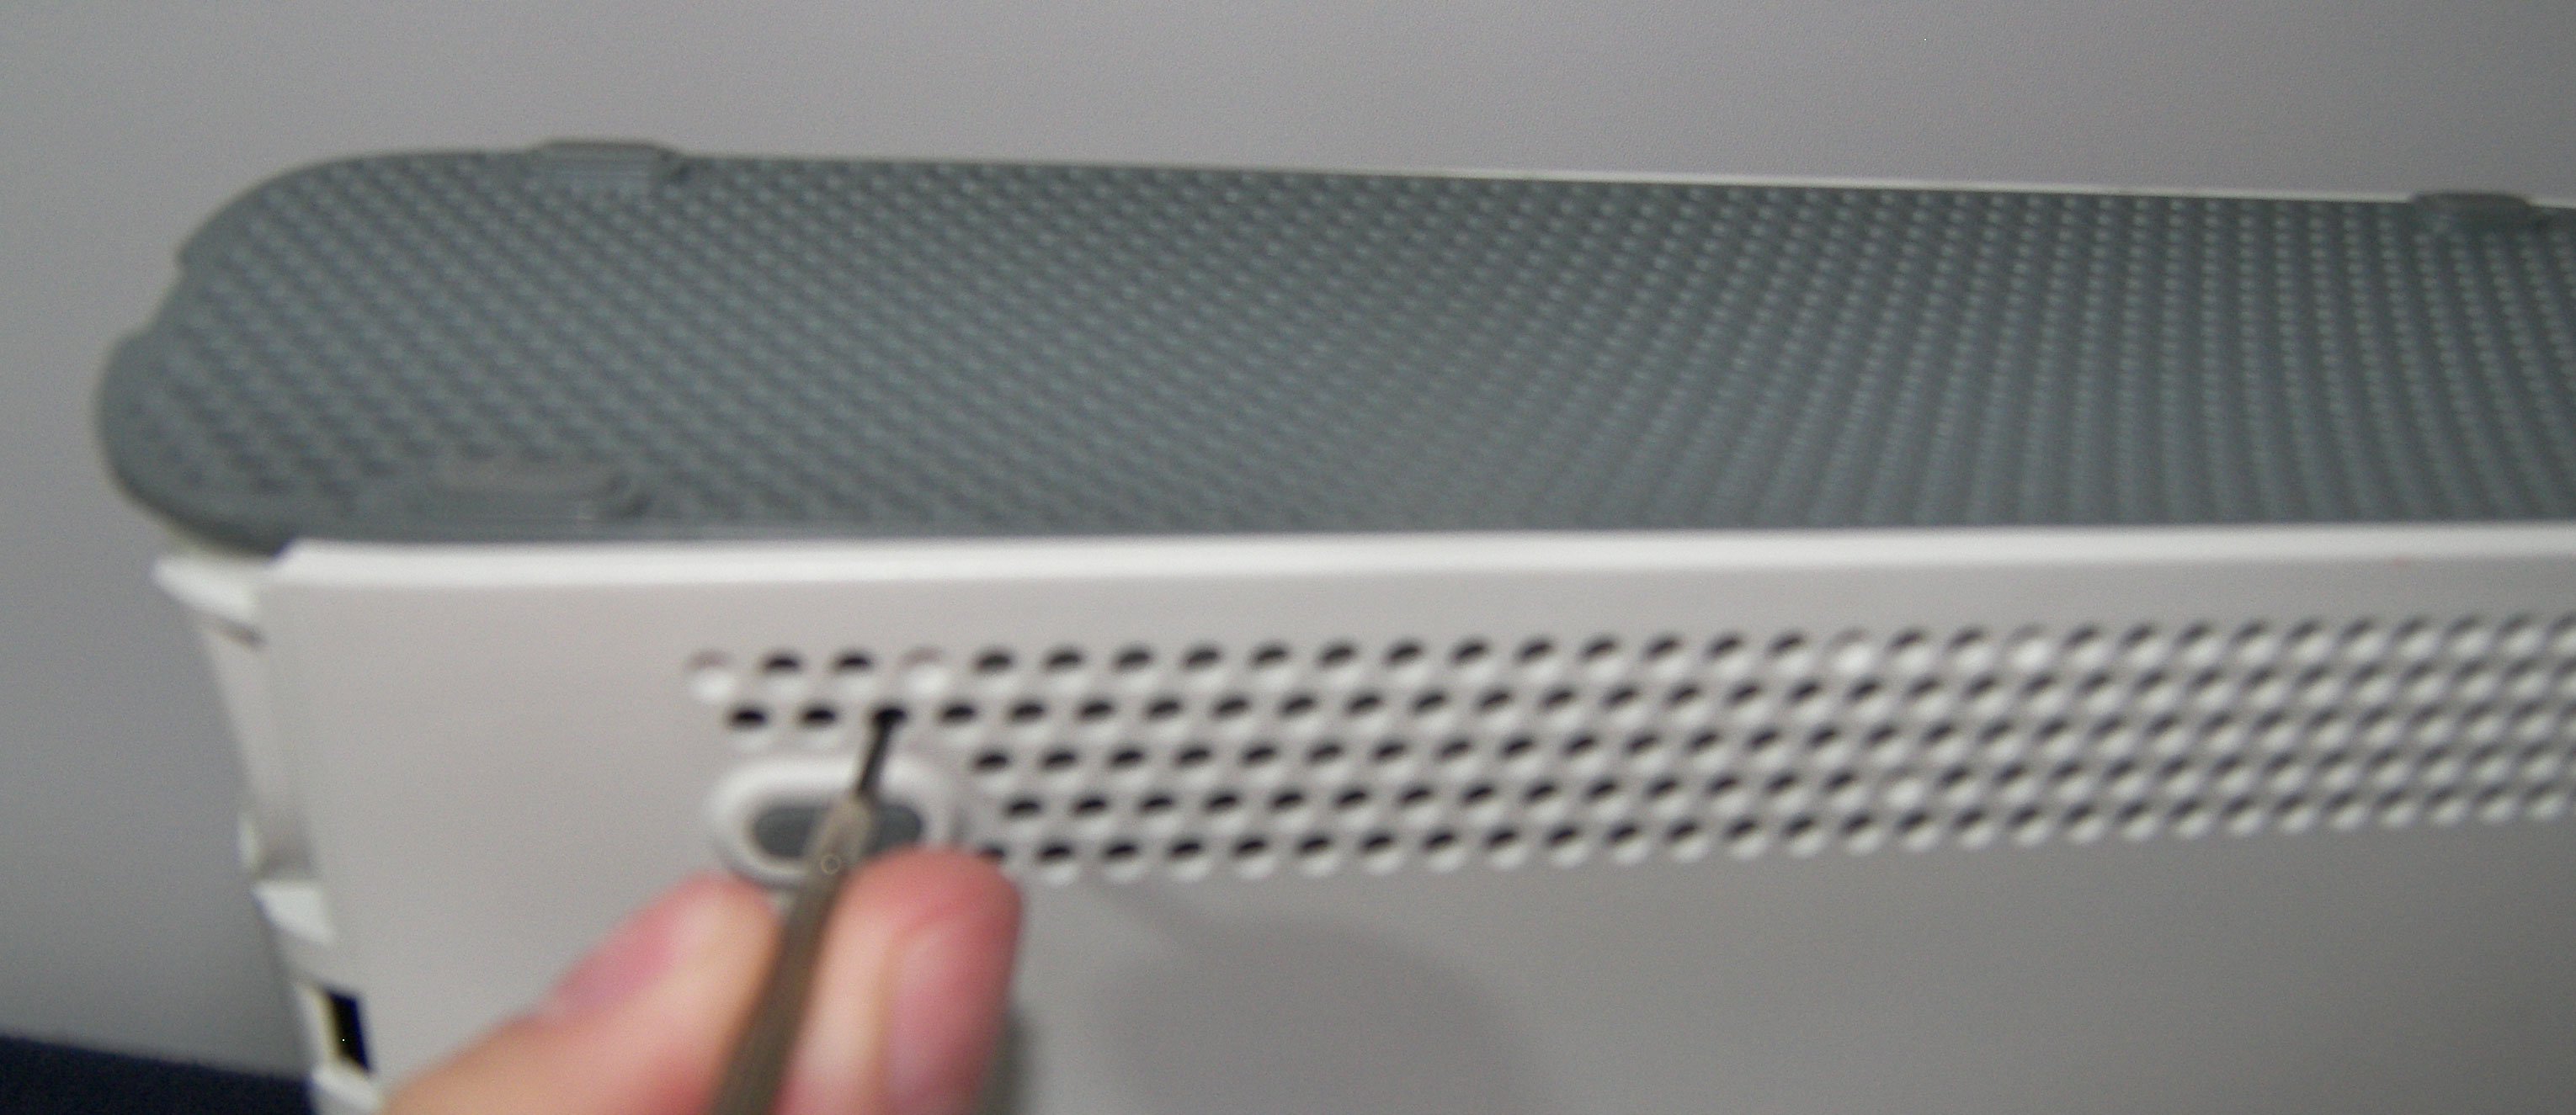
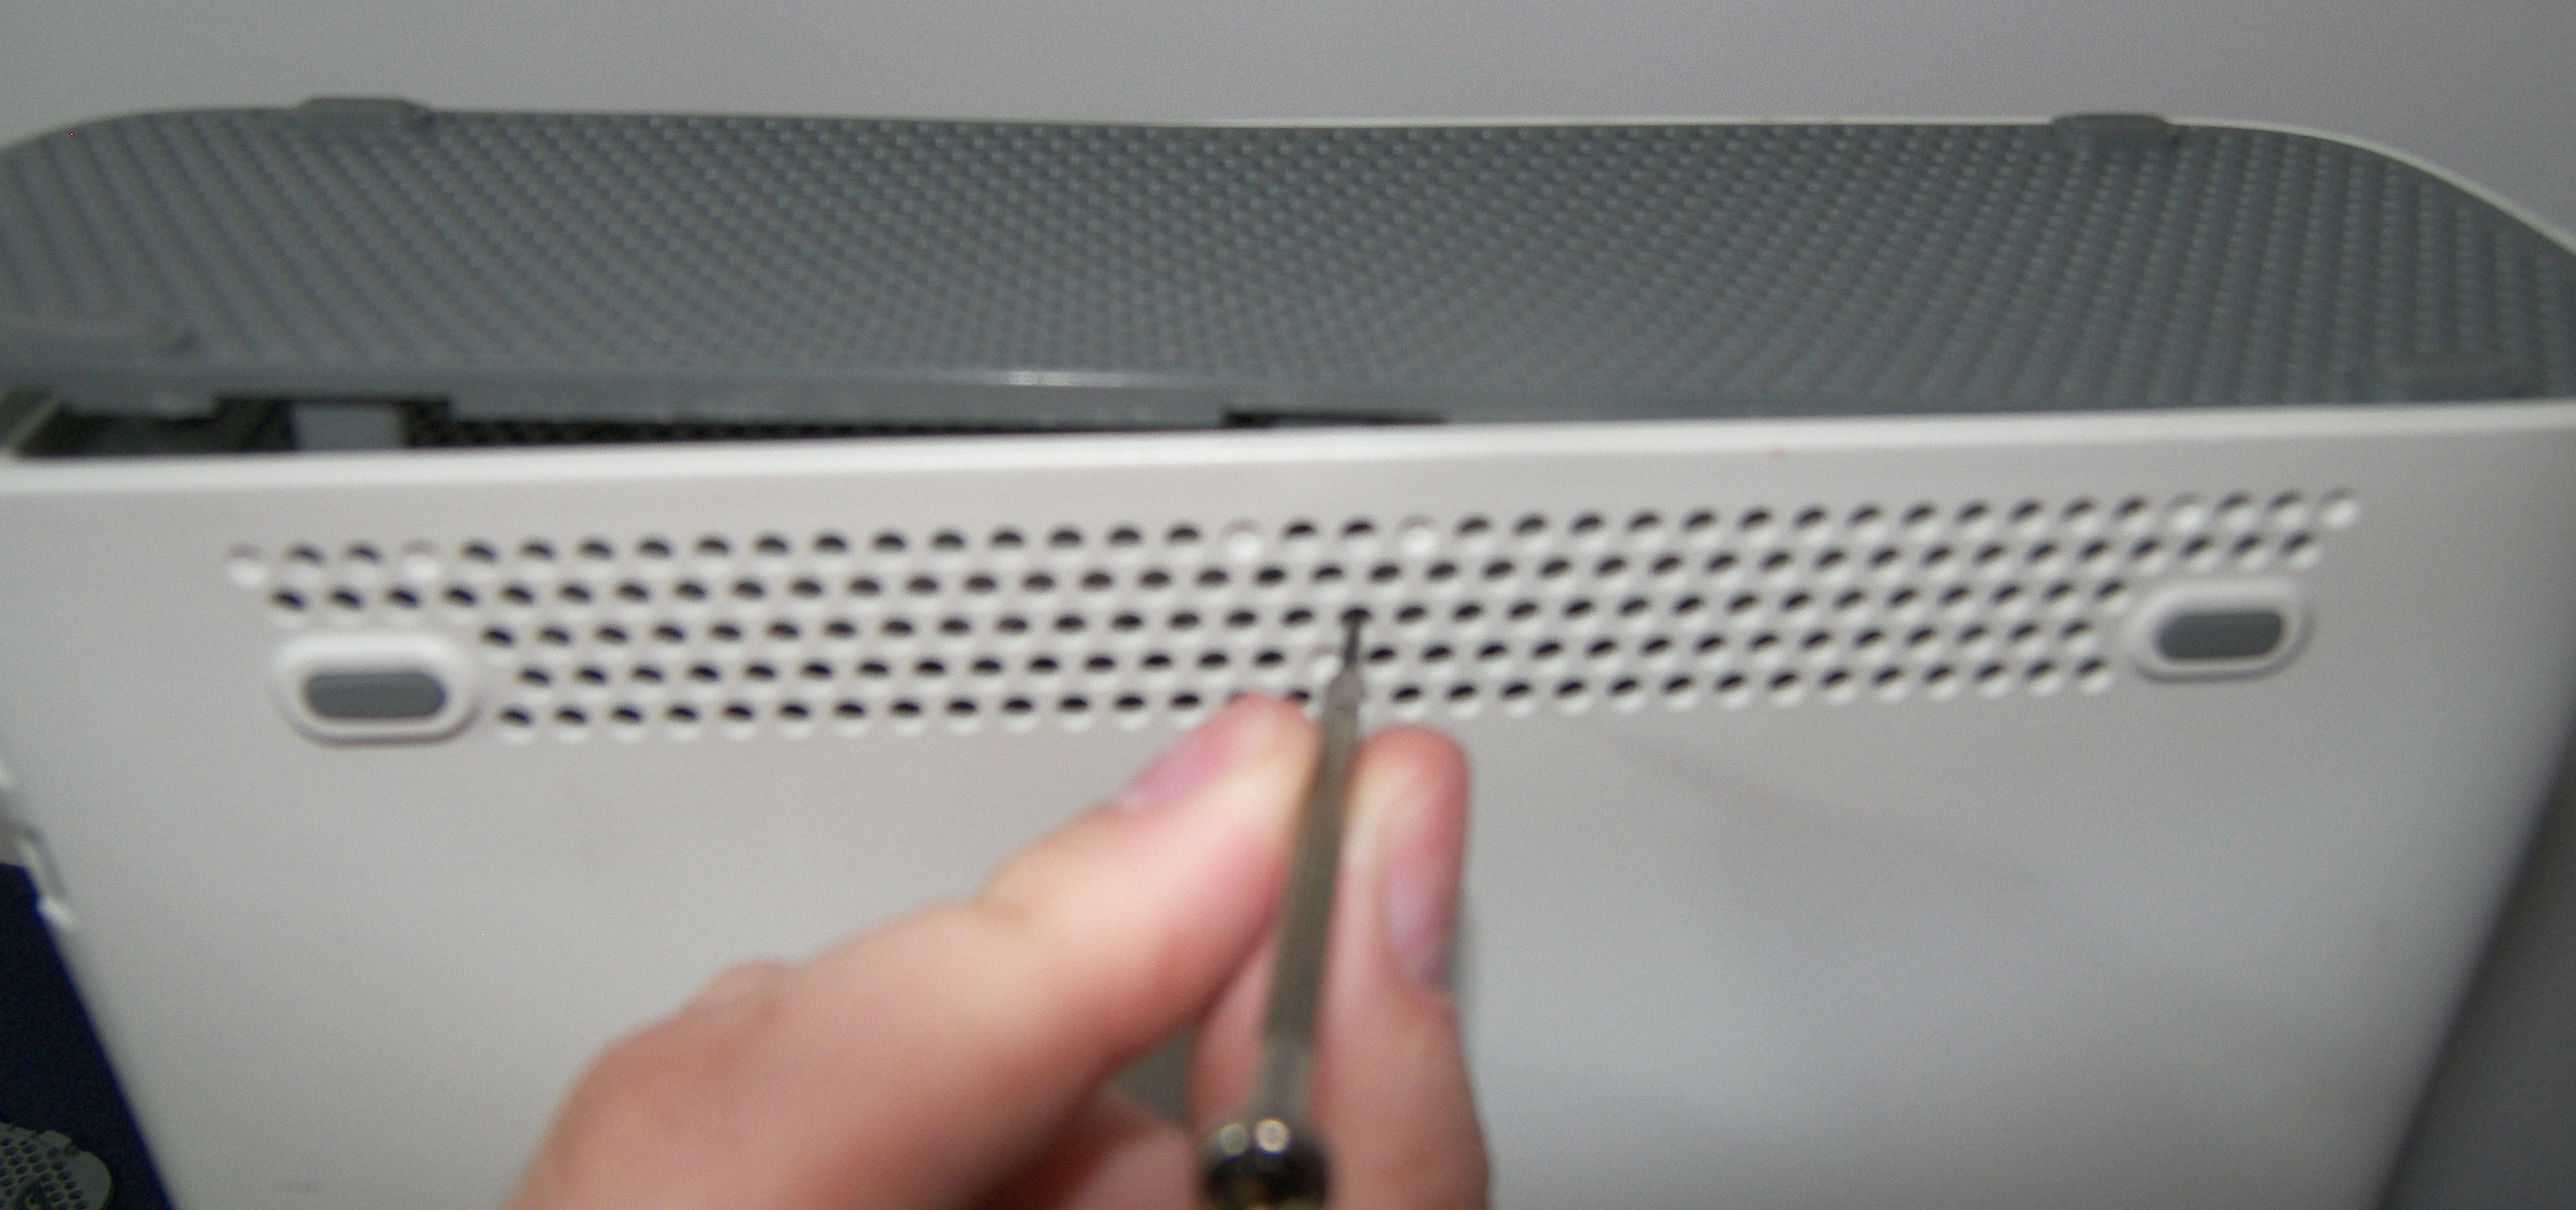
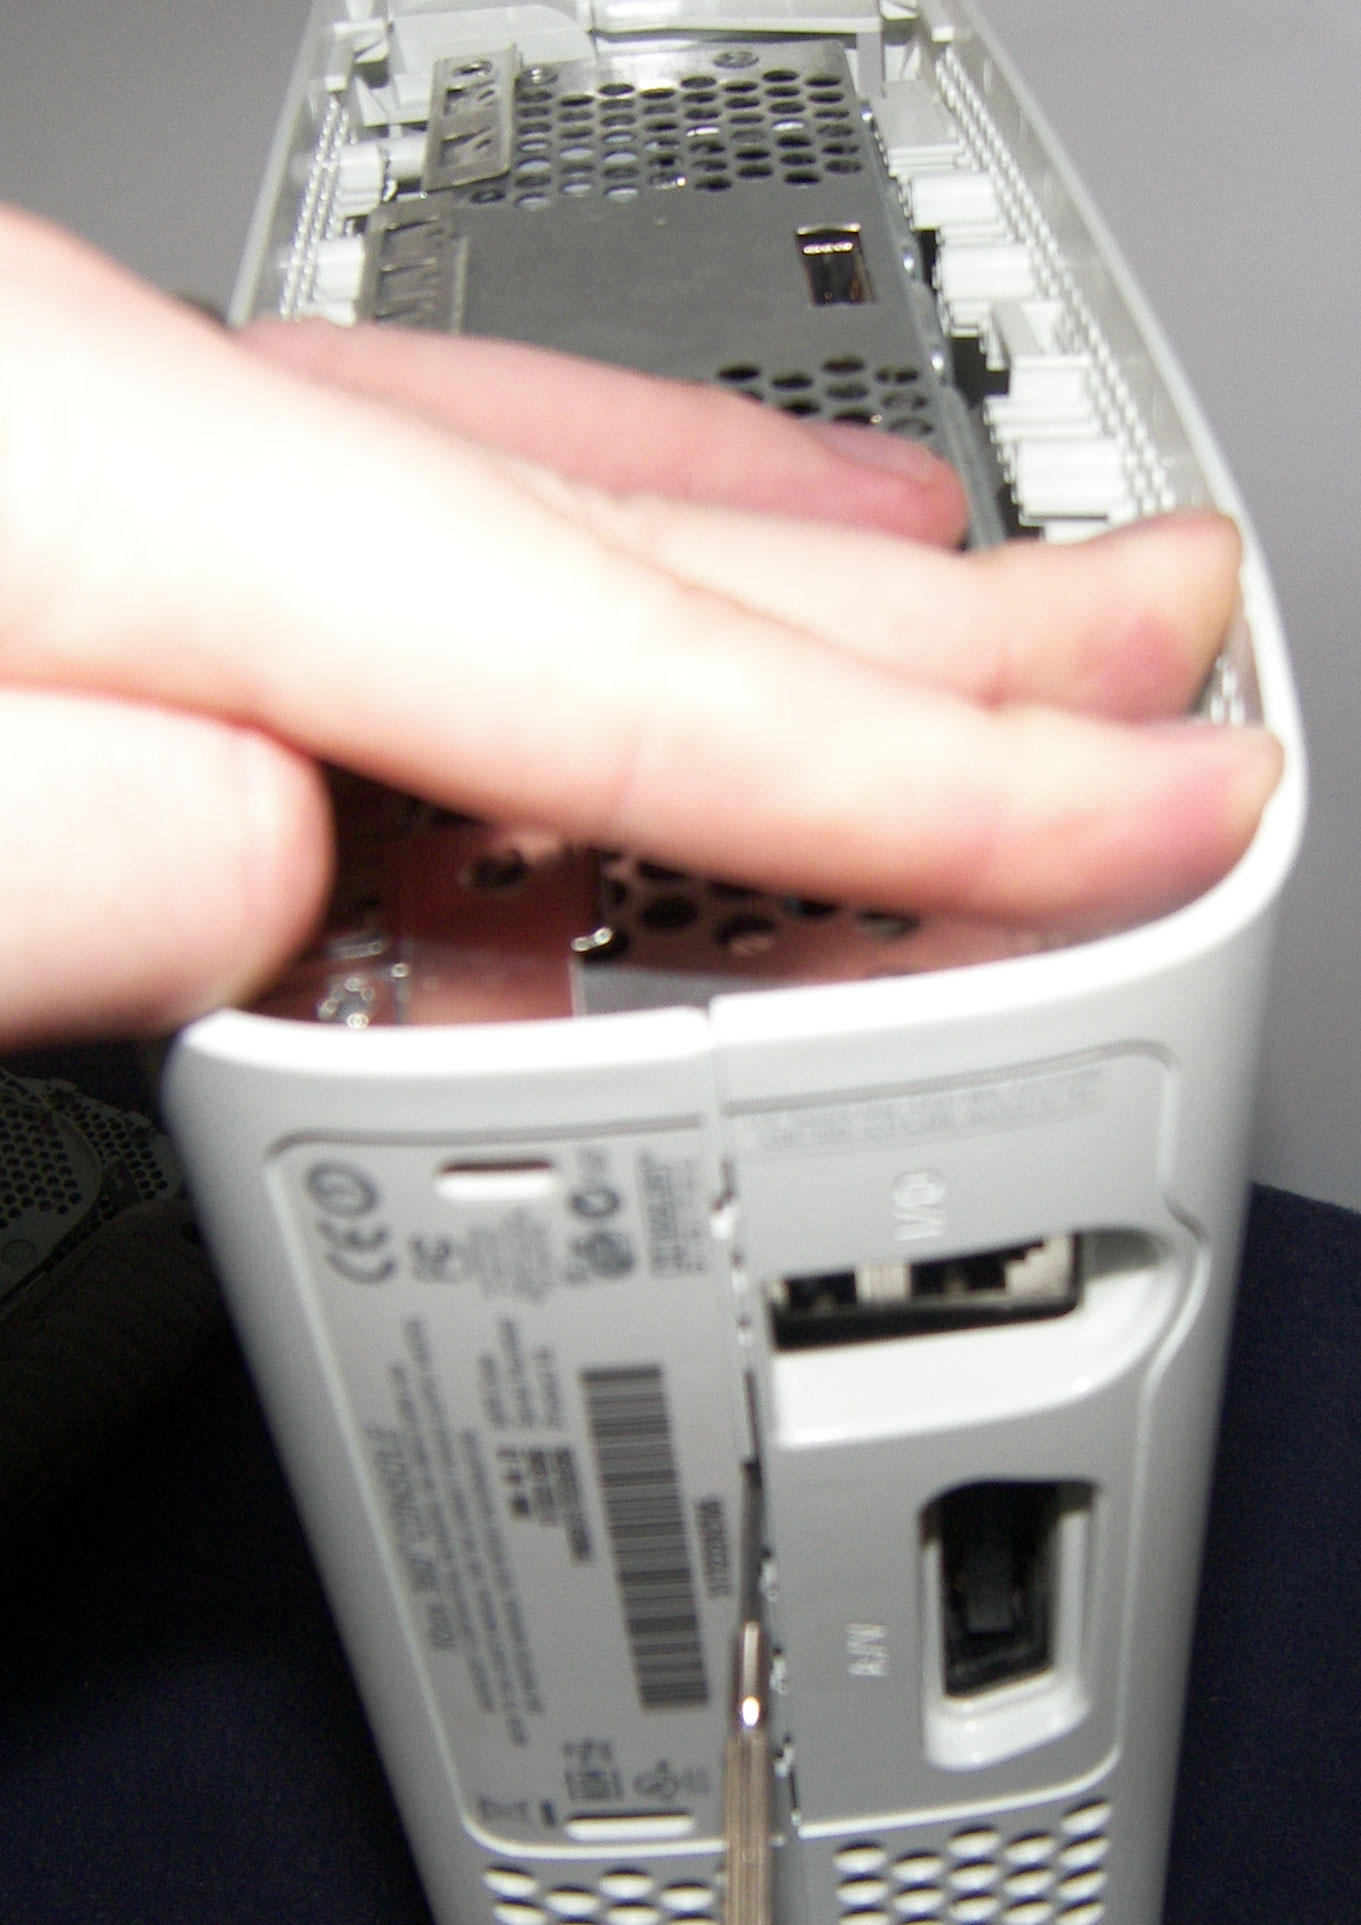
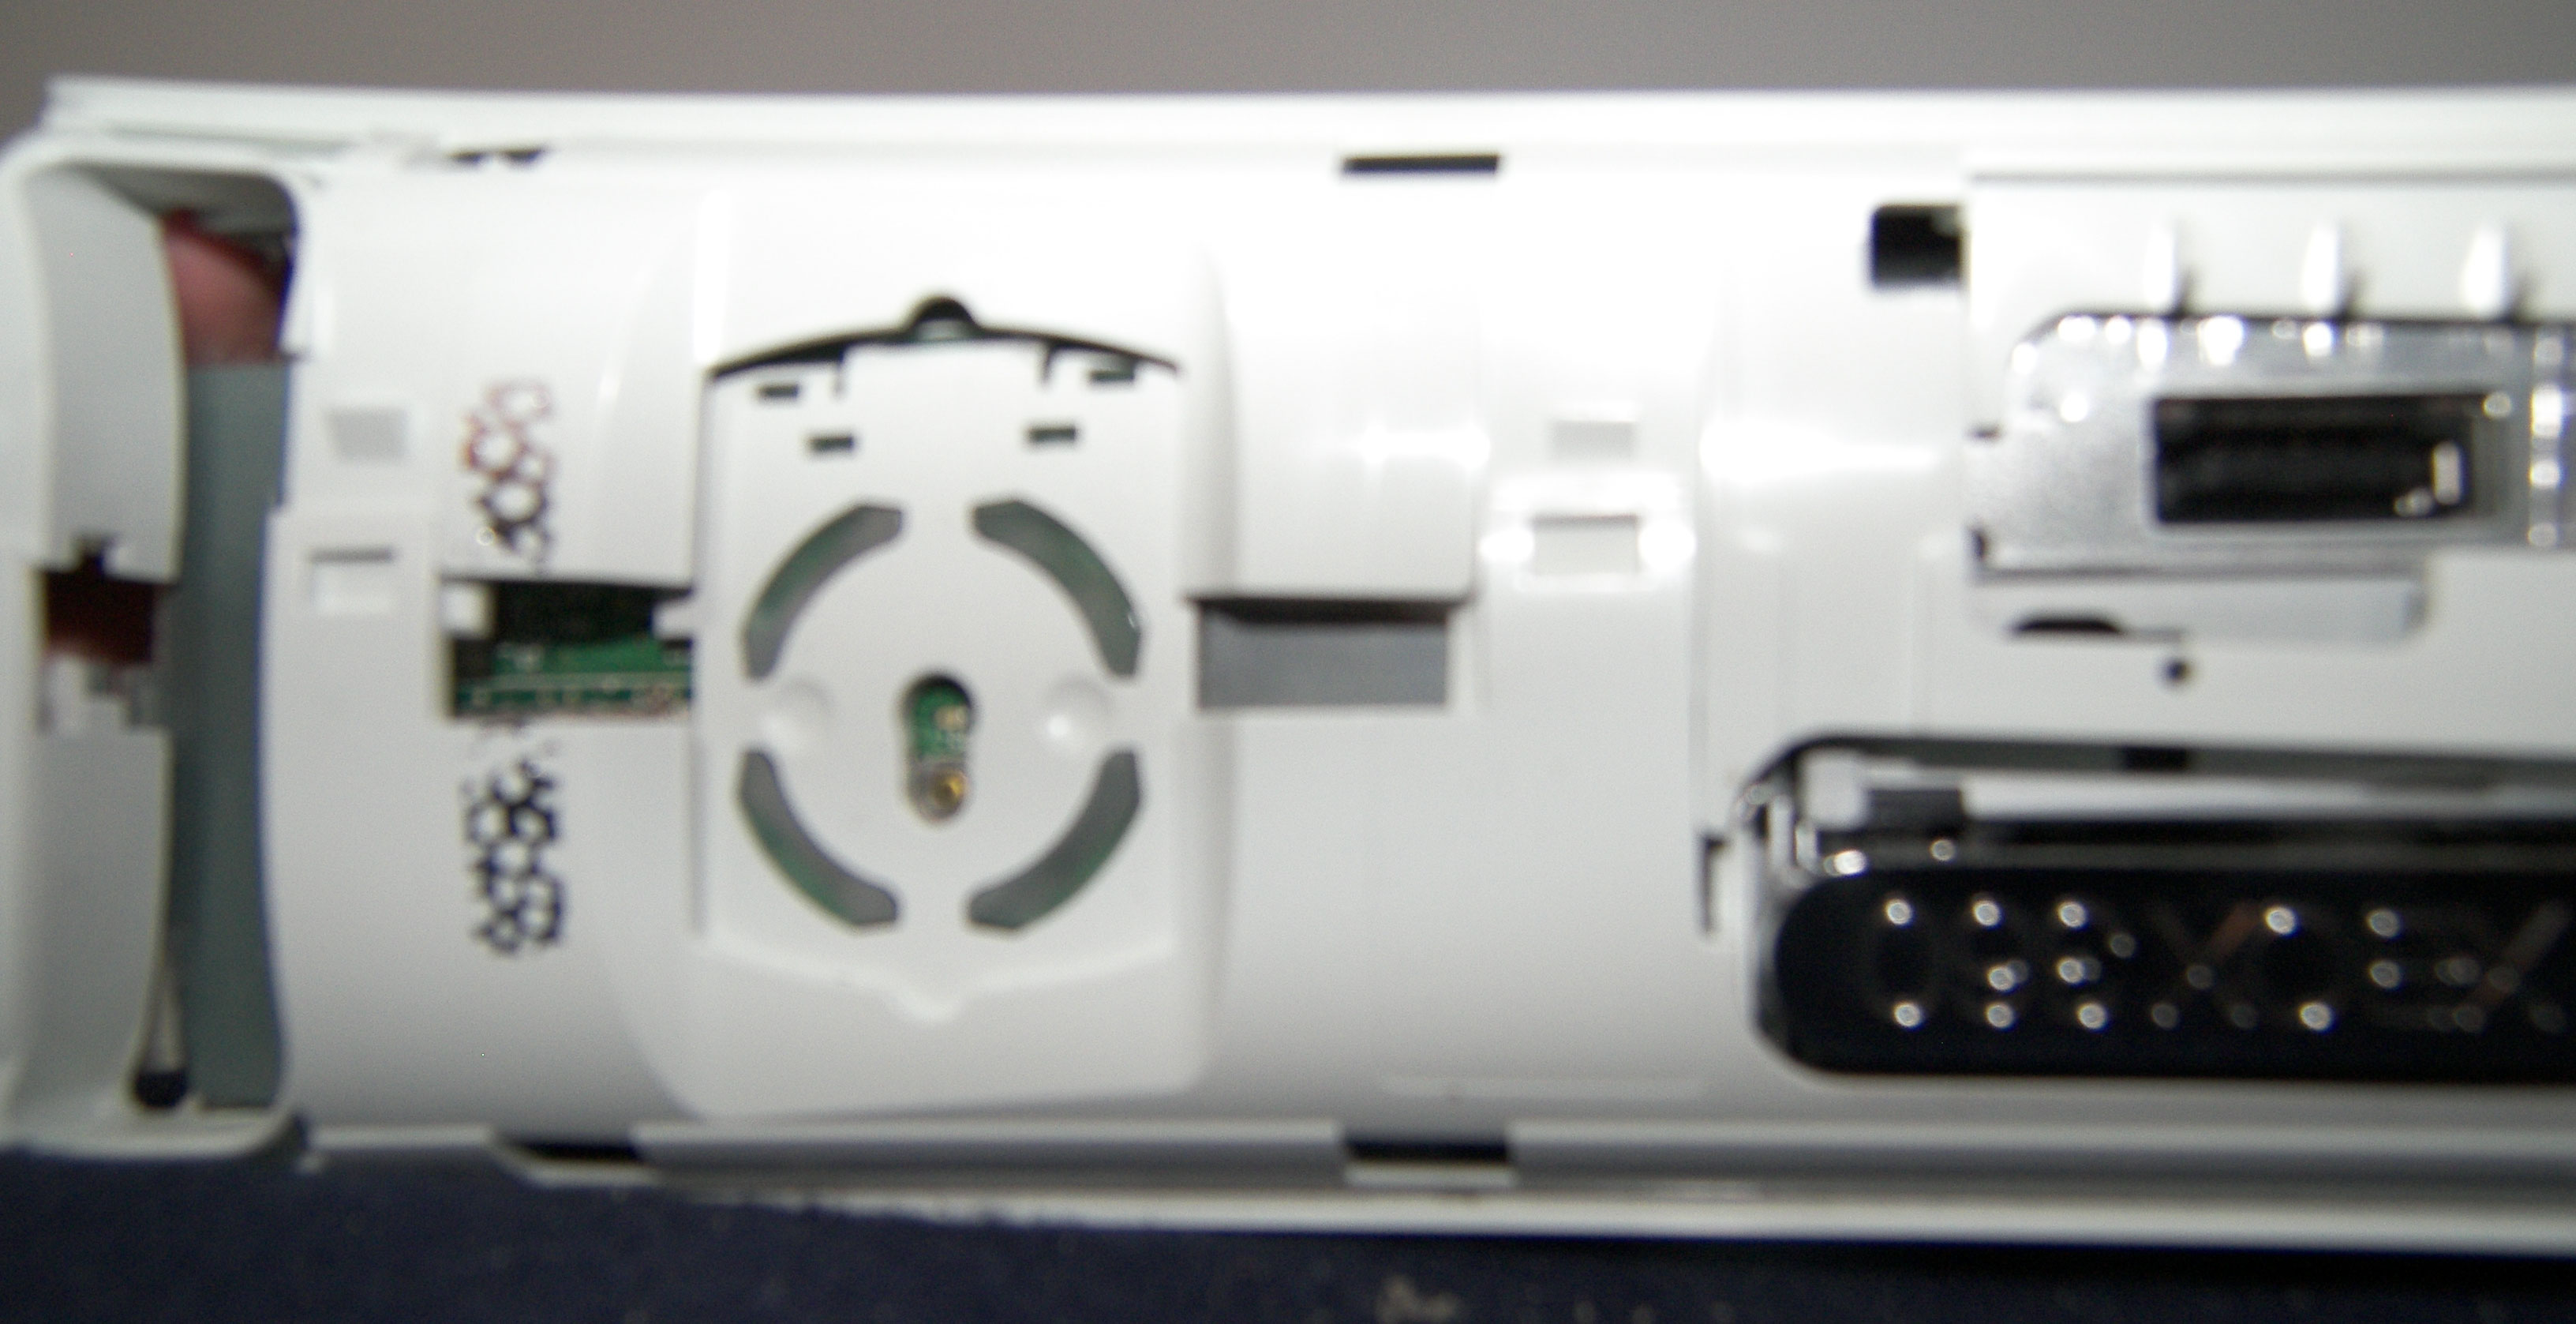
Now we do the same exact thing only to the other side popping out all 6 tabs on this one (3 on each side).
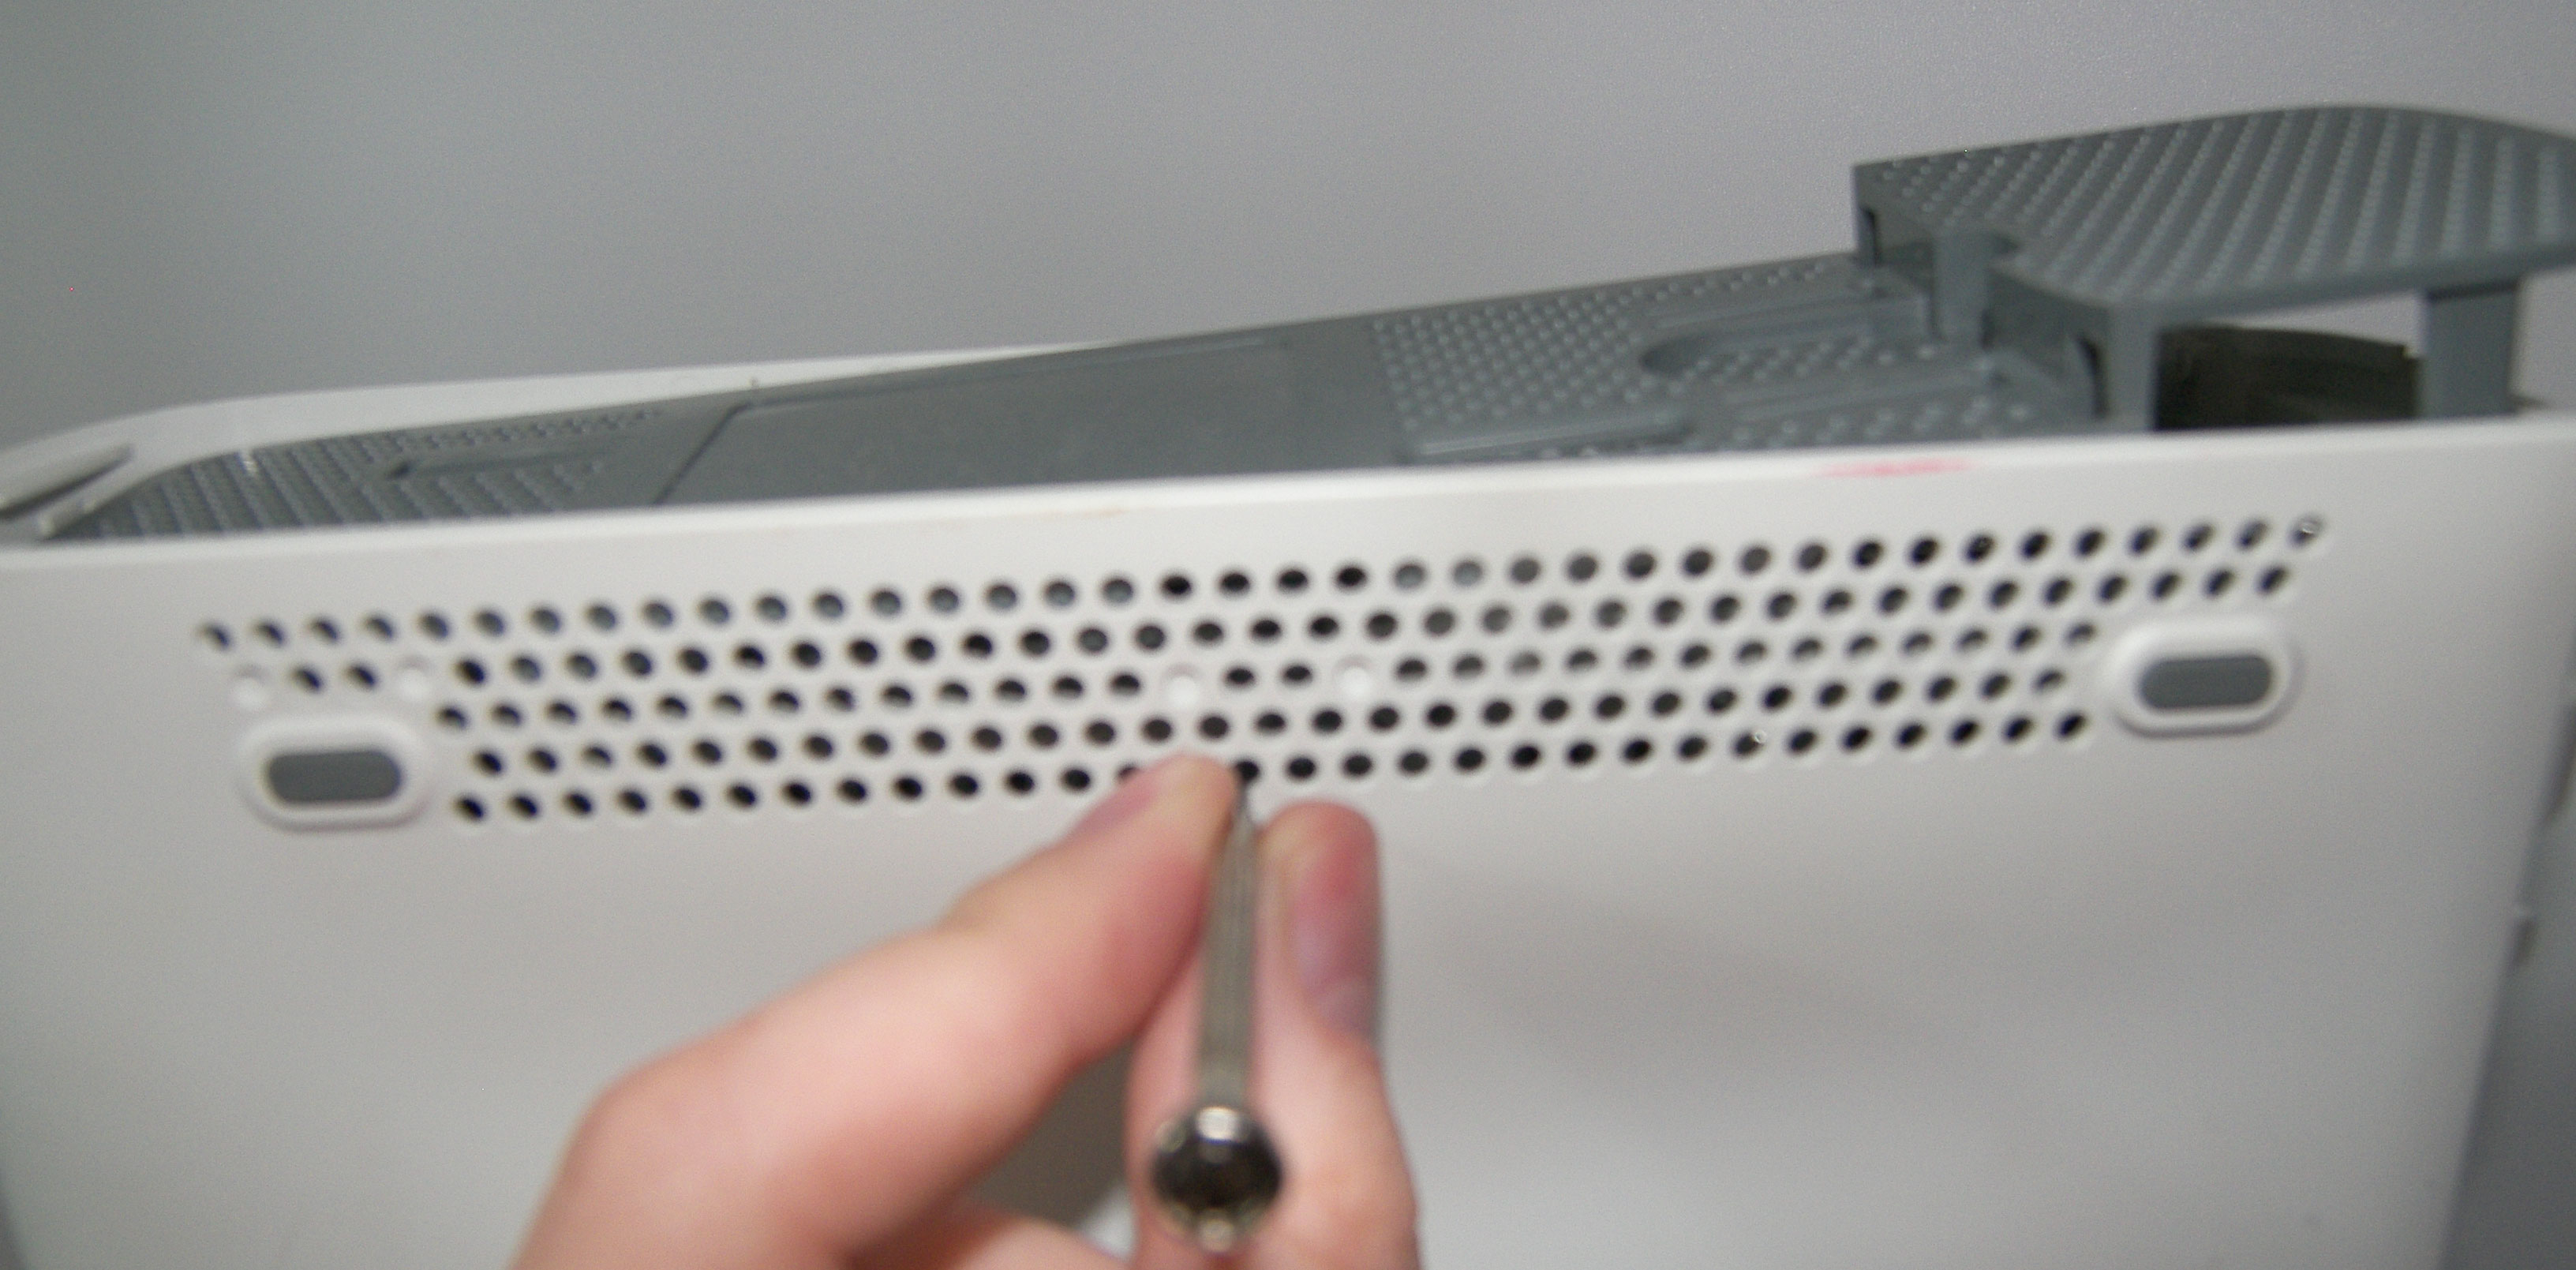
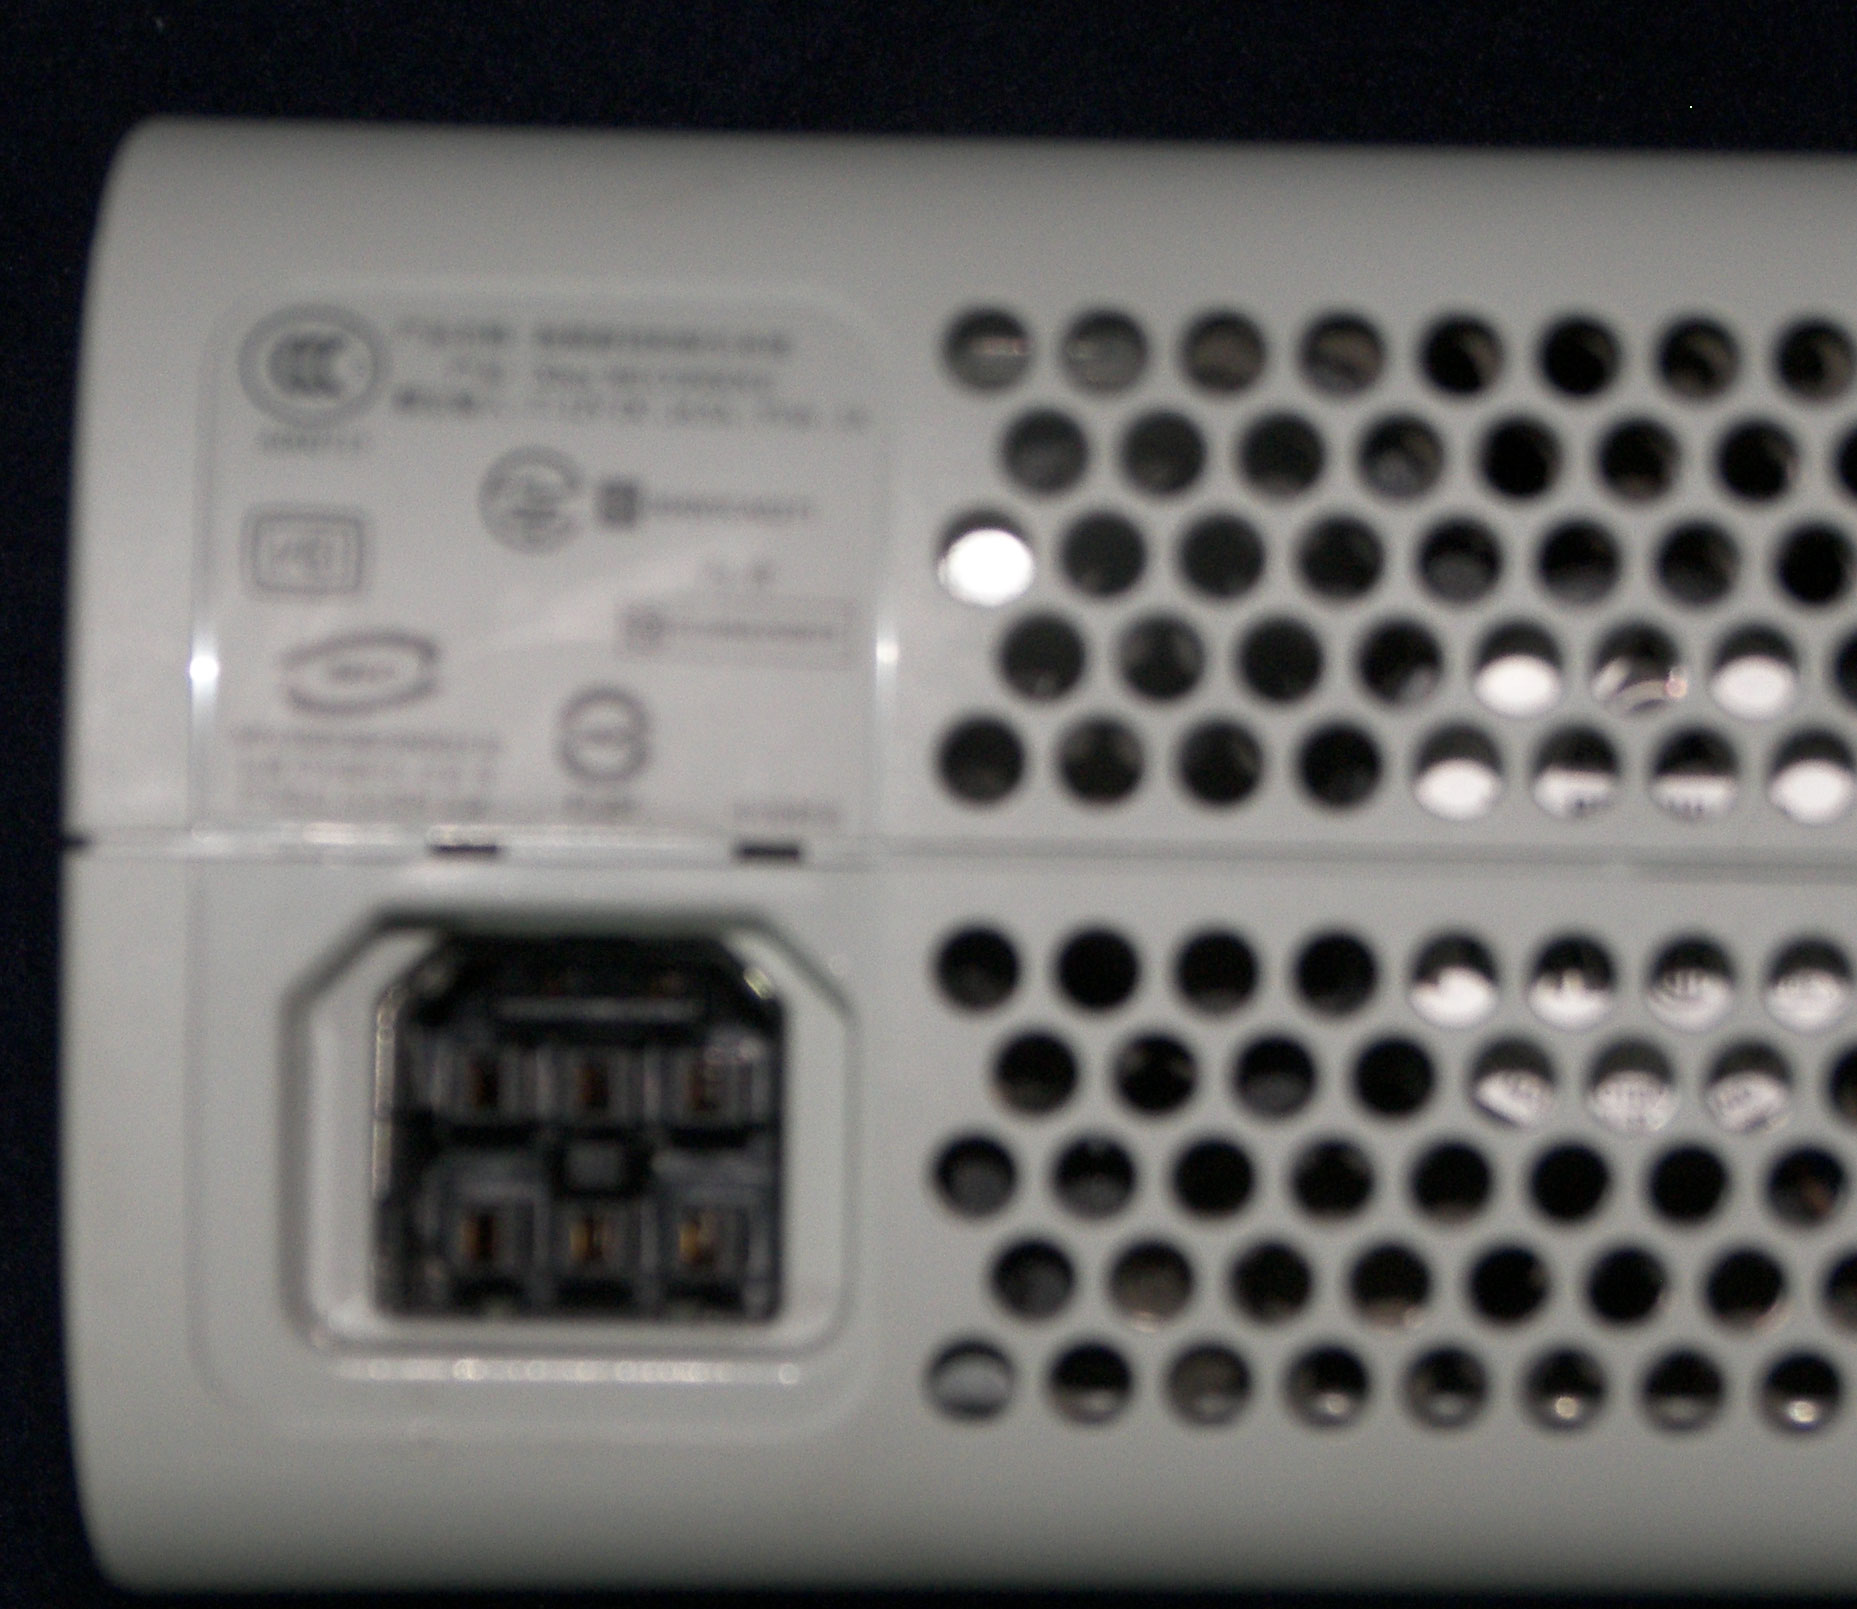
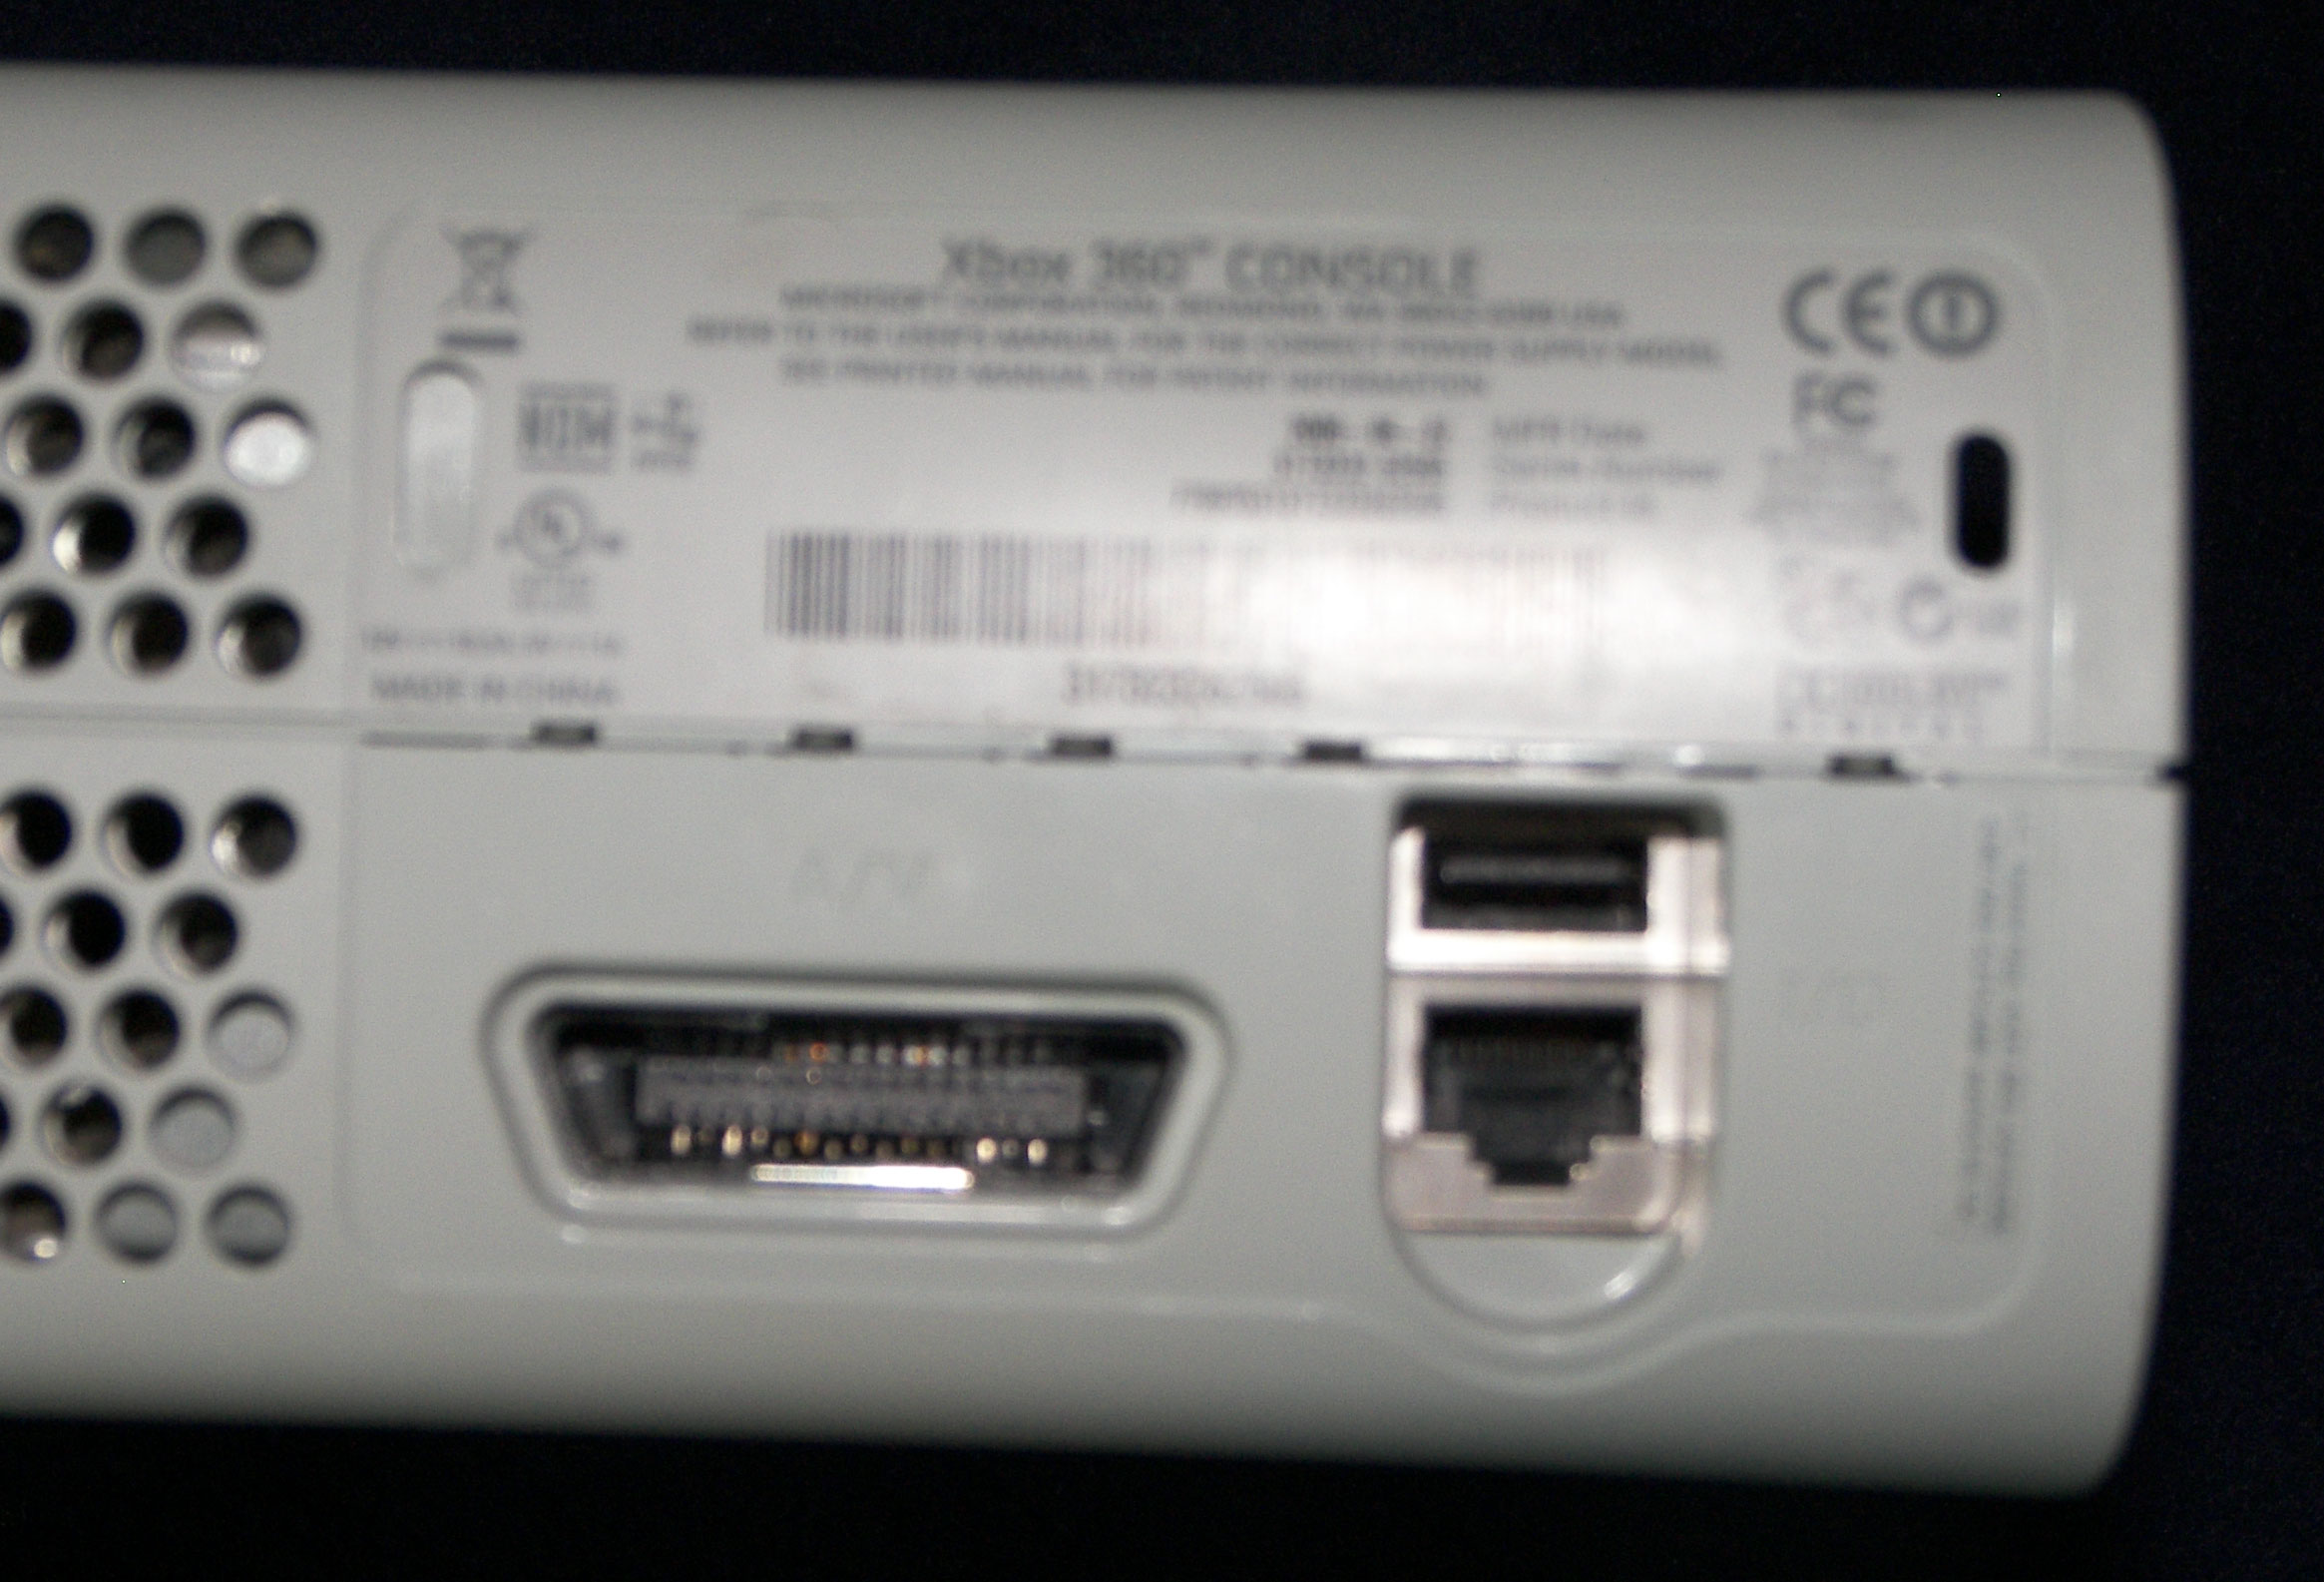
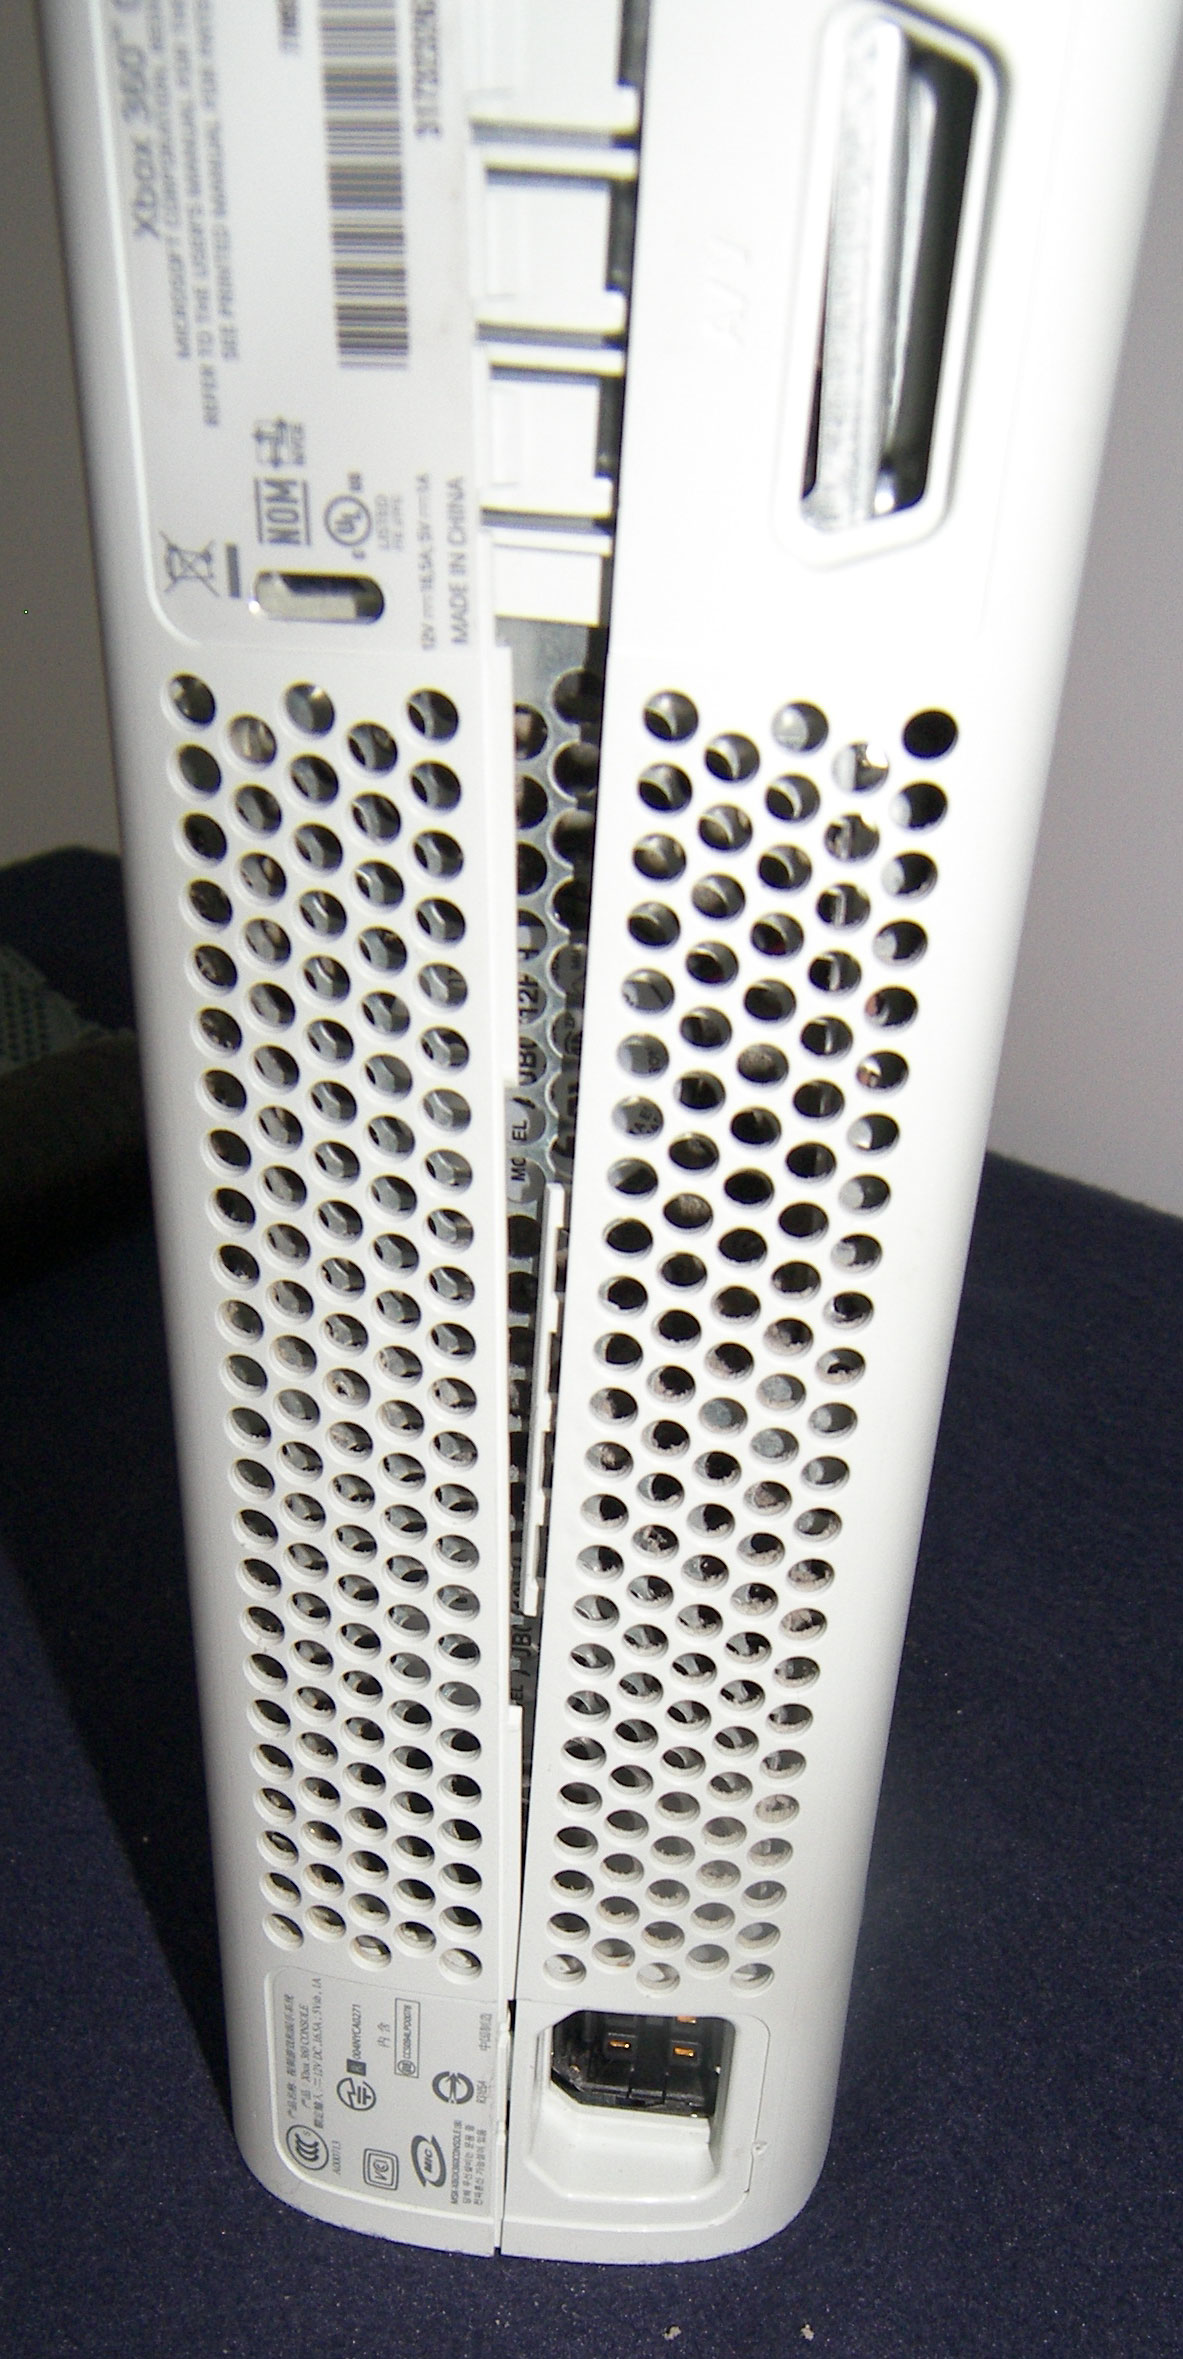
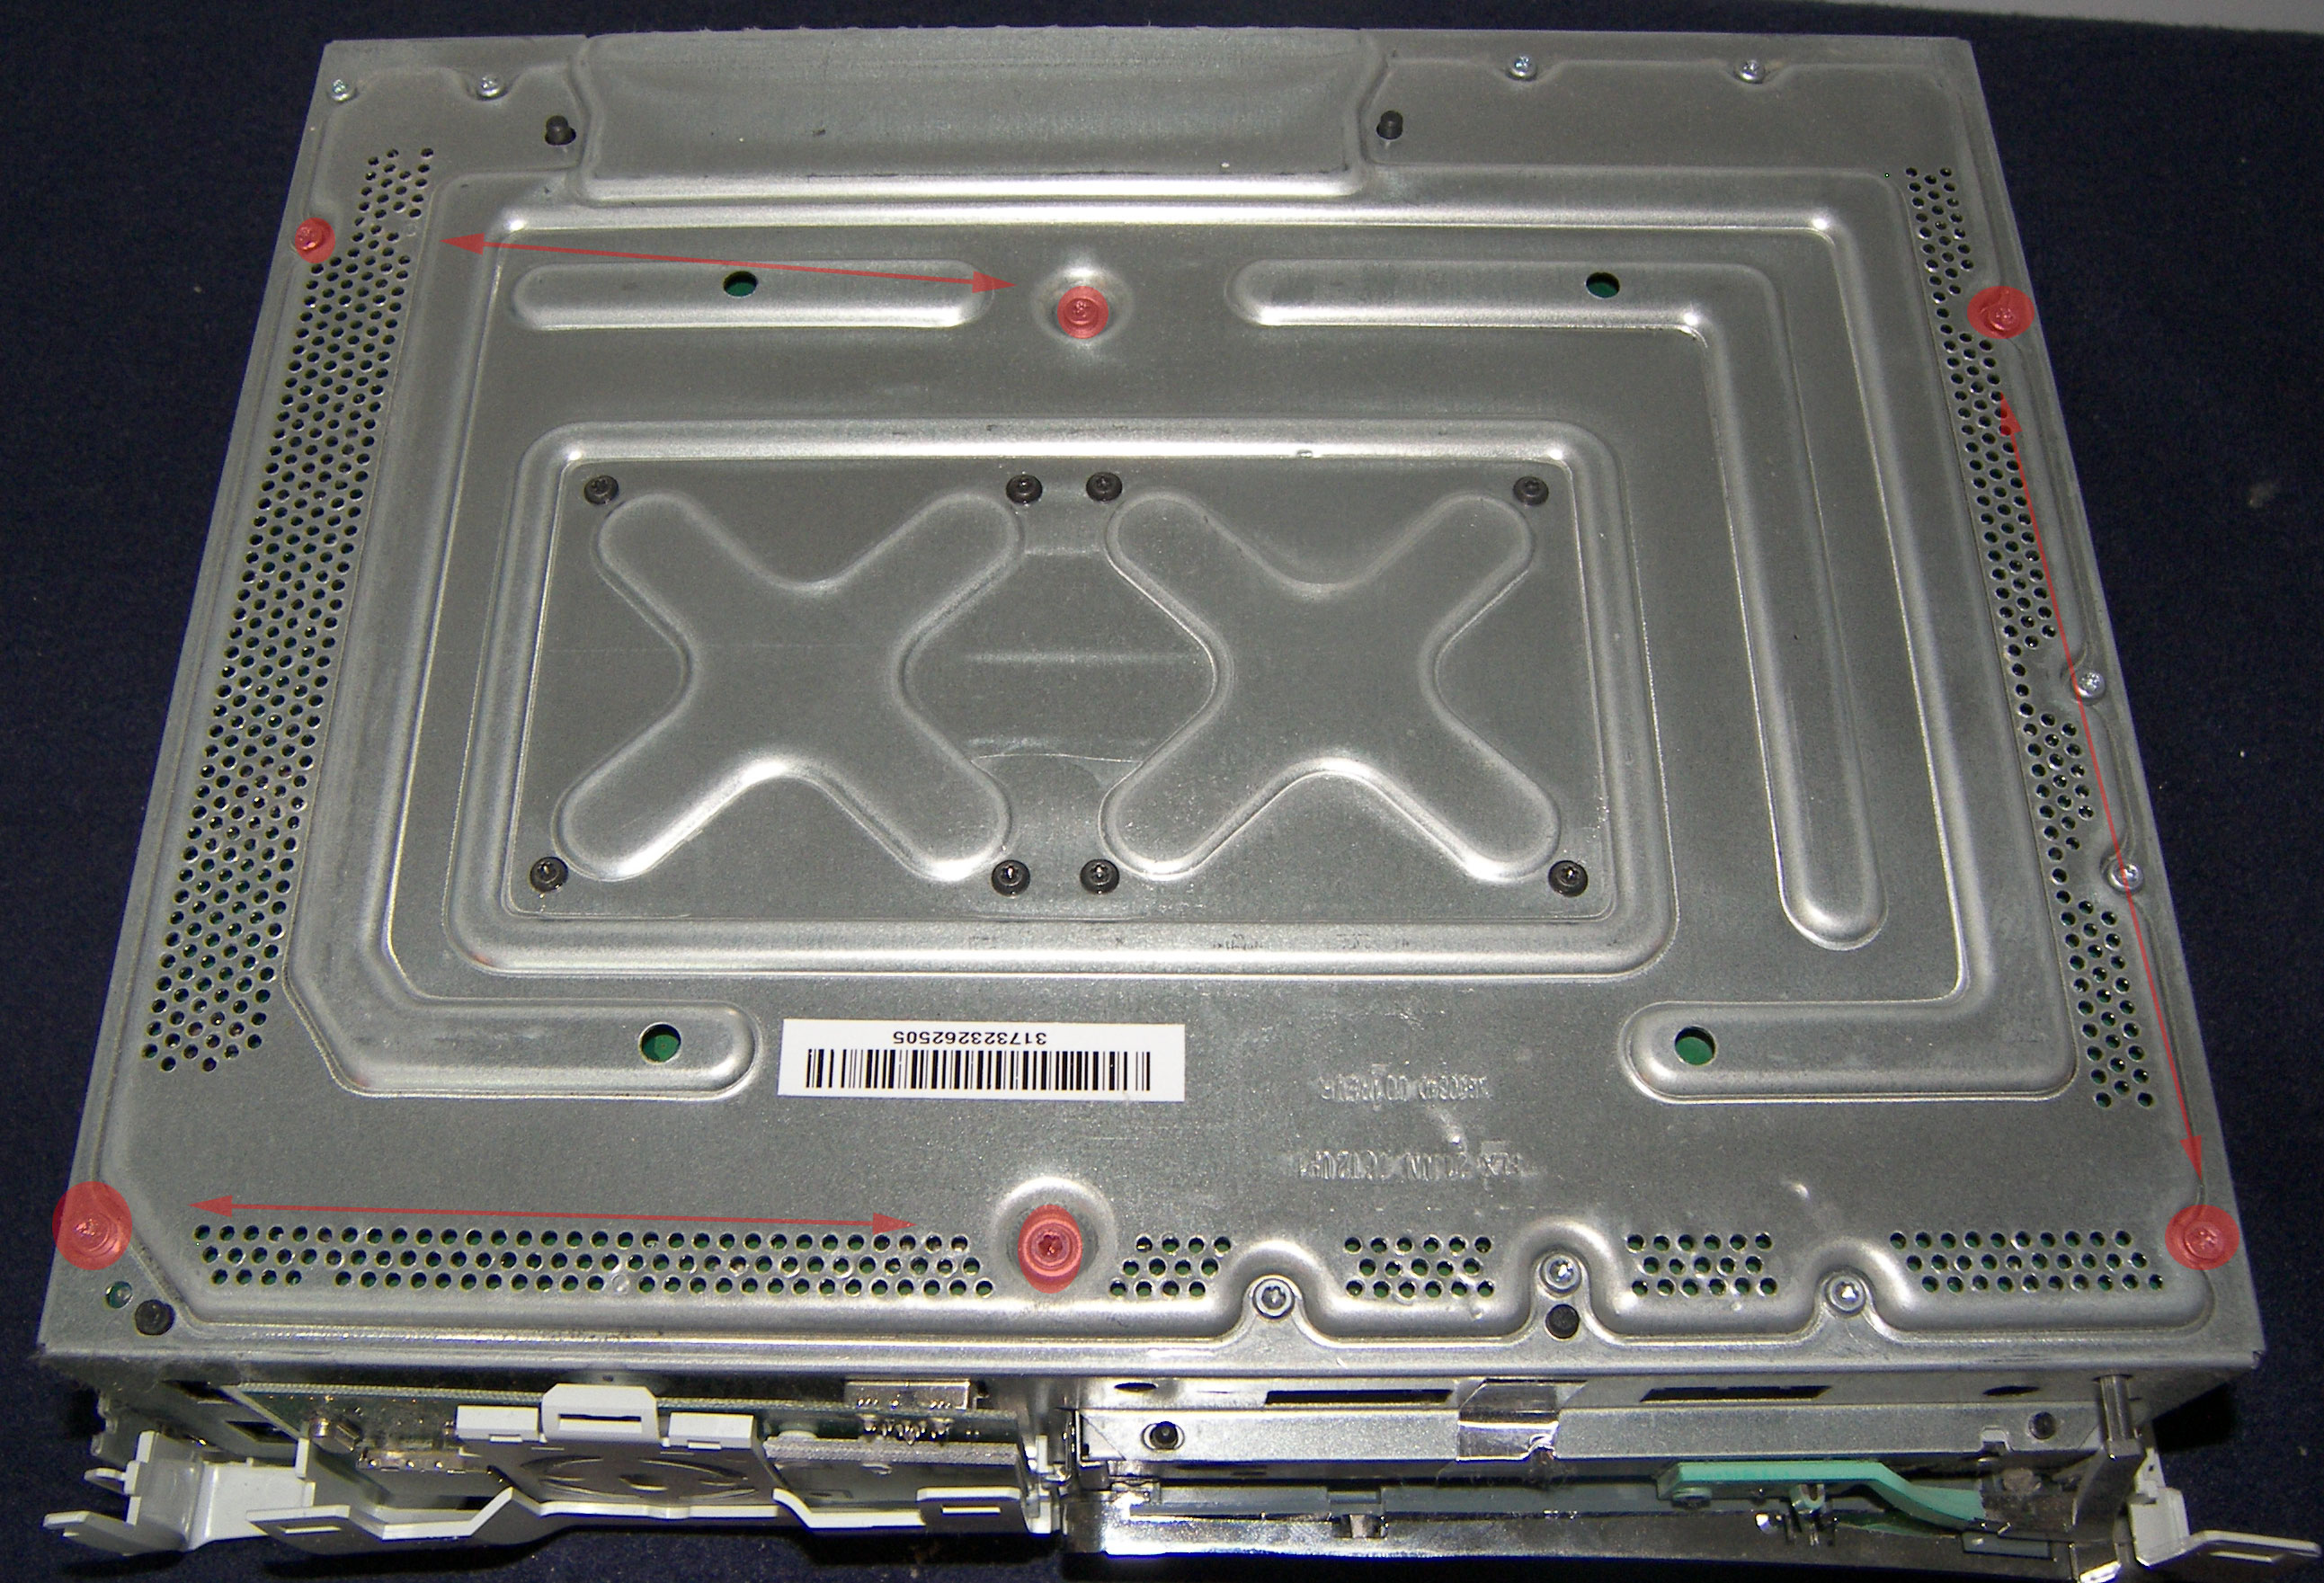
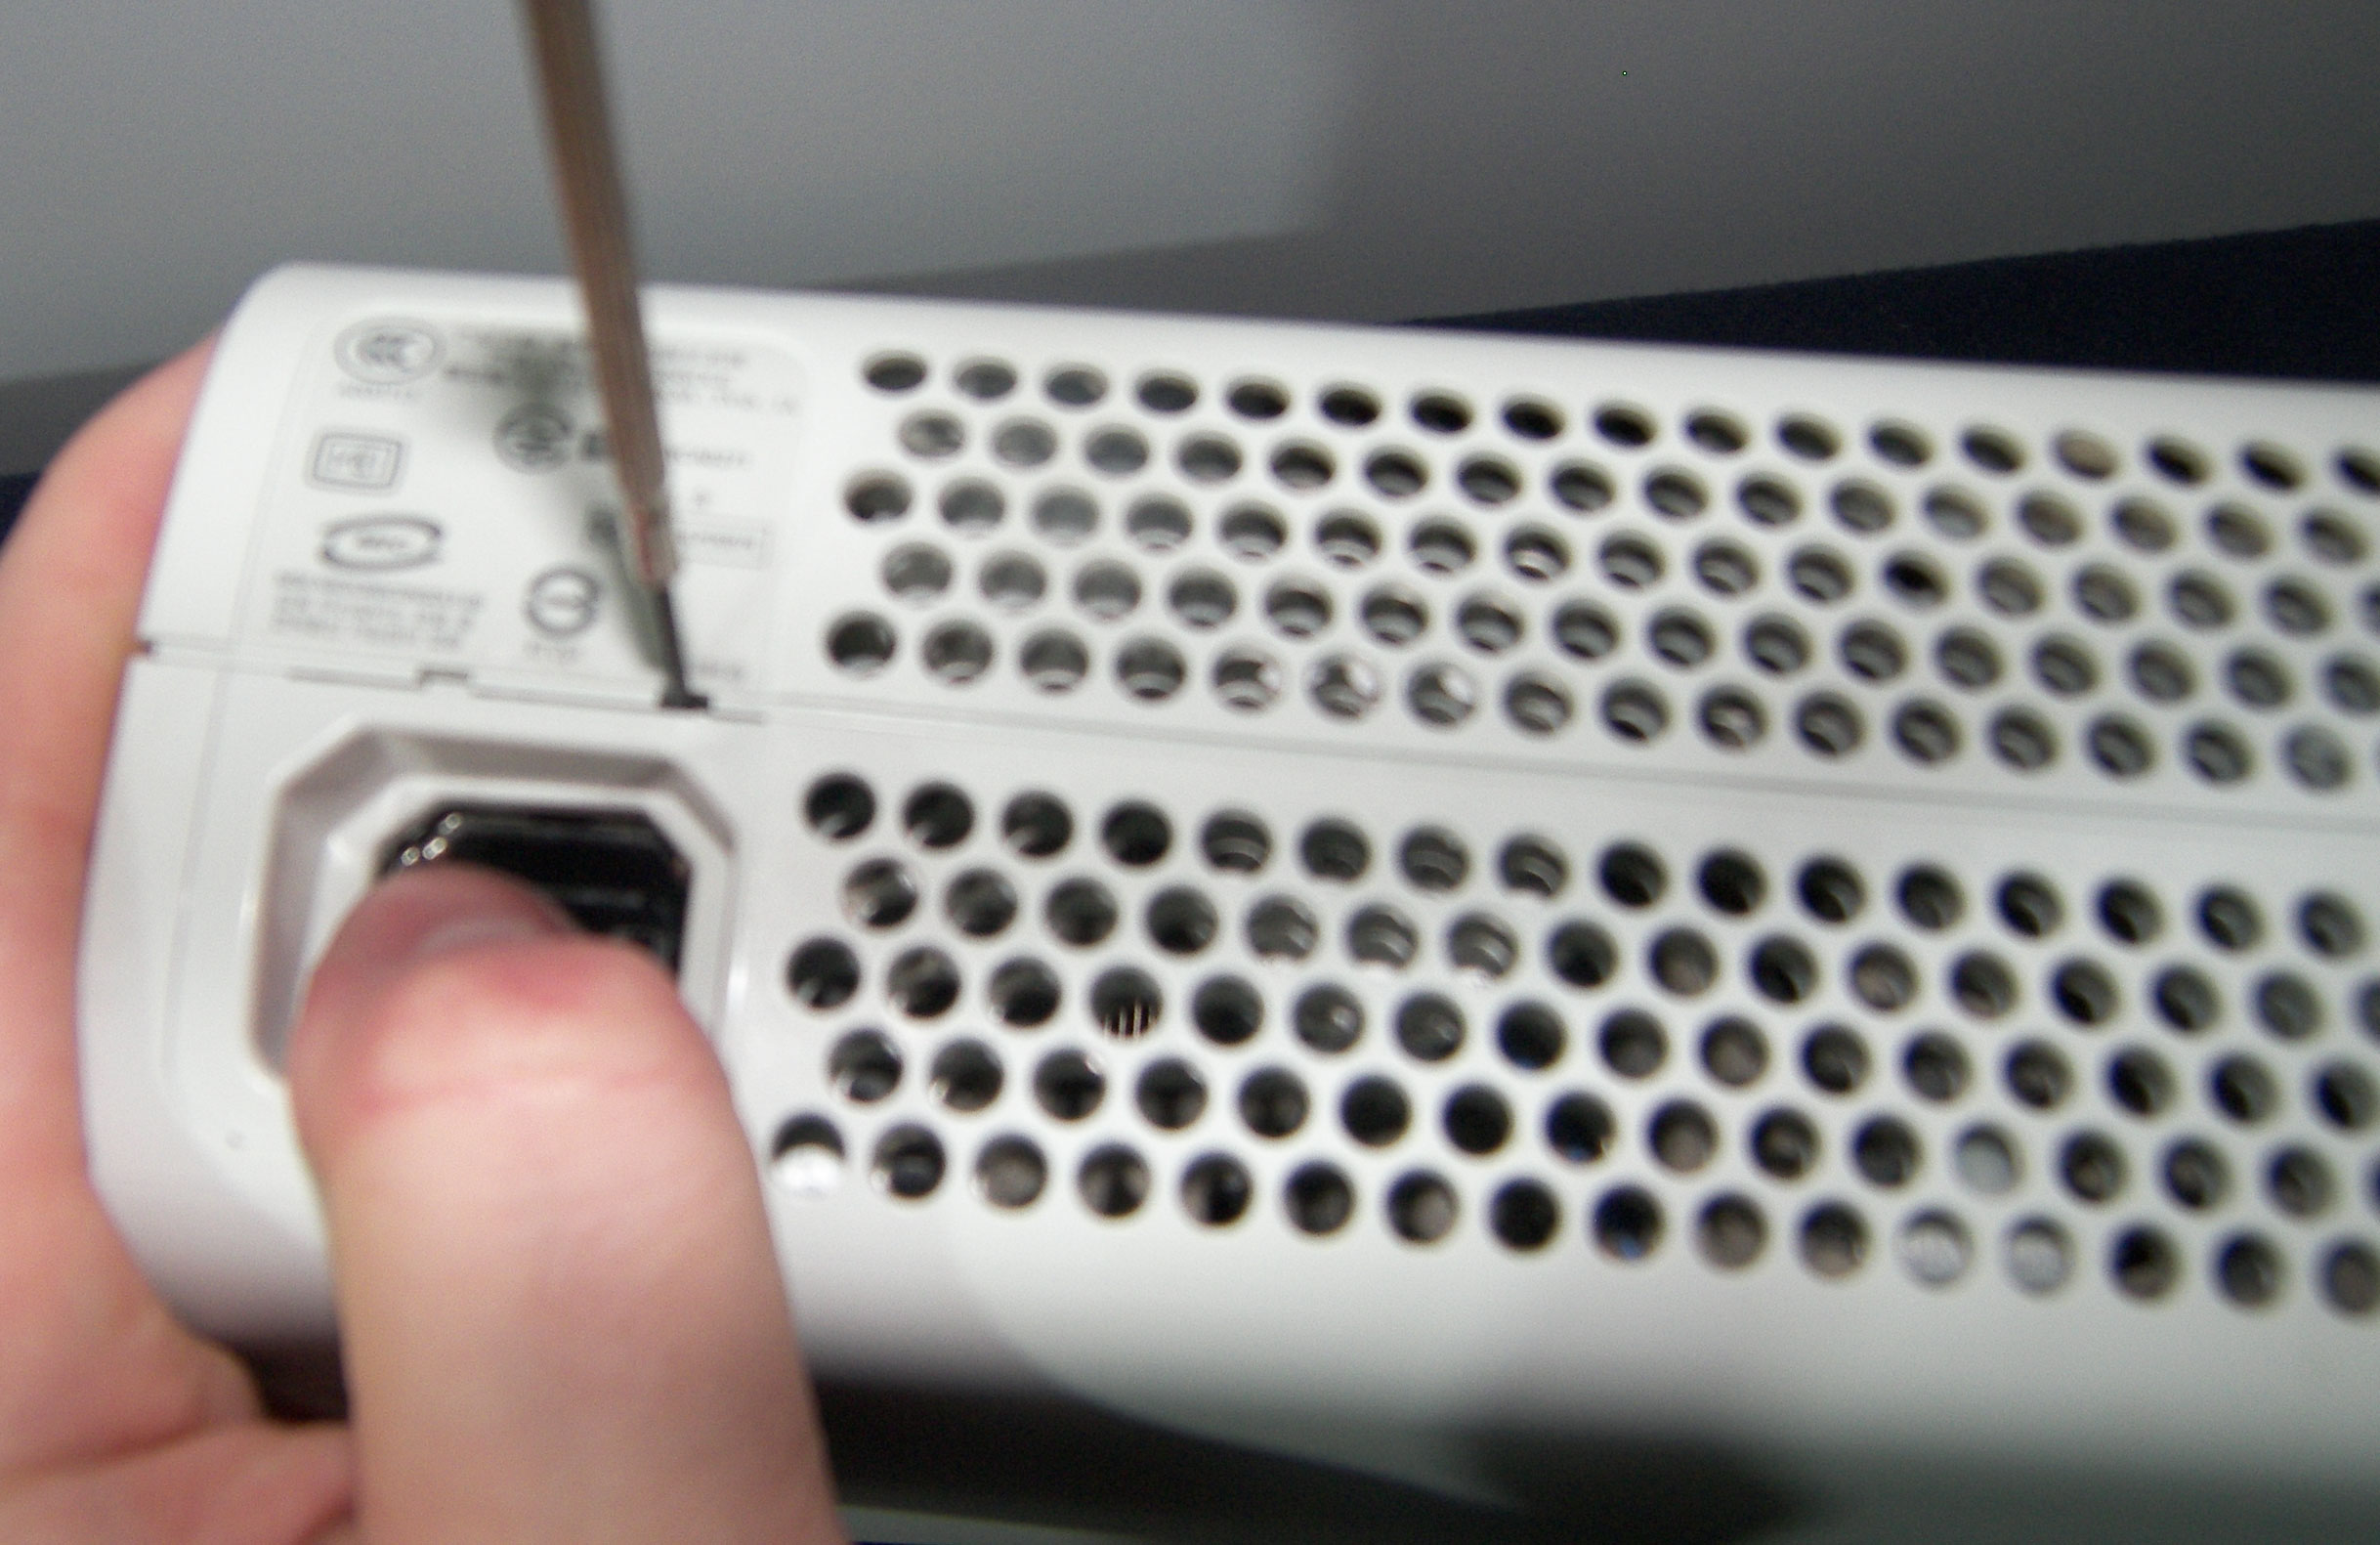
On the back side of your xbox around where your power and video cables go in there are a series of small holes that latch the entire case together. There are 2 above the power supply and 5 above the video/LAN ports.
If you take a very close look inside of these little holes you'll see a small white tab which is what you have to press with the screwdriver. Also notice that there is a clear line dividing your case in half. When you push in you should hear a popping sound which is the tab releasing. While using 1 hand to pop these tabs out you will have to use your other hand to push on one side of the case while pulling slightly on the other side. As each tab pops you will see the case opening a little bit more. Start at the top and work your way down.
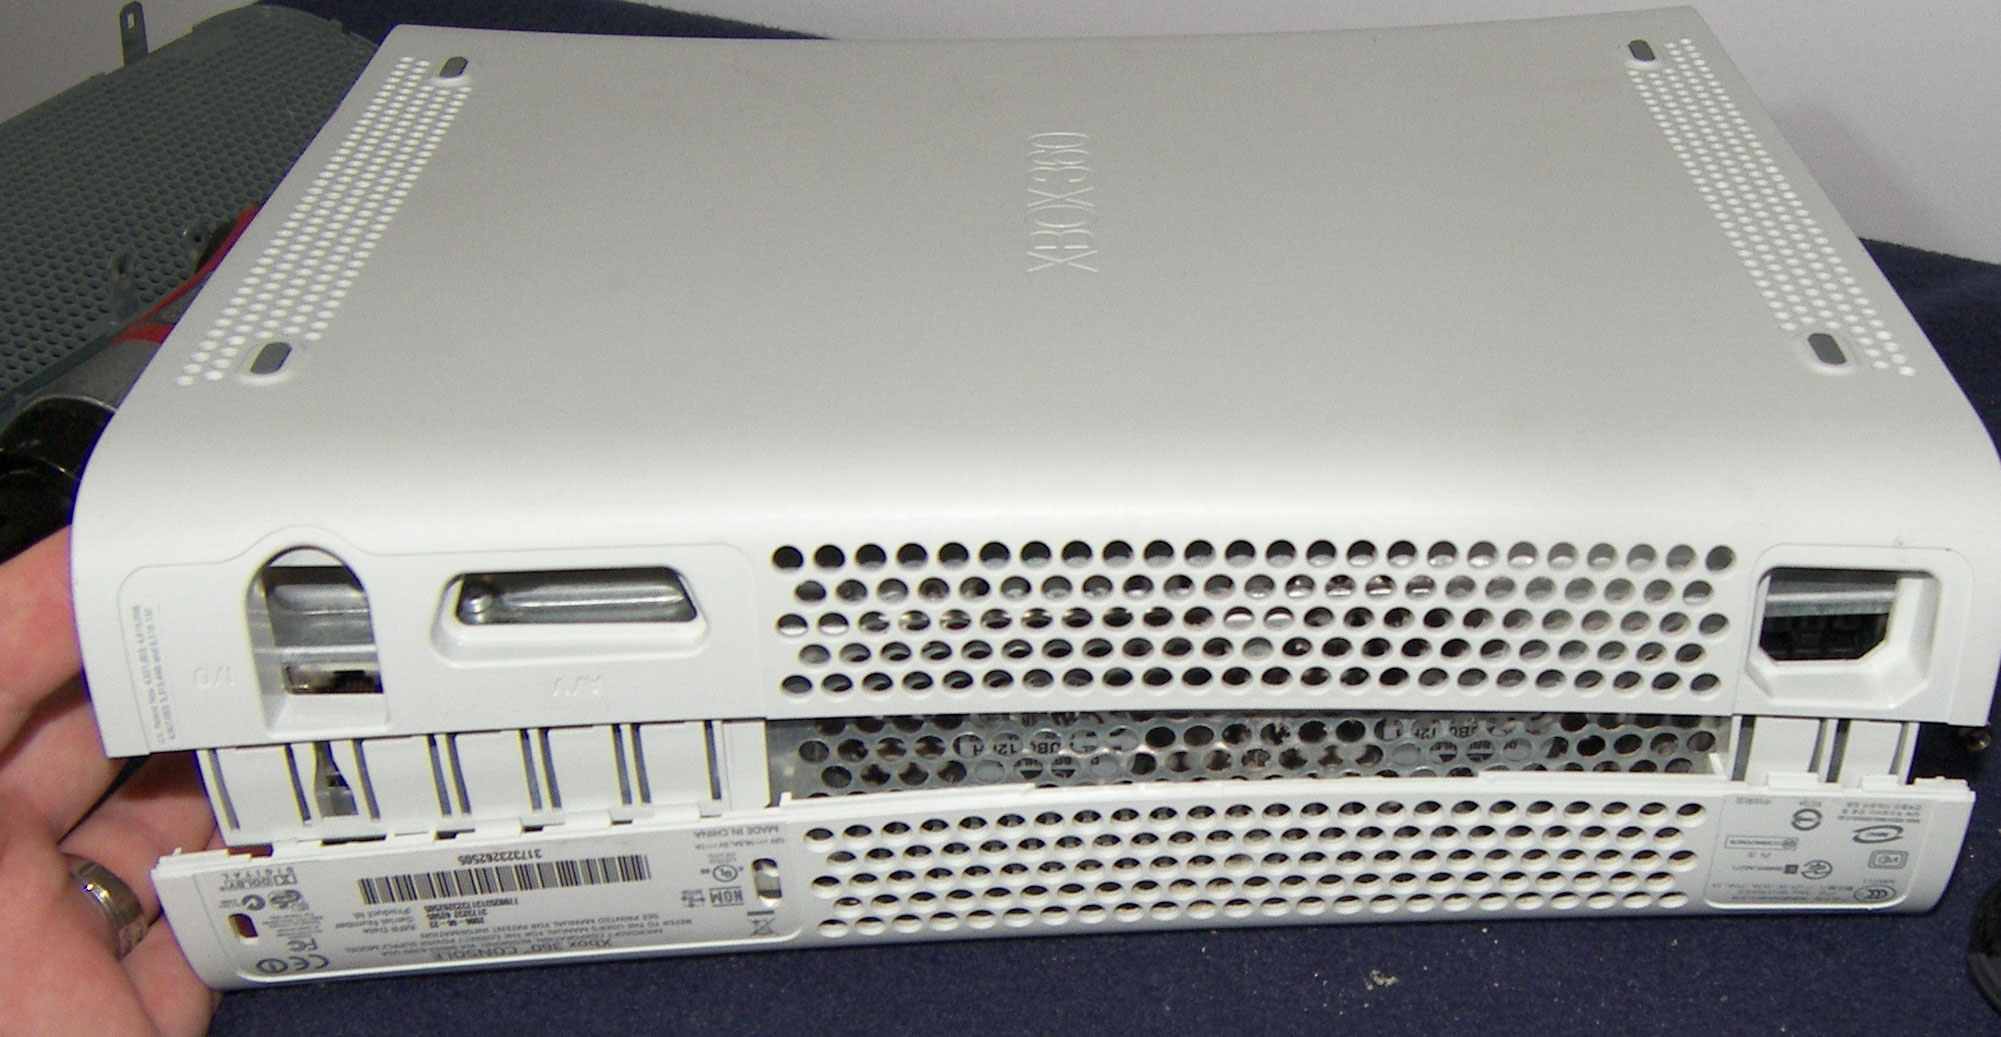
Once you have them all released that side of the case can lift up a little bit. Go ahead and lift it a bit and then turn your xbox around so you can release the clips on the other side.
Start on this side by removing your Microsoft warranty seal.
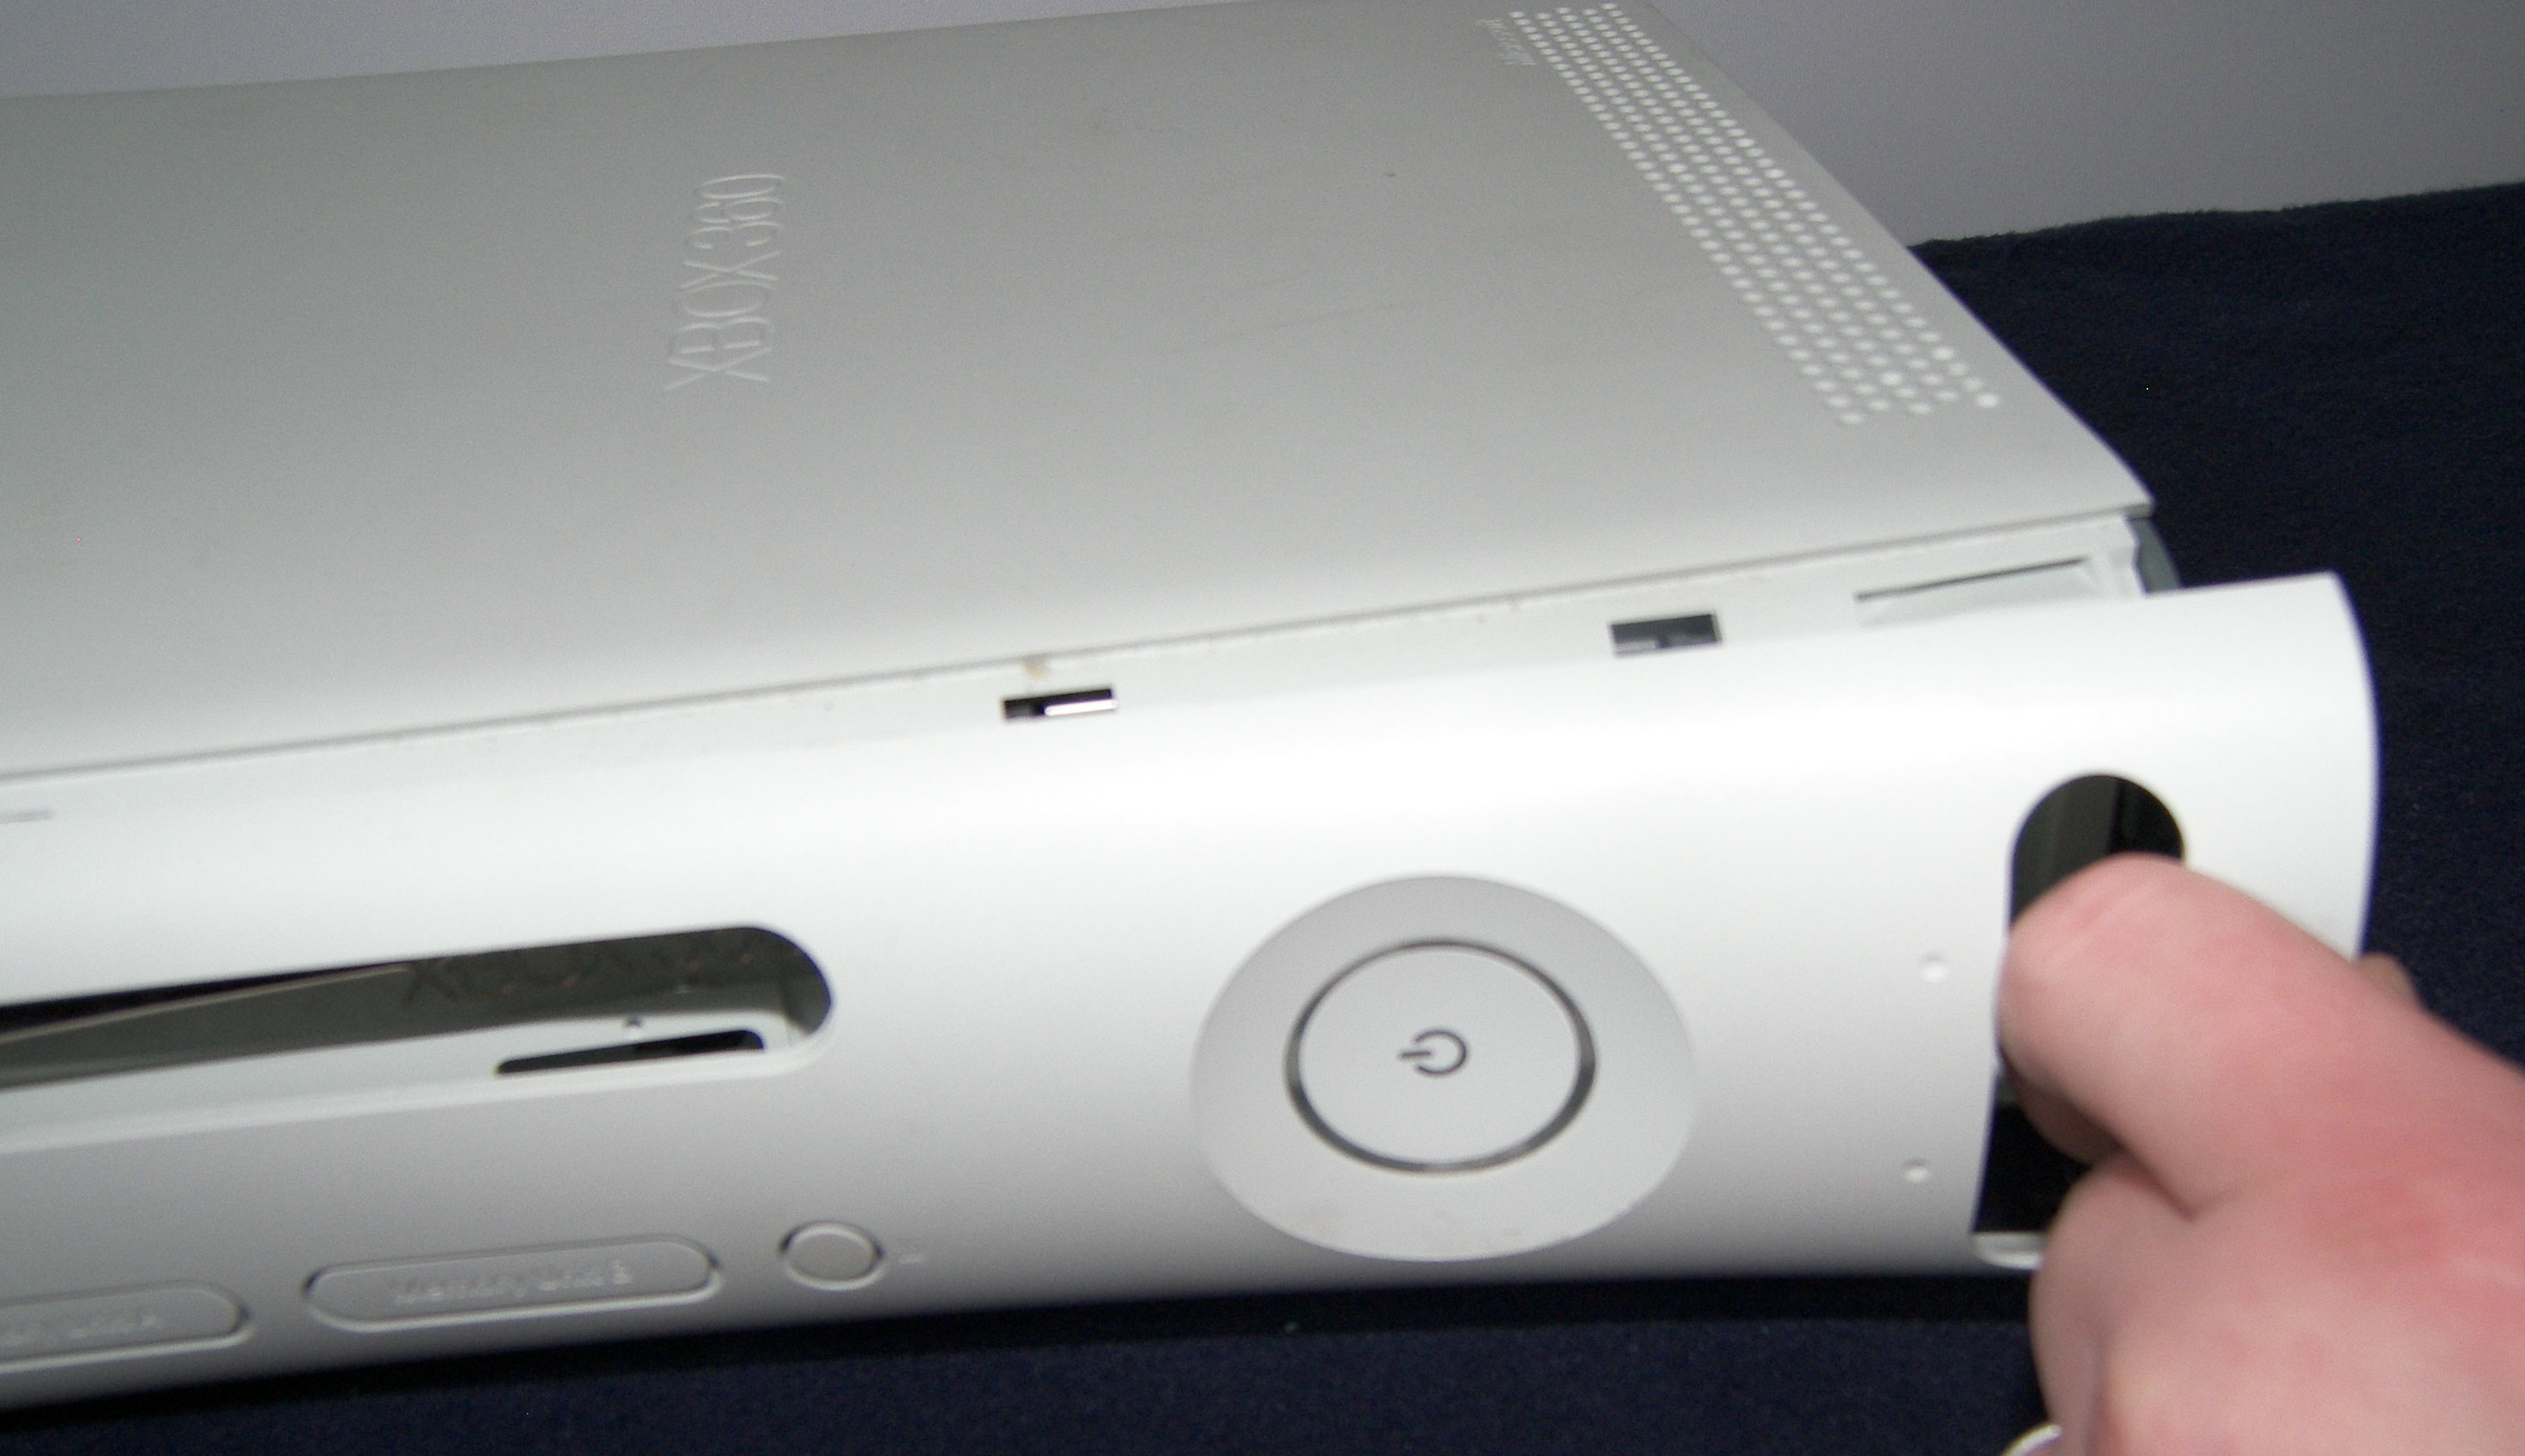
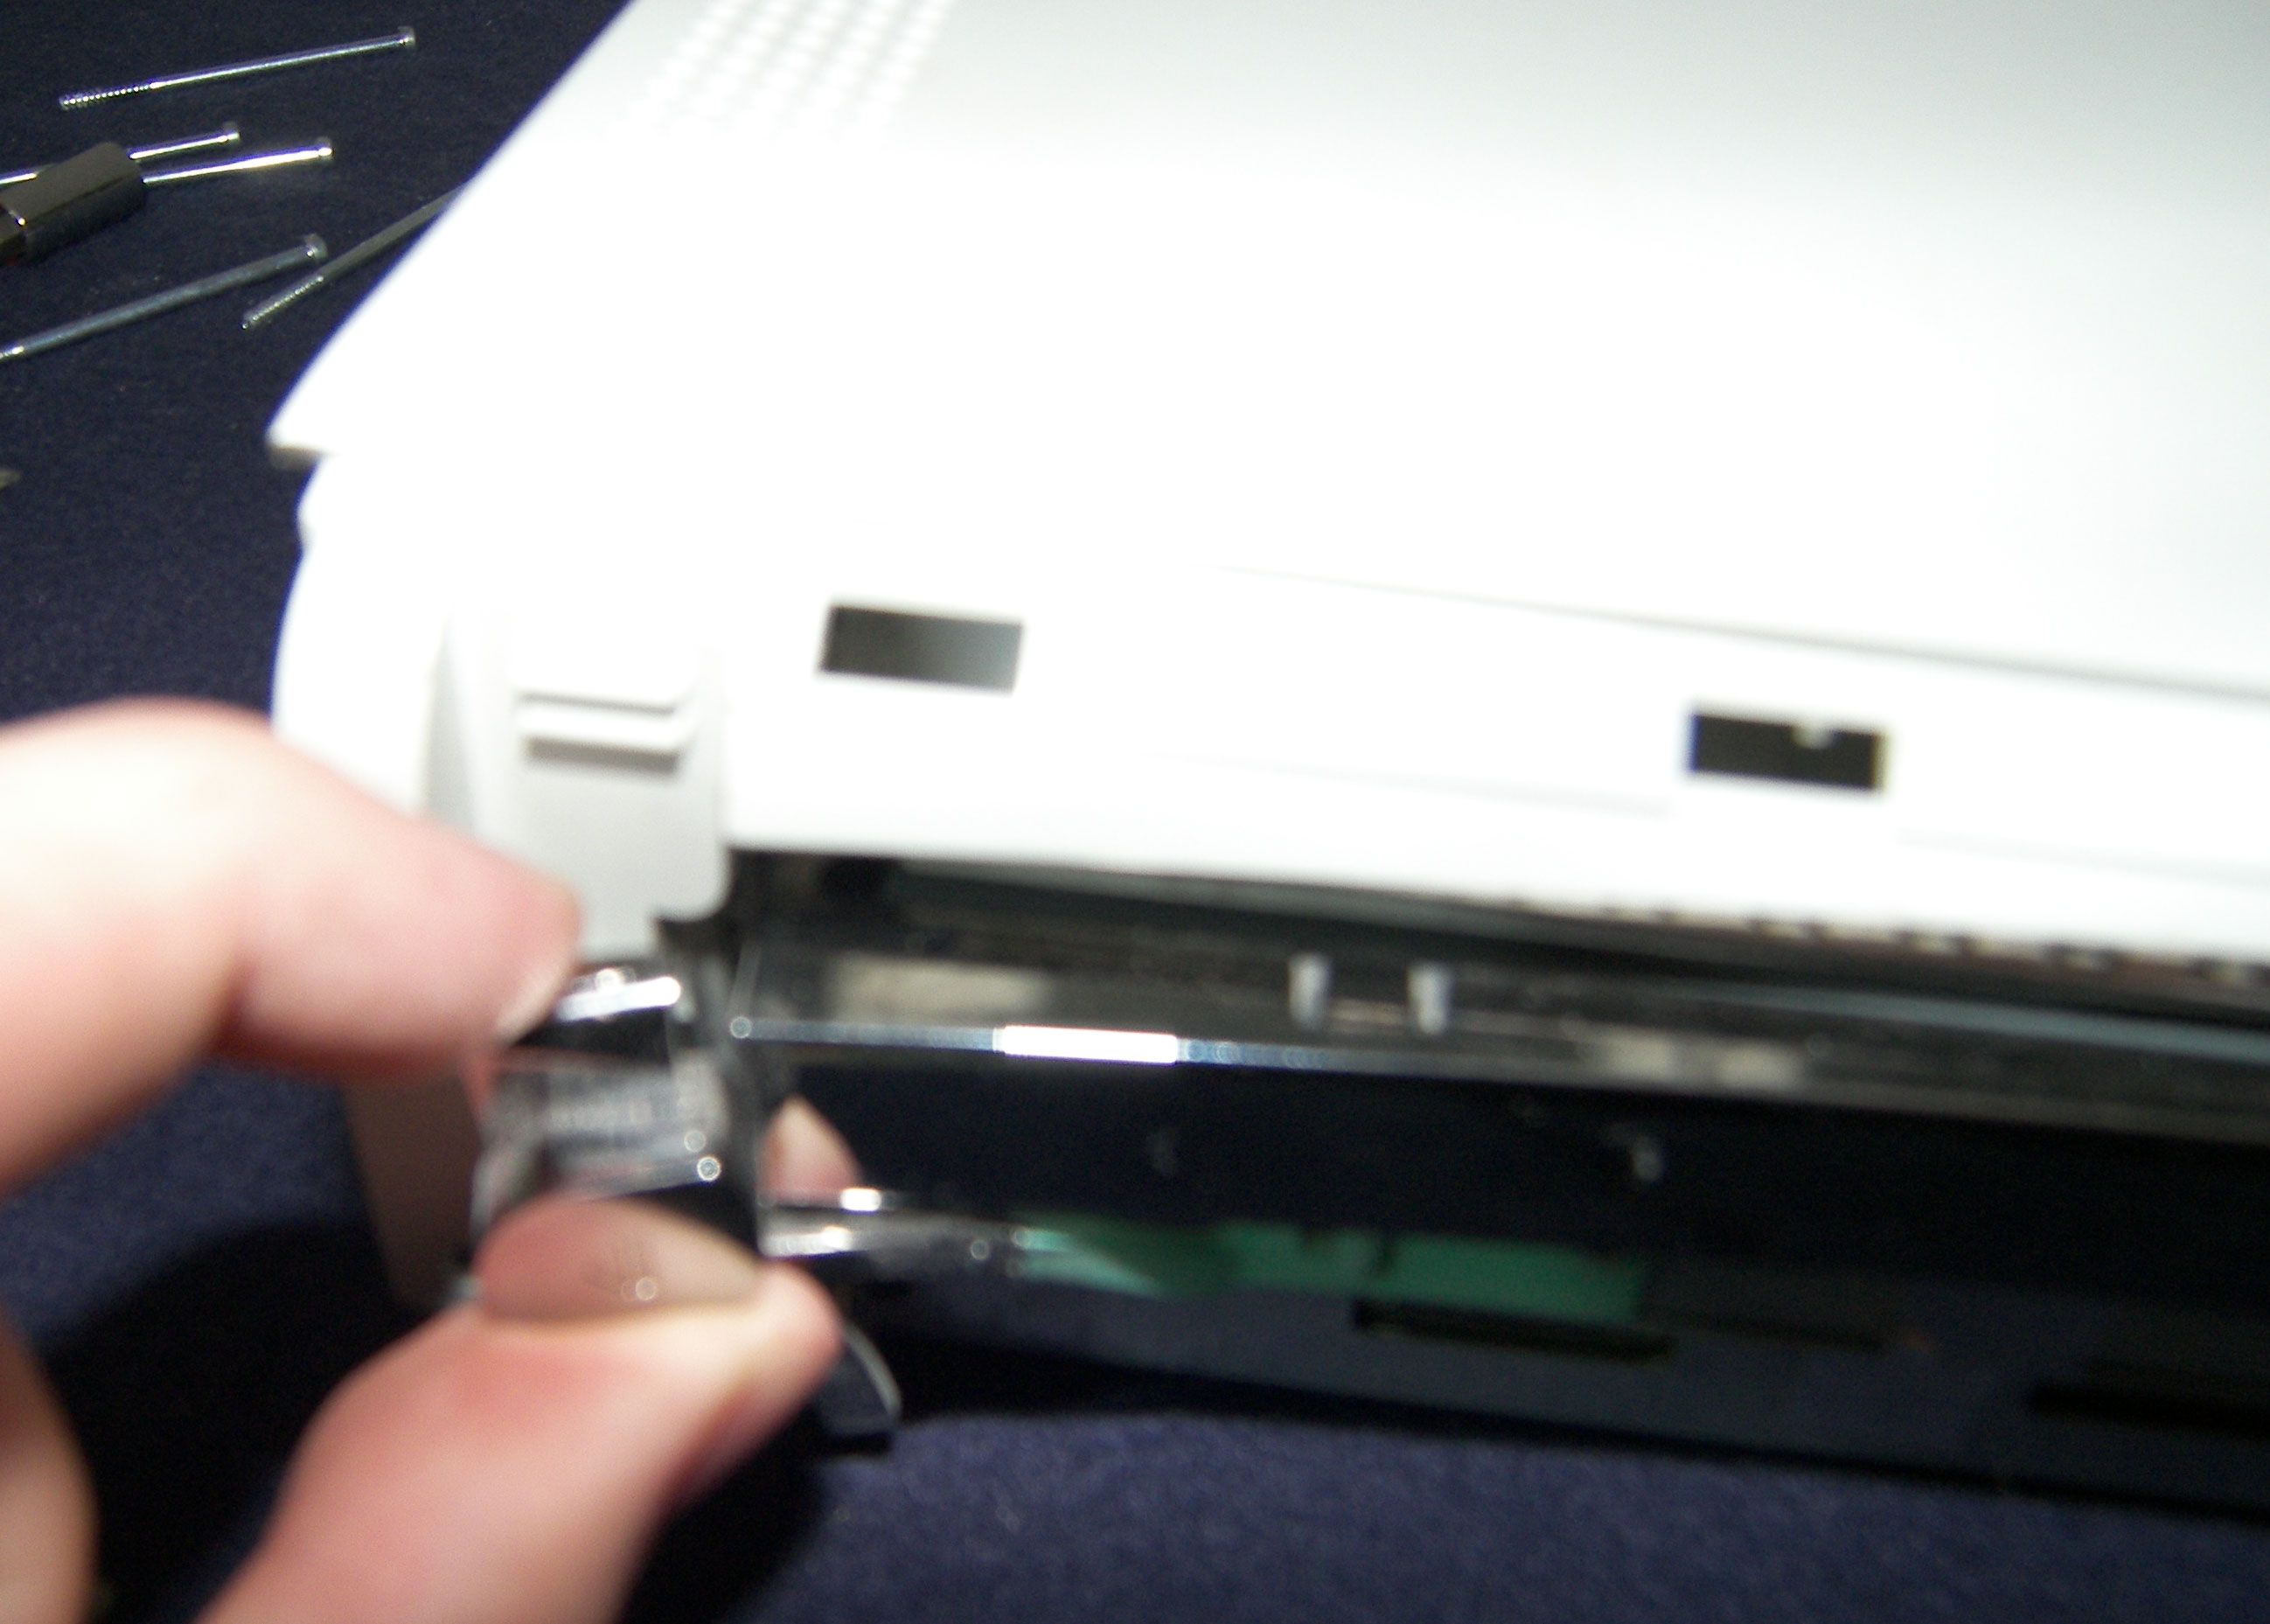
Then use your little screwdriver to pry the front tabs free one at a time.
This part can be a little bit hard what I do is pull the top part of the eject button out slightly so it can clear the case. Carefully slide the white case past the eject button.
Now that the white shell has been removed remove the 6 screws highlighted in this picture. Click on the little picture on the right to get a BIG picture where you can see everything easier
Once this is done remove the inner case from the outter white shell.
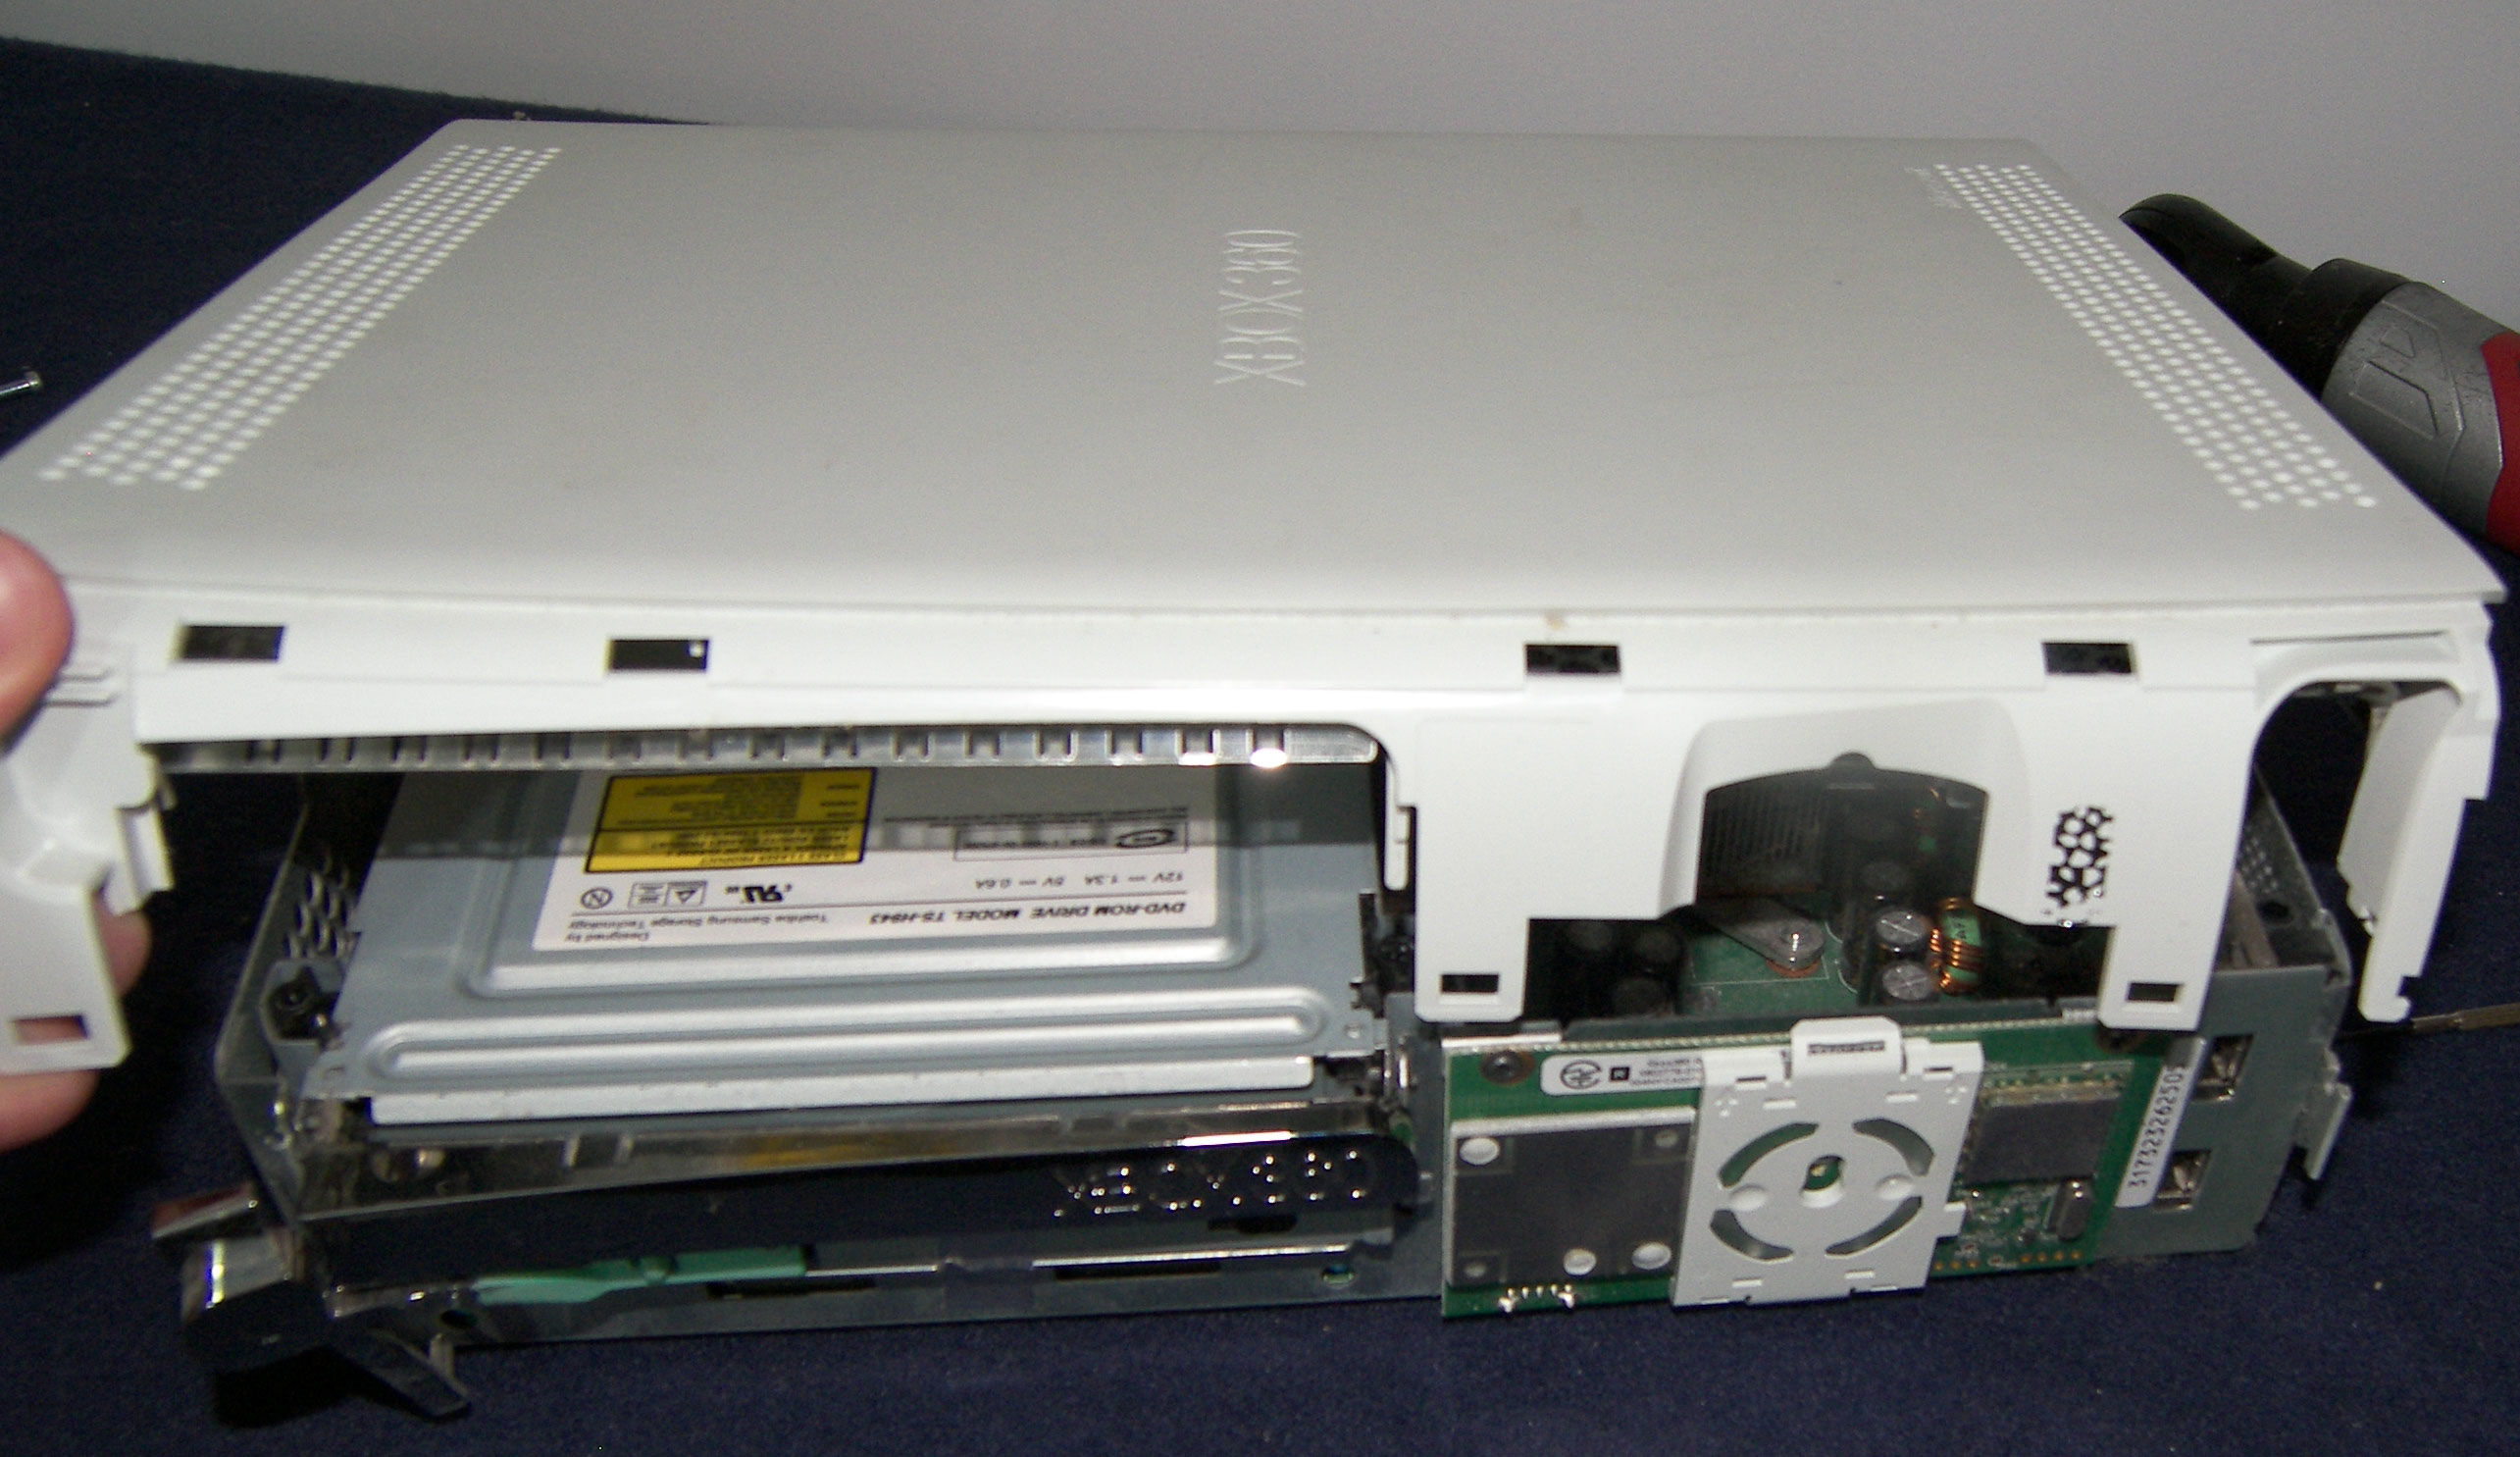
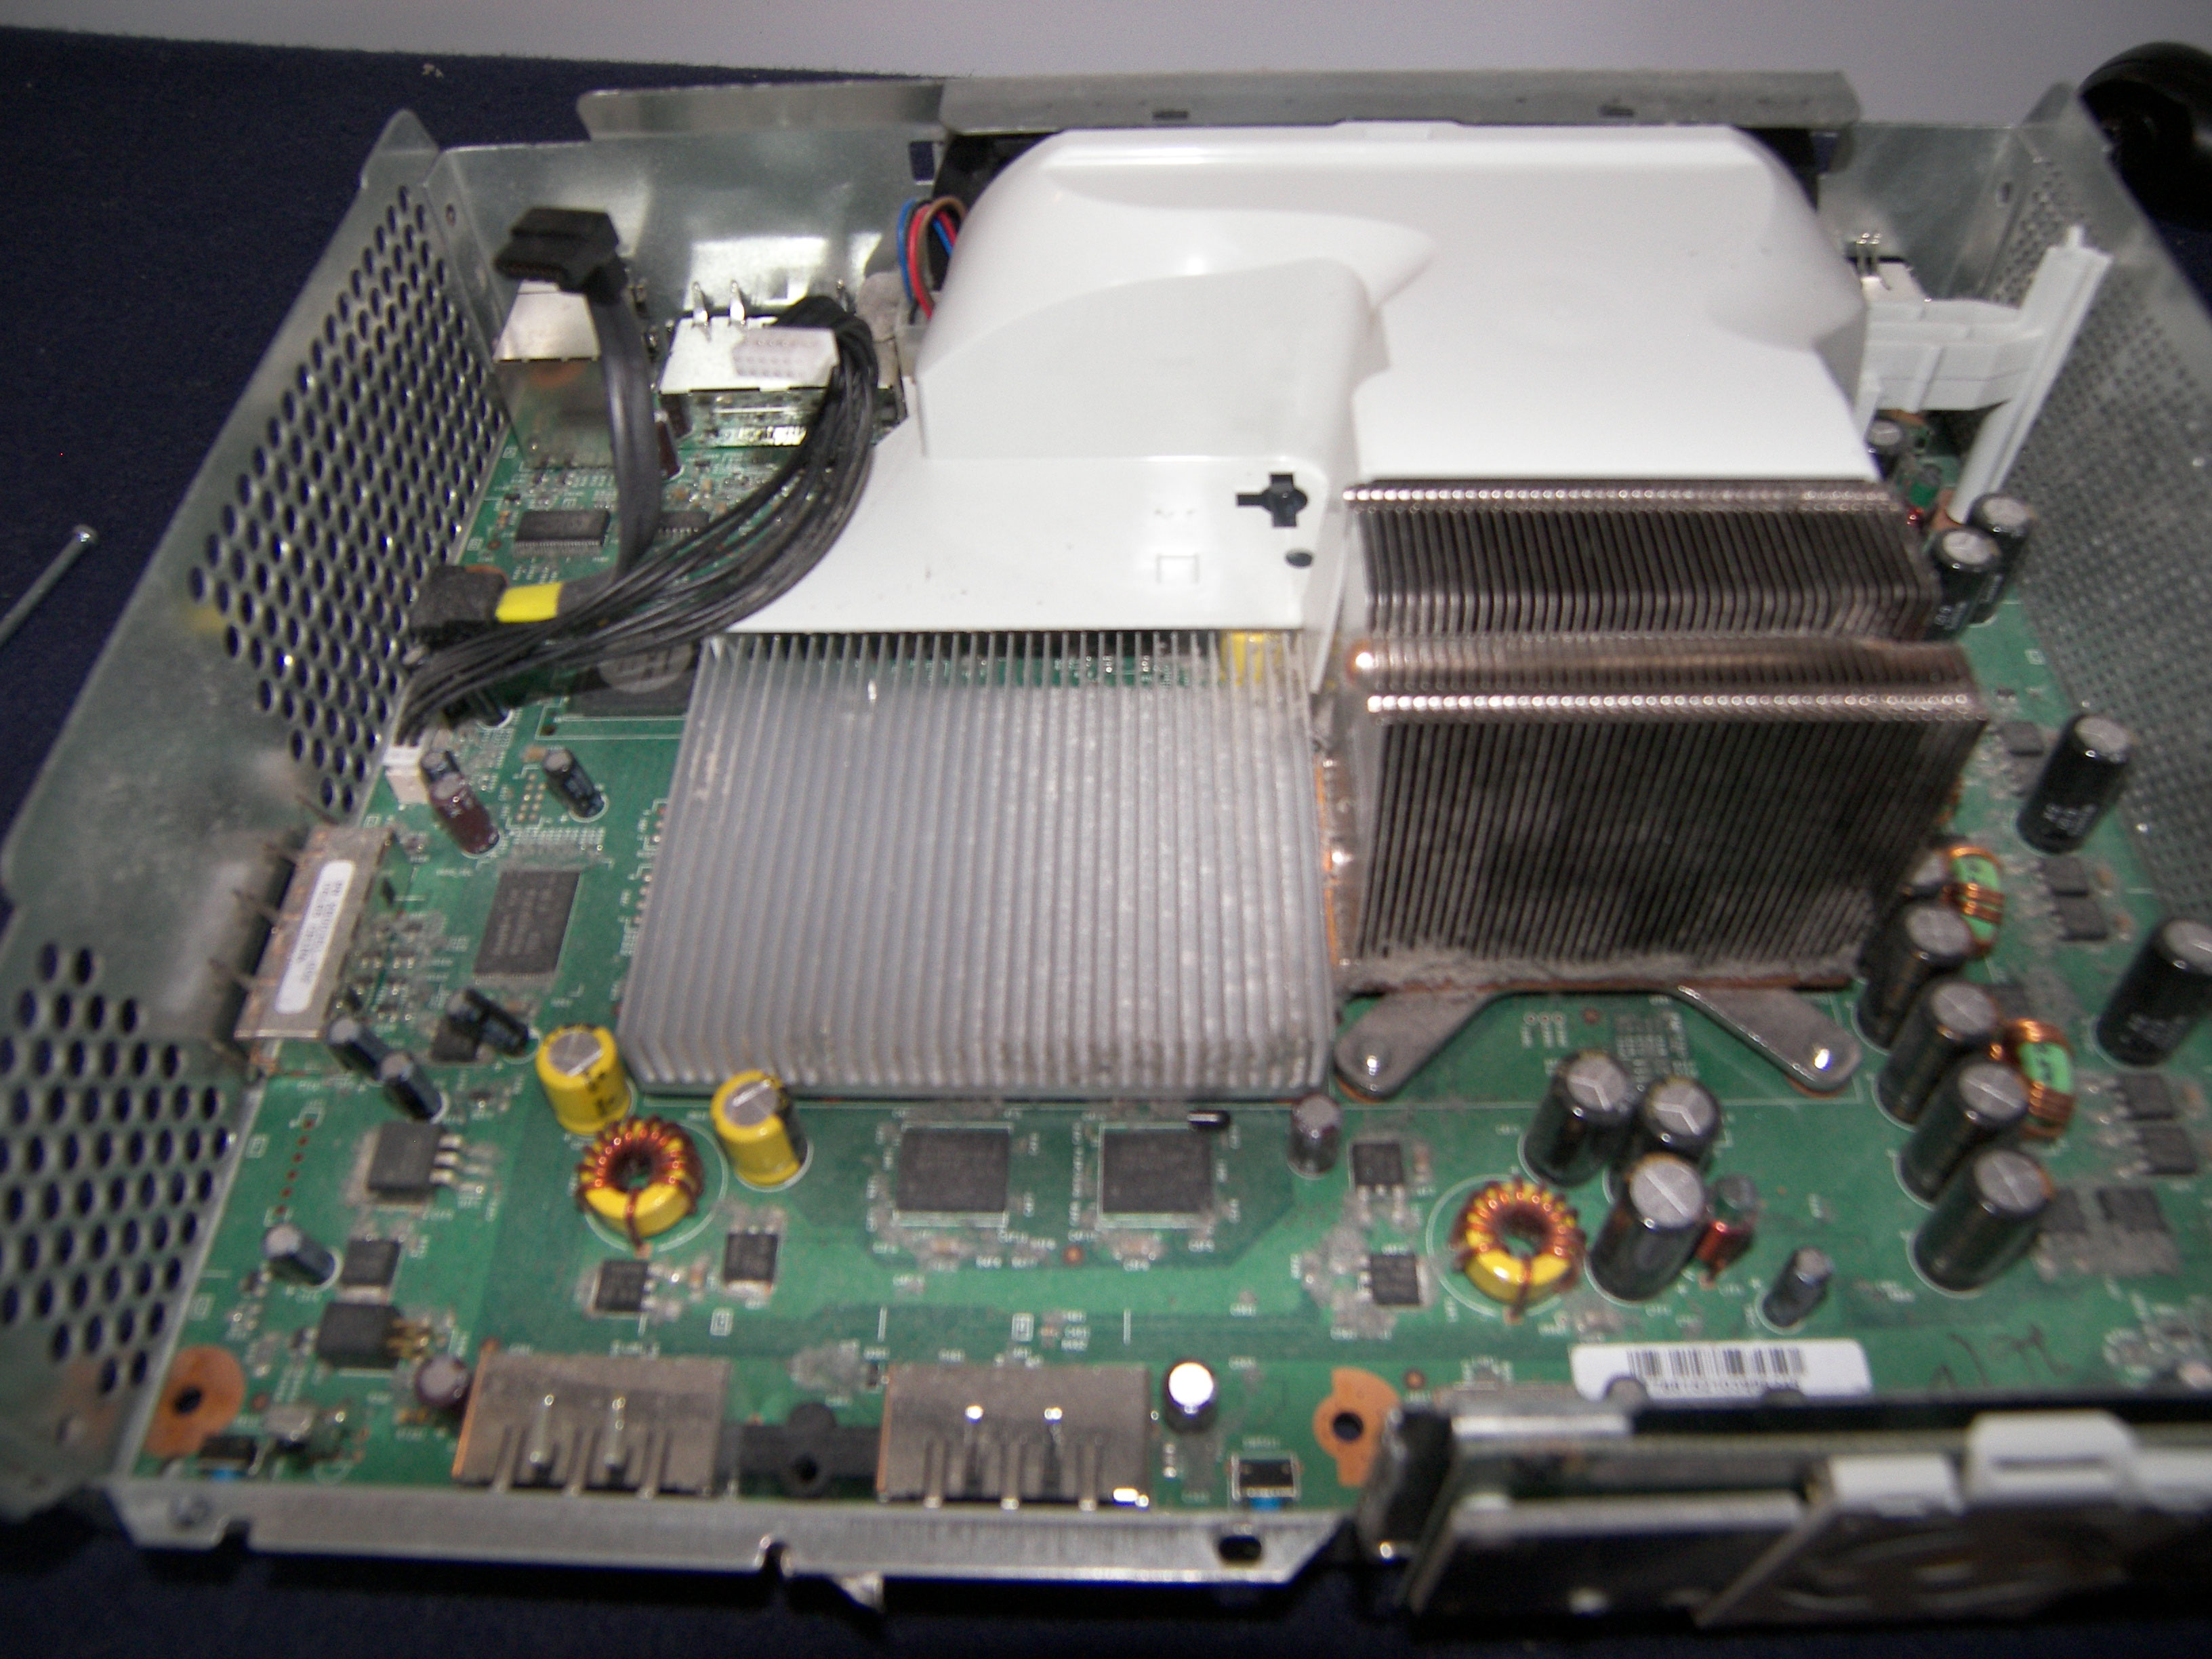
From this point you can see everything that's inside of your xbox! You can stop here! unless you need to remove your DVD drive. I've put it in this guide because most of what we do inside our Xbox involves removing your DVD drive.
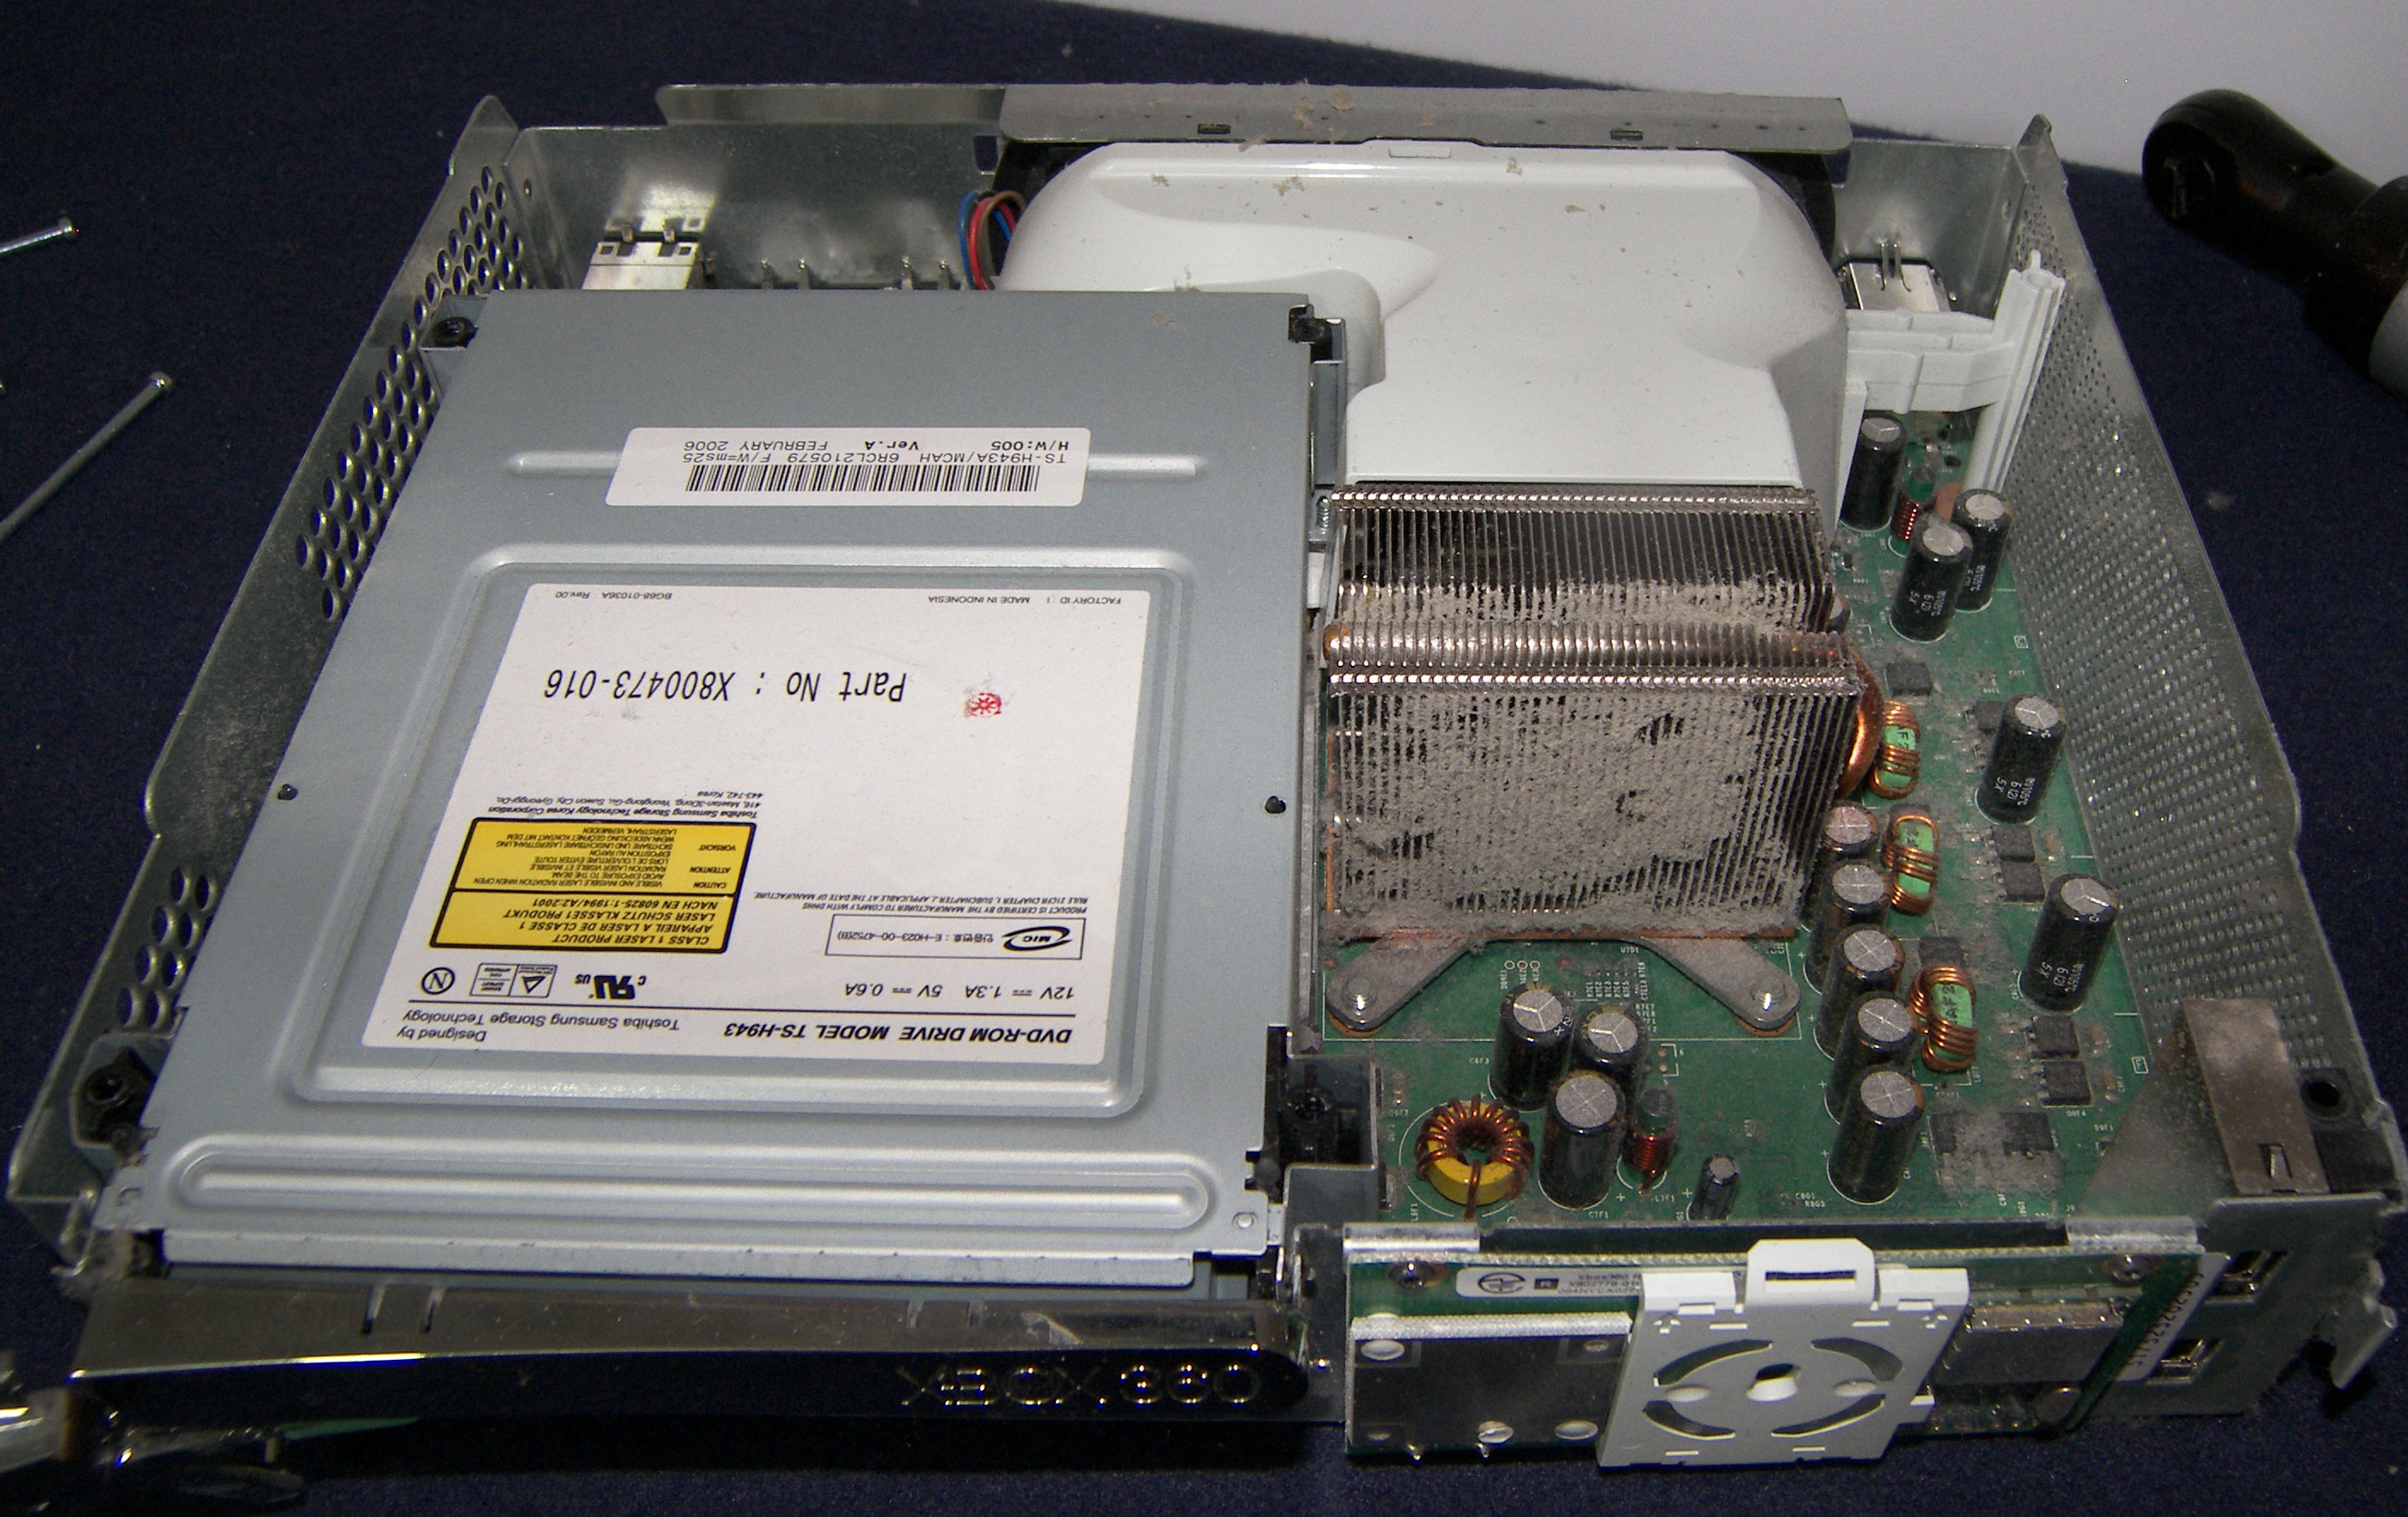
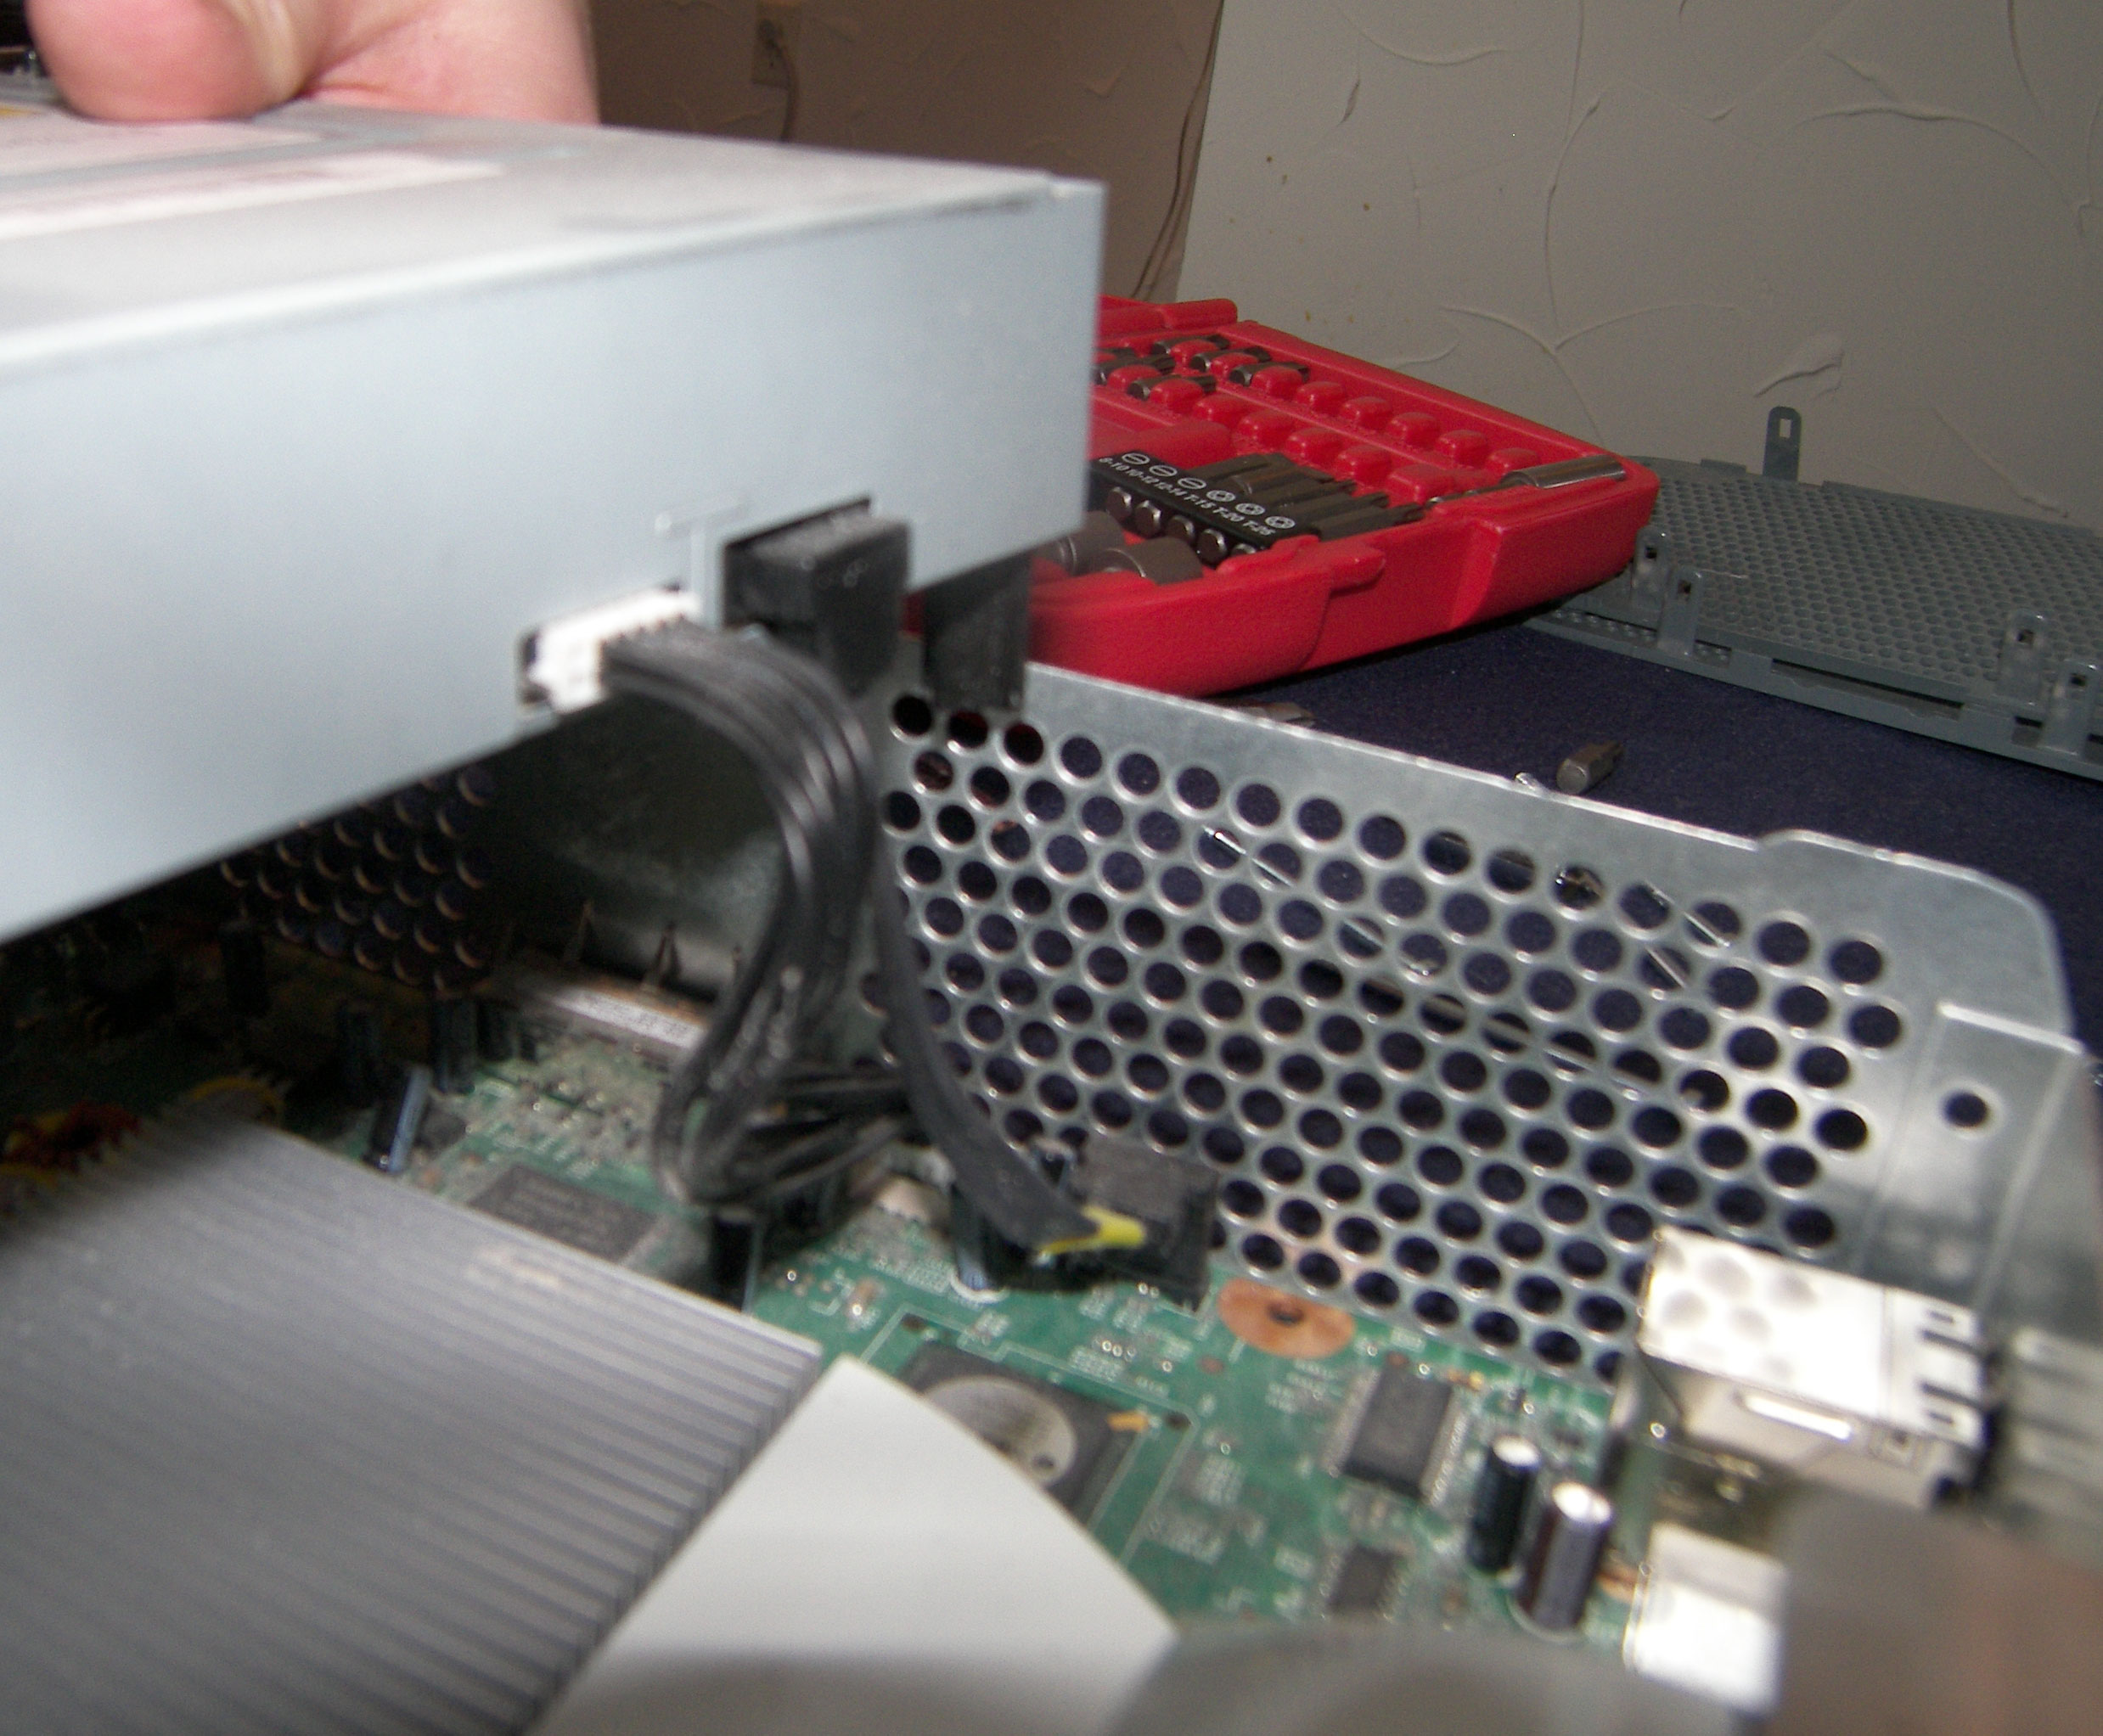
If you want to remove your DVD drive there is a shiny piece of tape in the front that you'll have to remove or cut before you can pull it out.
There are 2 cables in the back of the DVD drive to disconnect. One is the power and the other is a SATA cable.
Now your DVD drive is out and you're ready to:
replace your DVD drive
Flash your DVD drive
RROD Repair
( will have guides to cover all 3 of those things soon!)

